MFT December Creative Challenge – Ten Minute Treats

Hello crafty friends, welcome to My Favorite Things December Creative Challenge!
PrintWe’ve all been there…running out the door to a party or event and realizing, eek!, that we need a last-minute gift. Whether it’s for a teacher, party host, or gift exchange with friends, it’s incredibly helpful to have a store of quick gift options stashed away in your repertoire. Join us this month as our team shares some of their ideas for crafting 10 minute treats your recipient will love.

Here is what I camp up with:
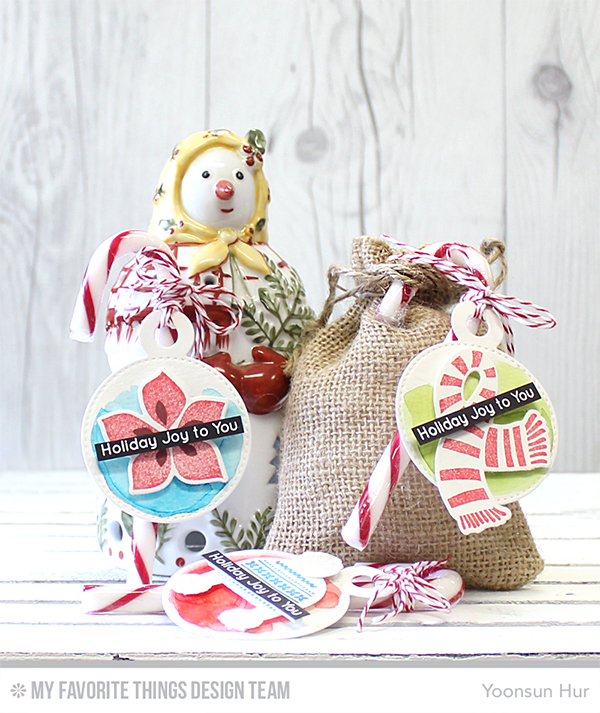
YoonsunHur-20151215-MFTCC-001I made these three Christmas gift tags with Tag Builder Blueprints 4 Die-namics and Winter Warmth stamp set easily and quickly!! First I 1) Die cut circle tags from watercolour paper using Tag Builder Blueprints 4 Die-namics, then roughly coloured the tags with MFT dye inks using a wet paintbrush. 2) Stamped the images from Winter Warmth set using MFT hybrid inks and then die cut them with Winter Warmth Die-namics. 3) Stamped the sentiment from Toasty Greetings set on black card stock using embossing ink, white heat embossed. 4) Mounted the stamped images and sentiment banners as shown to the watercoloured tags using dimensional foam tape.
YoonsunHur-20151215-MFTCC-002YoonsunHur-20151215-MFTCC-003YoonsunHur-20151215-MFTCC-004Make sure to head over to the MFT blog today for more great projects from the design team for this months challenge.

Thank you so much for stopping by. Happy crafting!!

Keep smiling and be blessed! God bless you all!
Love Love Love RejoicingCrafts

http://static.inlinkz.com/ppr.js

Concord & 9th – Written in the Stars

Hello crafty friends, happy weekend!
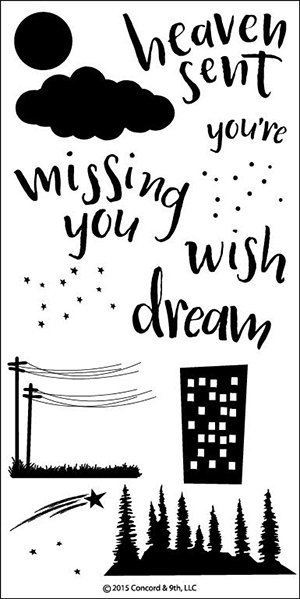
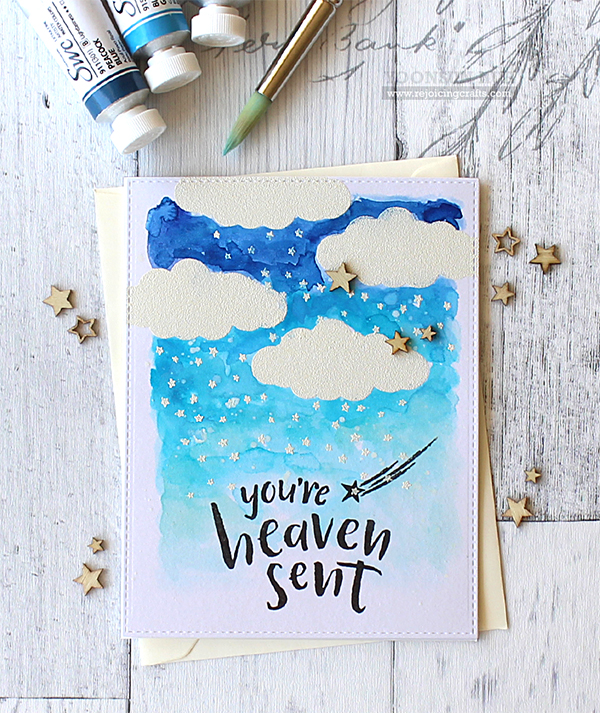
Concod9-BannerToday I want to share with you the card that I’ve made using Written in the Stars stamp set.Concord9th-December-StarAs I mentioned before, Concord & 9th’s trend brushstroke sentiments are truly amazing!!

Here is what I came up with:
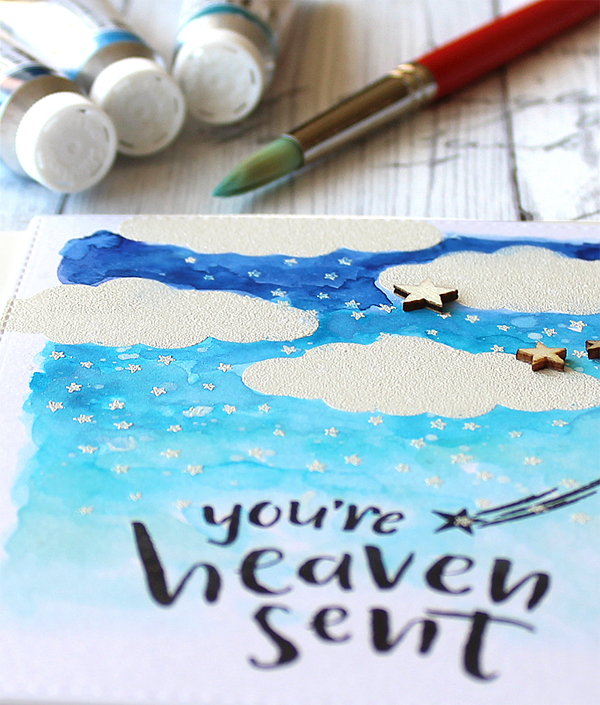
YoonsunHur-201512-Concord9-Star-A01To create this card, I 1) Stamped the clouds and stars from Written in the Stars set onto watercolour paper panel using embossing ink, white heat embossed. 2) Stamped the sentiment & shooting star in black ink. 3) Coloured on the stamped panel with watercolours using a wet paintbrush. 4) Mounted the watercoloured panel on A2 size white card base using double-side tape. 5) Embellished with Studio Calico Star wood veneers.
YoonsunHur-201512-Concord9-Star-A02

Make sure to check out Concord & 9th Blog for more inspiration with the new Written in the Stars stamp set!!

Thank you so much for stopping by and have a wonderful weekend!!

Keep smiling and be blessed! God bless you all!
Love Love Love RejoicingCrafts

http://static.inlinkz.com/ppr.js

SSS DieCember™ – Floral Cards

Hello crafty friends!
Today I want to share with you my couple of floral themed cards using Simon Says Stamp DieCember™ release!
SSS-DieCember-Banner
DieCember™ dies are so delicate and beautiful, and I especially love (you can guess) Single Roses dies :D
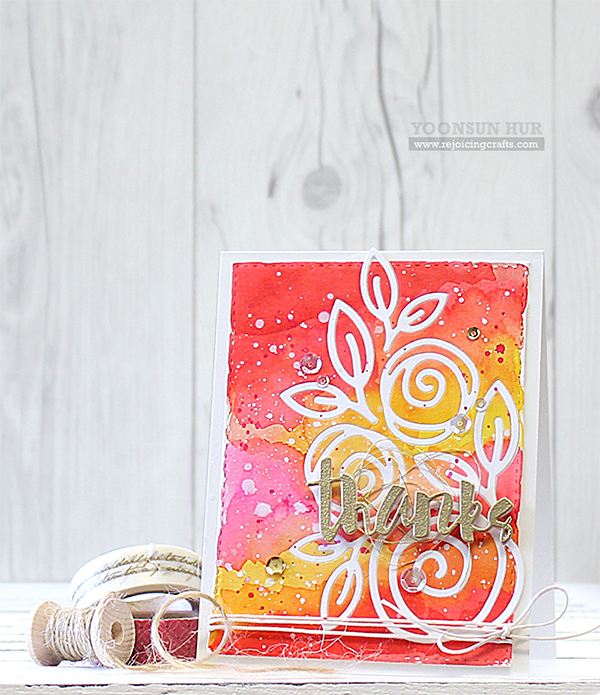
YoonsunHur-20151211-SSS-001For my first card, I used the new Stitched Dress Up Tags, Single Roses Dies, and Painted Hugs Die. First I 1) Die cut Stitched Dress Up Tag from watercolour paper. 2) Coloured onto the tag with Festive Berries, Fired Brick, Wild Honey, Mustard Seed, and Picked Raspberry Distress ink using a wet paintbrush. Then I spritzed Ranger Perfect Pearls Mist all over the watercoloured tag, added some opaque white ink splatters. 3) Die cut roses and leaves from white card stock using Single Roses dies, then positioned Single Roses dies on the watercoloured tag in place, die cut them from it. 4) Applied adhesive to the back of the tag, then inlaid all the pieces of coloured & white die cut together. 6) Die cut the “Hugs” word from white card stock (5 times), glued them together, then heat embossed with gold embossing powder. 7) Stamped the sentiments from the Big Scripty Greetings stamp set randomly on Ivory card base using Fog Gray dye ink. 8) Mounted the tag as shown to the Ivory card base using dimensional foam tape.
YoonsunHur-20151211-SSS-002YoonsunHur-20151211-SSS-003

YoonsunHur-20151211-SSS-004For my second card today, I used the same Single Roses Dies and color scheme but it’s slightly different in design. For the sentiment, I used the new (and gorgeous) Painted Thanks Die!
YoonsunHur-20151211-SSS-005
YoonsunHur-20151211-SSS-006

That’s it for today. Thank you so much for stopping by and have a fabulous weekend!!

Keep smiling and be blessed! God bless you all!
Love Love Love RejoicingCrafts

http://static.inlinkz.com/ppr.js

Create A Smile – Merry Christmas

Happy Thursday everyone!
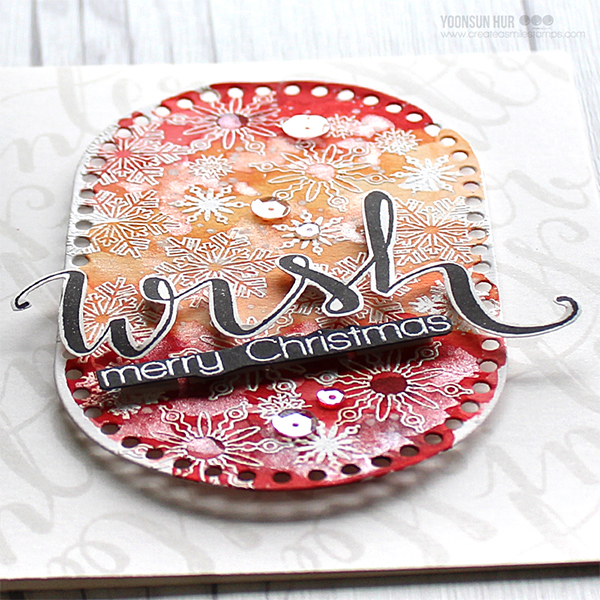
I’m posting on the Create A Smile blog today using so beautiful Winter Fun and Make A Wish stamp sets.
YoonsunHur-20151210-CAS03-SM

If you want to see more just click HERE to jump to the Create A Smile Blog!

Thank you so much for stopping by and happy holiday crafting!!

Keep smiling and be blessed! God bless you all!
Love Love Love RejoicingCrafts

http://static.inlinkz.com/ppr.js

Concord & 9th – Tree Hugs

Hello crafty friends, happy Wednesday!
Concod9-BannerI am so delighted (and honoured!) to be a guest designer on Concord & 9th. They have a full of unique & trendy stamp sets, dies and I especially love their own Happy Hues Cards!!

In December, I will show you my cards using the newly released Tree Hugs and Written in the Stars stamp sets.

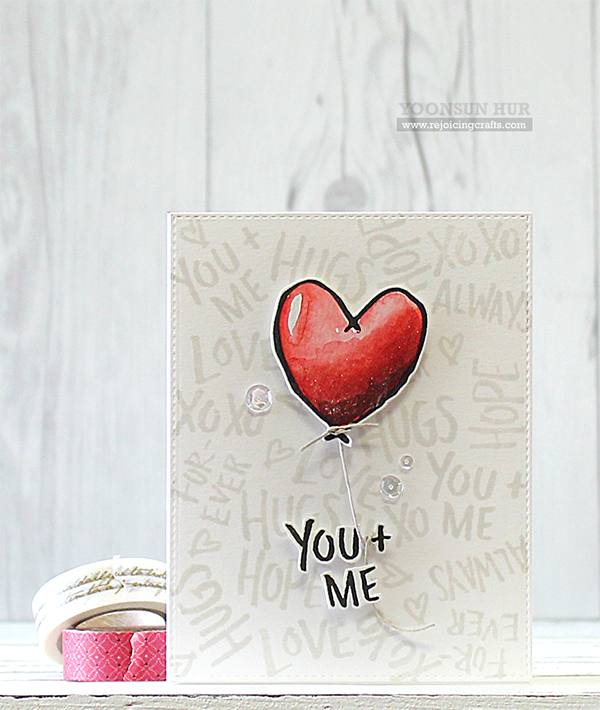
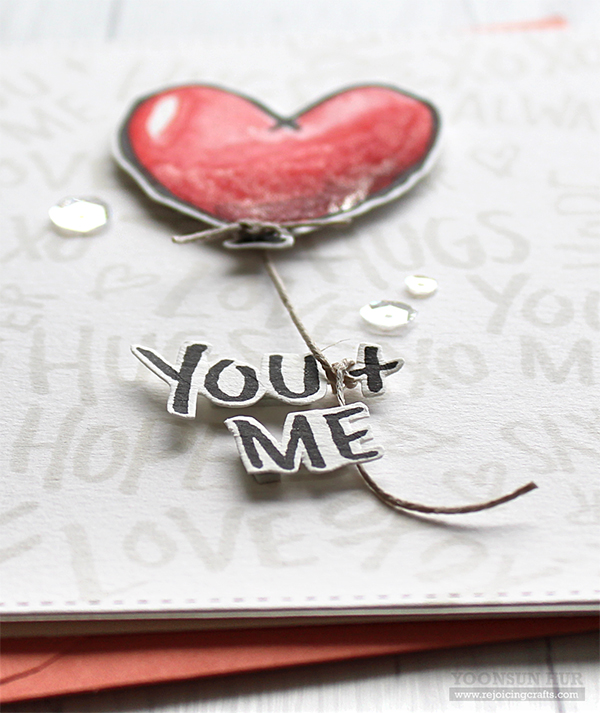
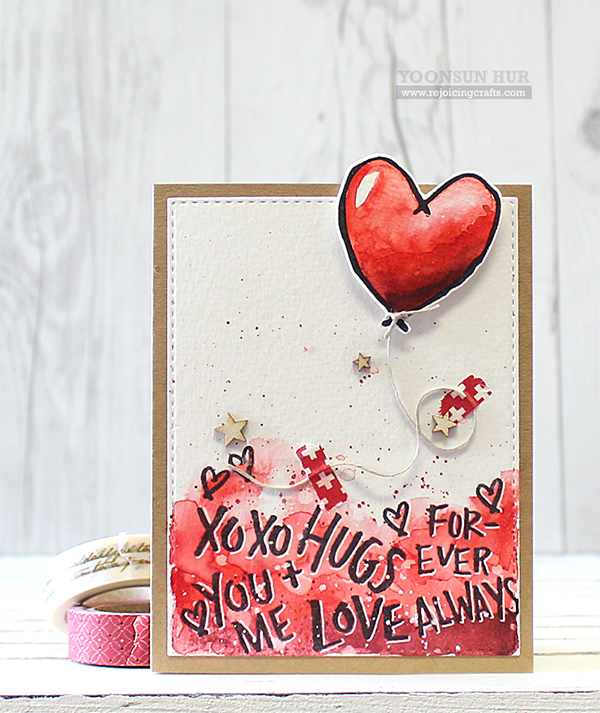
Concord9th-December-TreeHugsToday I am focusing on the Tree Hugs stamp set. YoonsunHur-20151209-Concord9-TL-A01To create this card, I 1) Stamped the sentiments from the Tree Hugs stamp set randomly onto A2 size white paper panel using SSS Fog Gray dye ink. 2) Stamped the balloon and “YOU + ME” sentiment on watercolour paper using black pigment ink, coloured the balloon with MFT dye inks using a waterbrush, then fussy cut both of them. The heart-shaped balloon and sentiment are connected by natural twine :D 3) Mounted all elements as shown to the finished card base using dimensional foam tape. 4) Embellished with a few PPP clear sequins.
YoonsunHur-20151209-Concord9-TL-A02Oh, I love their brushstroke sentiments so much!
YoonsunHur-20151209-Concord9-TL-A03
YoonsunHur-20151209-Concord9-TL-B01For my second card, I used the same stamps and color scheme but it is somewhat different in design. First I 1) Stamped the sentiments at the bottom part of watercolour paper panel using black pigment ink, coloured around the sentiments with MFT Red Hot, Paver Red dye inks using a wet paintbrush. I then added some red ink splatters. 2) Stamped the heart-shaped balloon on watercolour paper using black pigment ink, coloured it and then fussy cut it. 3) Mounted all elements as shown to A2 size kraft card base using double-sided tape. 4) Embellished with Studio Calico wood veneer stars.
YoonsunHur-20151209-Concord9-TL-B02YoonsunHur-20151209-Concord9-TL-B03

Make sure to check out Concord & 9th Blog for more inspiration with the new Tree Hugs stamp set!!

Thank you so much for stopping by and happy crafting!!

Keep smiling and be blessed! God bless you all!
Love Love Love RejoicingCrafts

http://static.inlinkz.com/ppr.js