Floral Friday: SSS Chinese Lantern Stem

Hello crafty friends!
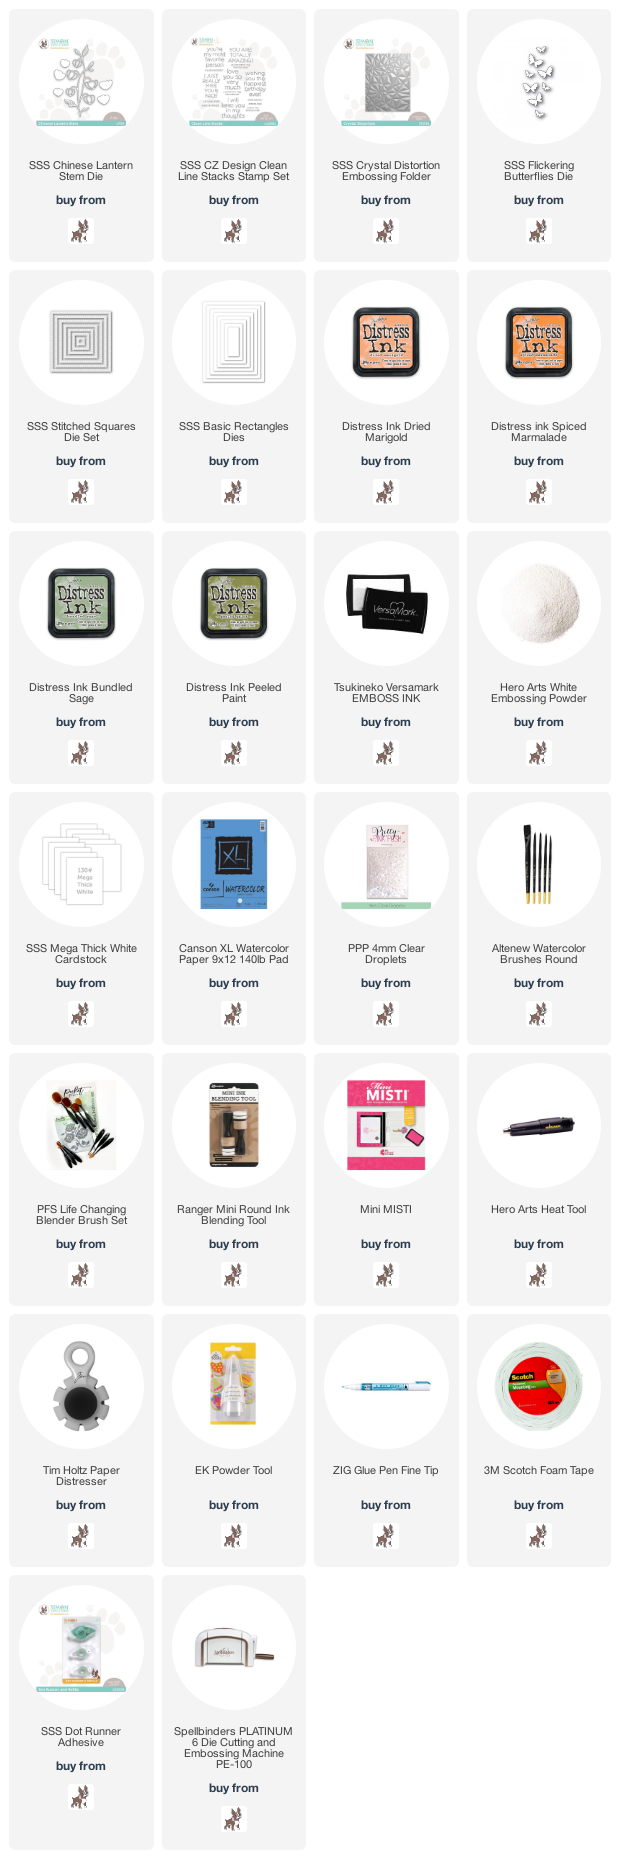
Today I have an encouragement card with SSS Chinese Lantern Stem die. The Chinese Lantern Stem is recently released from Simon Says Stamp Good Luck Charm. It’s very popular!!
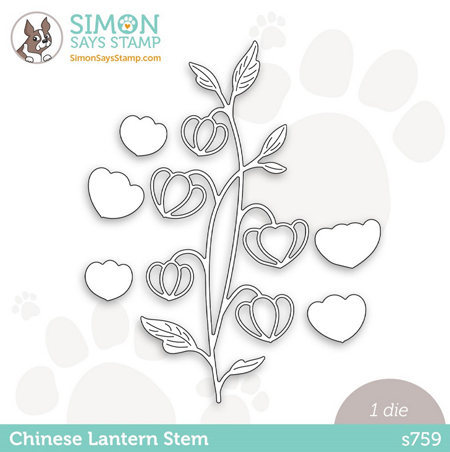

Simon Says Stamp Chinese Lantern Stem Die
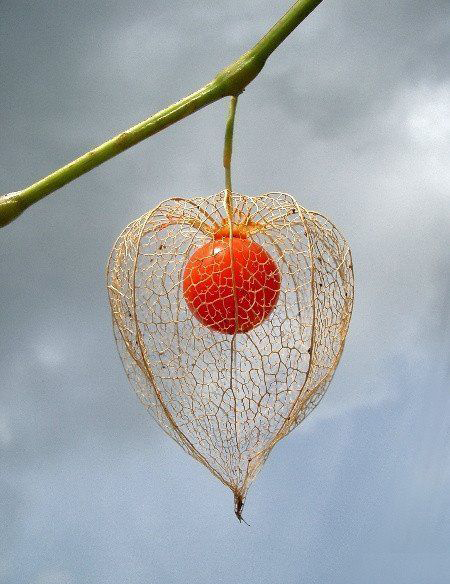
Chinese Lantern flower means safety, comfort and protection so I decided to make an encouragement card with it. :D
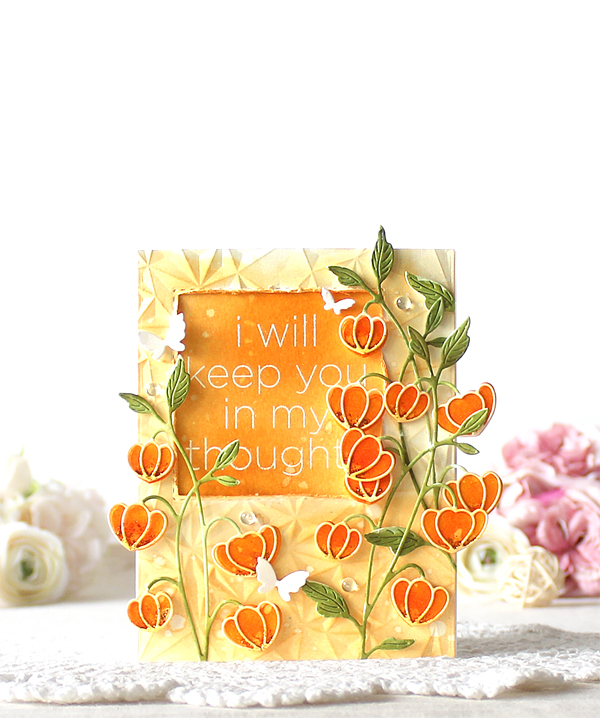
At first I die cut the Chinese Lantern Stem from watercolour paper. I then coloured all die cuts with Distress inks:
Flowers: Dried Marigold & Spiced Marmalade
Leaves and stems: Bundled Sage & Peeled Paint.
Next, I dry embossed an A2 sized watercolour paper panel using the Crystal Distortion embossing folder, applied Dried Marigold Distress ink to the panel, and then made a square window on the top left part of the panel.
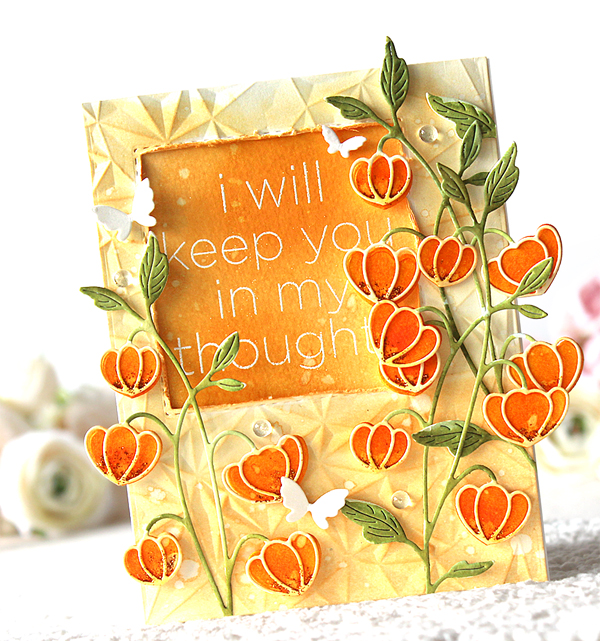
I heat embossed the sentiment from the CZ Design Clean Line Stacks set onto watercolour paper in white, inked onto it with Spiced Marmalade Distress ink. I then adhered the sentiment panel to the back of the background panel.
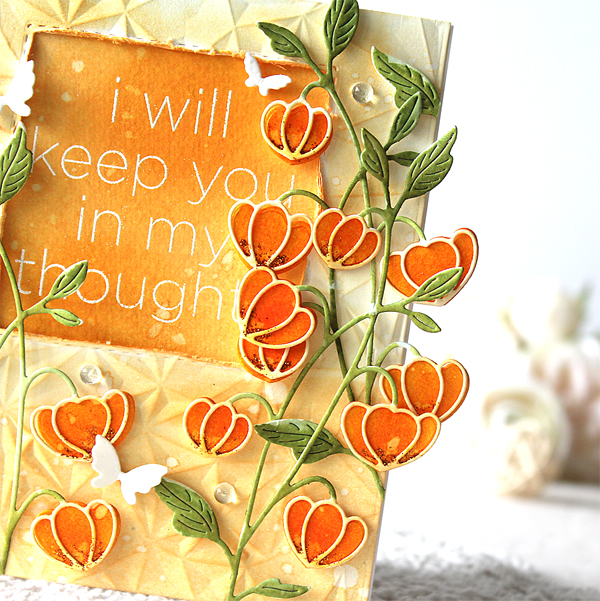
I mounted the background panel and the Chinese Lantern Stems on the card as shown in the picture, and then decorated the card with tiny butterflies & 4mm clear droplets. :D

Thank you so much for stopping by. Have a wonderful weekend!

Keep smiling and be blessed! God bless you all!
Love Love Love RejoicingCrafts
Floral Friday: Altenew Garden Picks

Hello crafty friends!
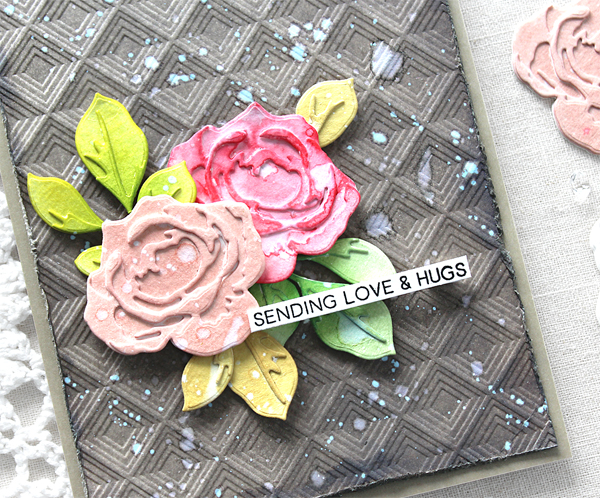
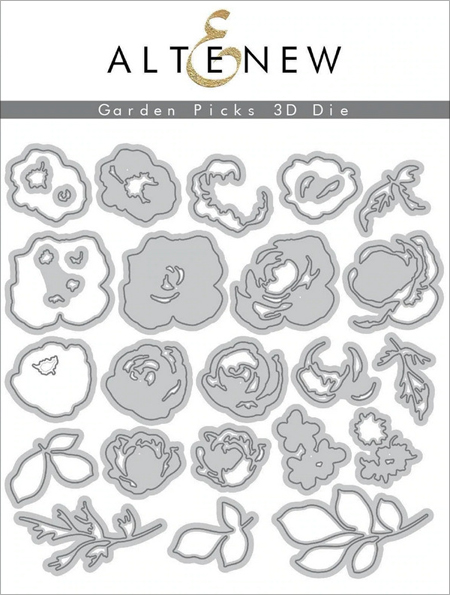
Today I have a floral card with Altenew Garden Picks 3D die set. Altenew has many stunning layered floral dies and the Garden Picks is definitely one of beautiful layered die sets!


Altenew Garden Picks 3D Die Set

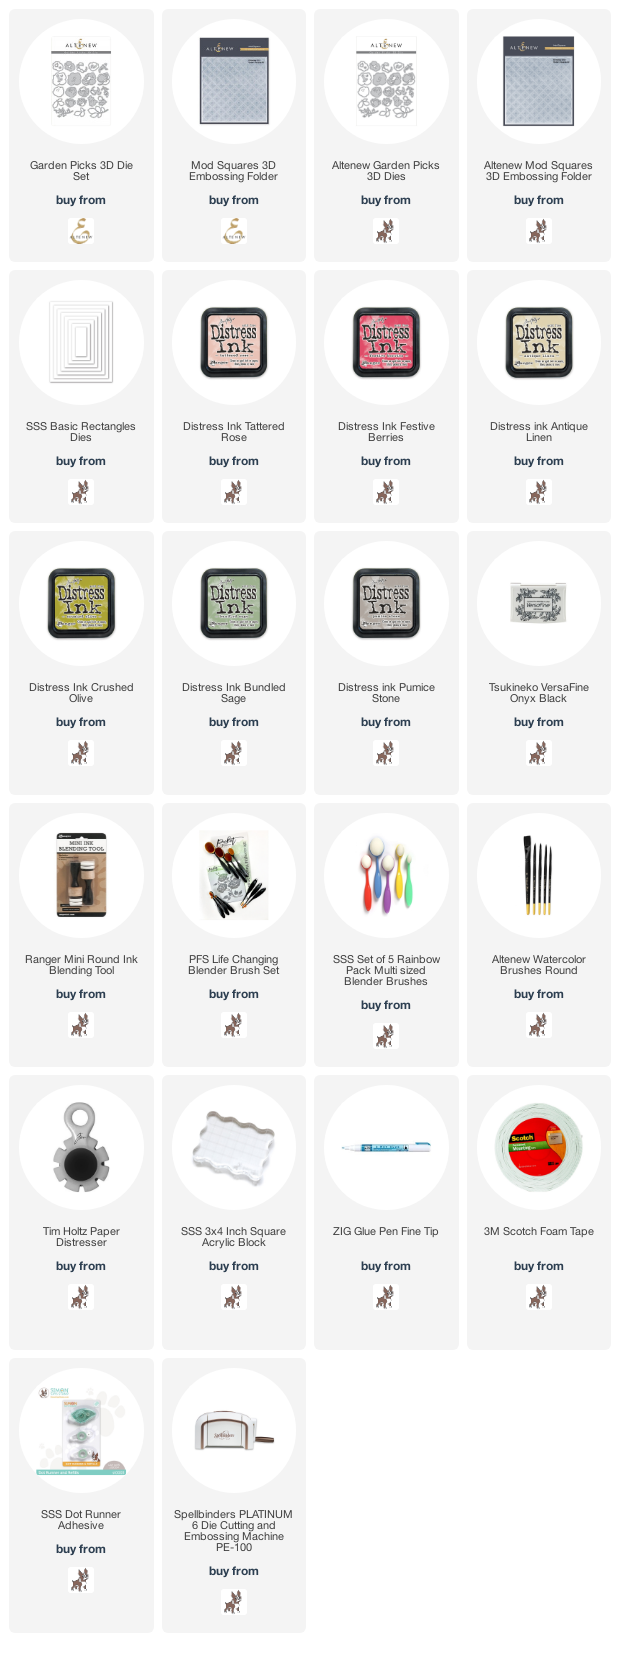
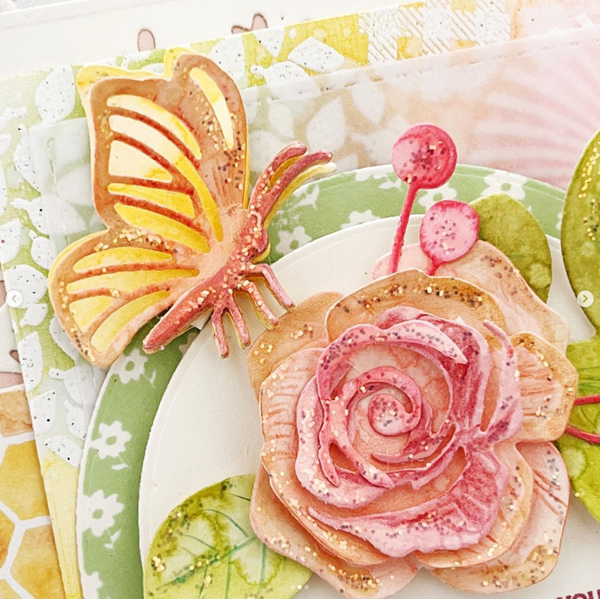
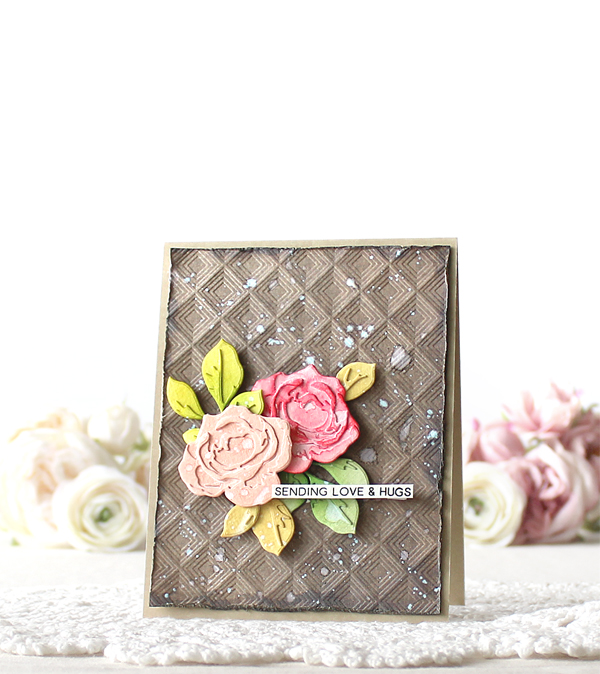
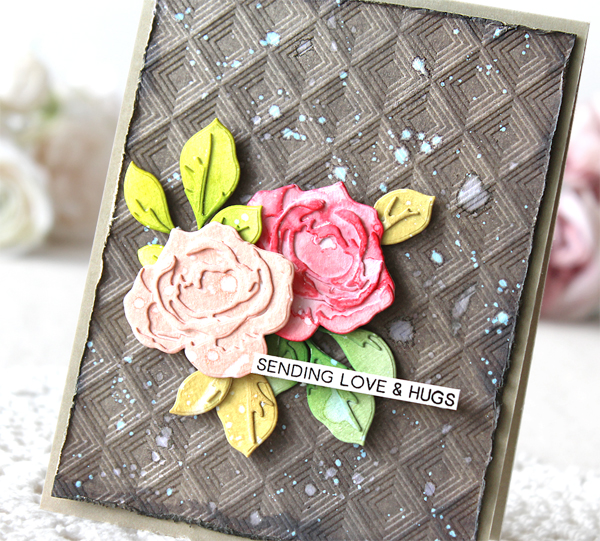
To make this card, I started by die cutting the roses and leaves from watercolour paper using the Altenew Garden Picks 3D dies. I then assembled pieces together using fine tip glue pen – I made layered roses & leaves. I applied Distress inks to each die cut using mini blending tools & blending brushes:
Roses: Tattered Rose (pale pink) & Festive Berries (red)
Leaves: Bundled Sage (muted green), Crushed Olive (bright green)
and Antique Linen (vintage yellow).

For the background panel, I inked onto watercolour paper panel with Pumice Stone Distress ink first, and then dry embossed the panel with the Altenew Mod Squares 3D Embossing Folder – I love this patterns so much!! I then distressed the edges of the panel using Tim Holtz Paper Distresser.

I mounted all elements on khaki card base using foam tape, and then added waterdrops & white ink splatters all around the card. I’m so satisfied with the vintage look! :D

Thank you so much for stopping by. Have a wonderful weekend!

Keep smiling and be blessed! God bless you all!
Love Love Love RejoicingCrafts
PPP 8th Birthday Celebration Blog Hop – Day 3

Hello, hello crafty friends, happy weekend!
Welcome to the last day of the Pretty Pink Posh 8th Birthday Celebration Blog Hop. Pretty Pink Posh turned 8! I bet you guys are enjoying this 3 days celebration for fun, inspiration and surprises, right?!!

Pretty Pink Posh released so many awesome new birthday-themed products and today I will focus on the Build A Gift die set & Layered Presents stencils among them. :D


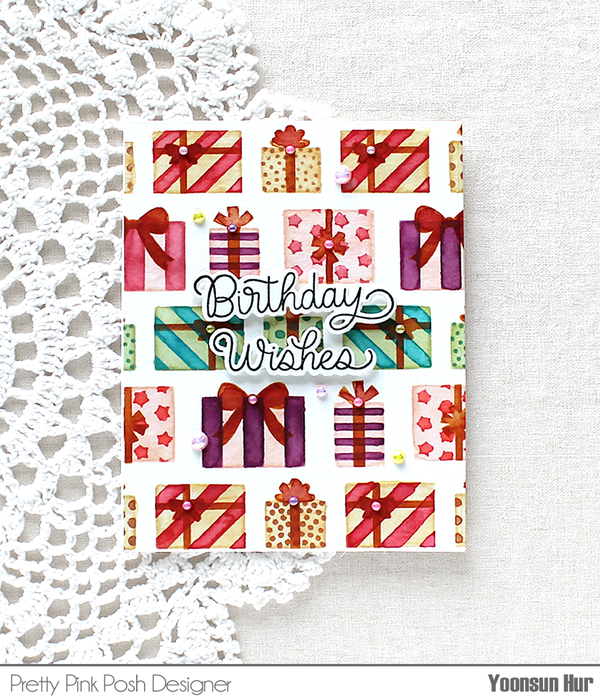
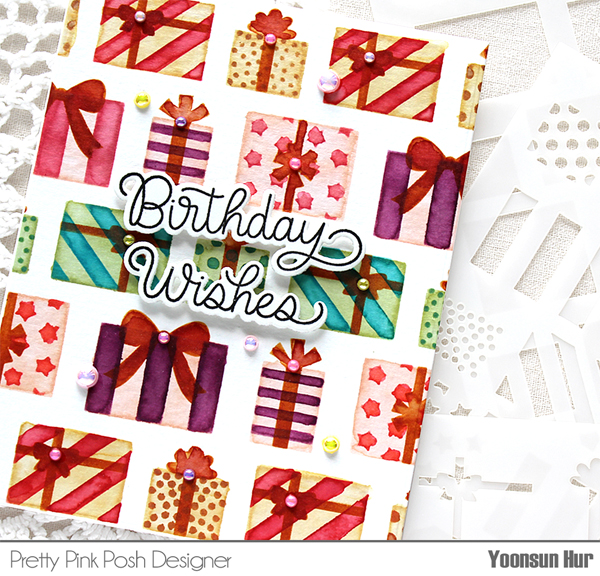
For my first card, I used the Layered Presents stencils along with the Birthday Scripts set.

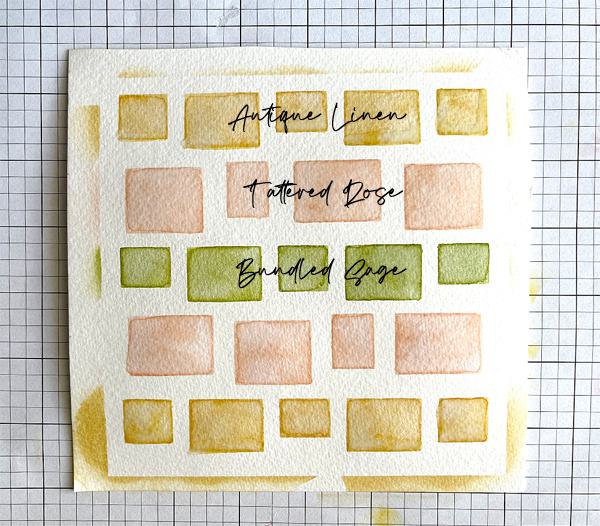
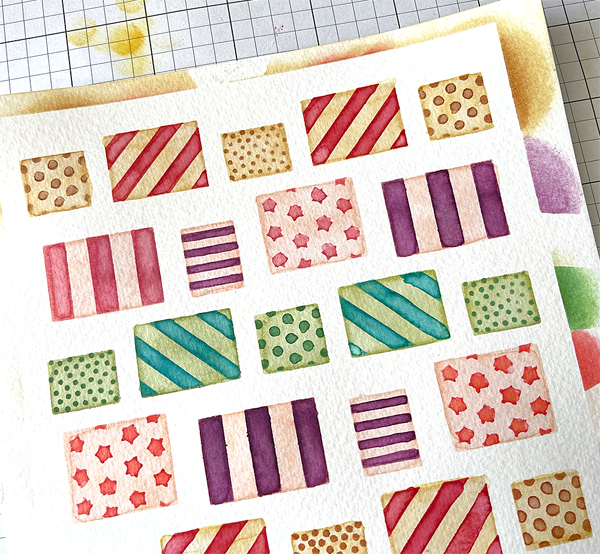
I laid the first, the base of present images, stencil on watercolour paper, applied soft coloured Distress inks first. I lightly brushed each box image with clean water to look like watercolour images.

I added the stripes, dots and starts from second layer, the ribbons from third layer with Distress inks.


For the sentiment, I used the Birthday Scripts set.


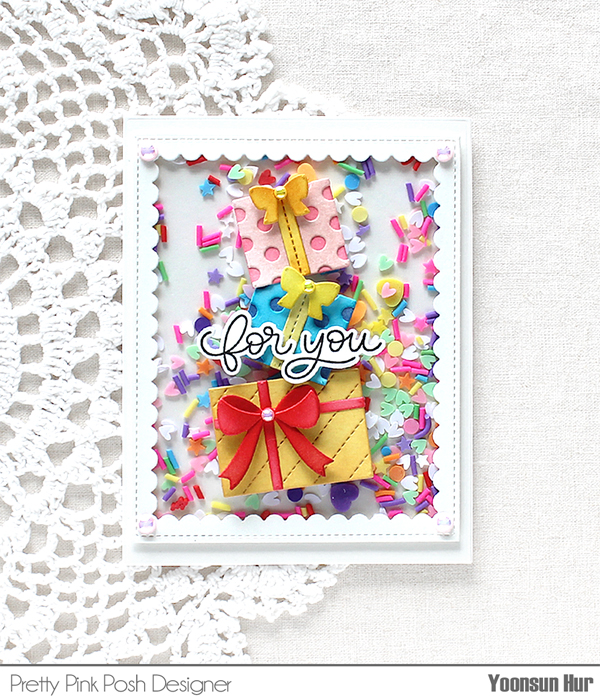
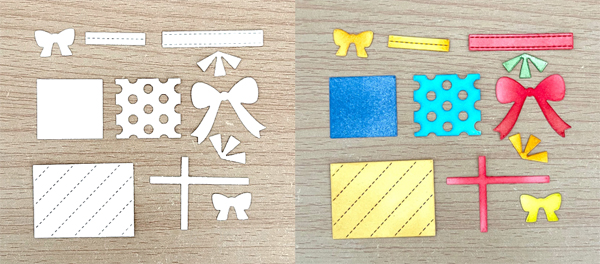
For the second card for the hop, I used the Build A Gift die set.

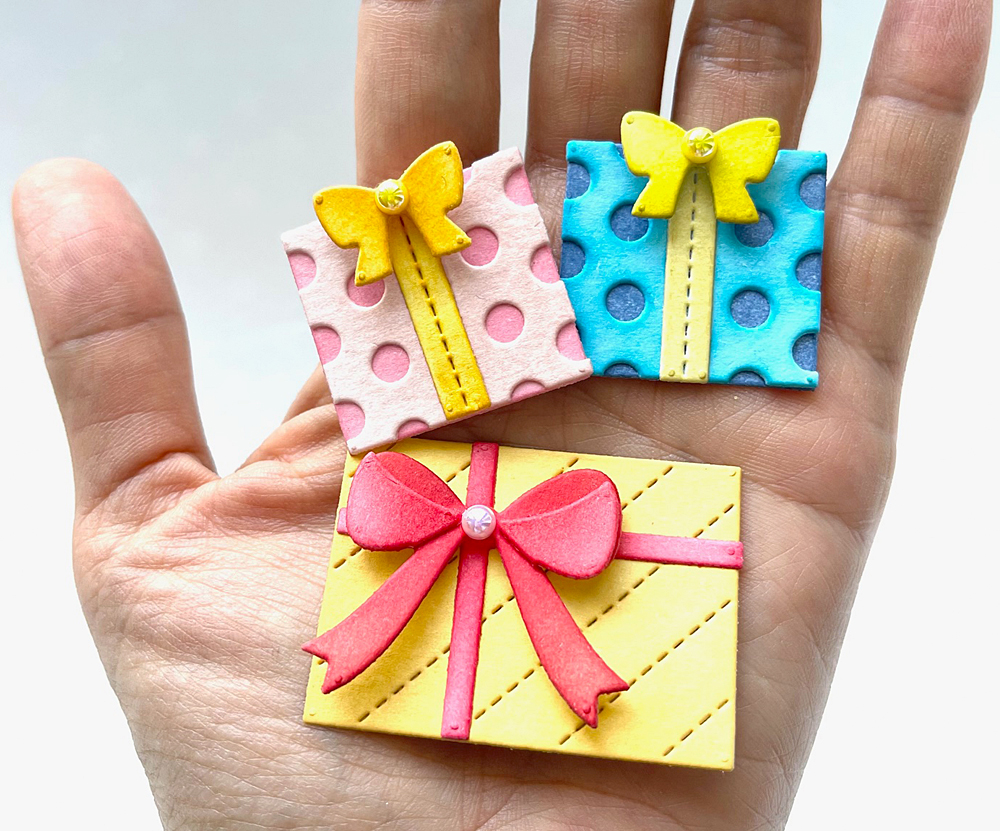
I die cut pieces from watercolour paper using the Build A Gift die set. I then inked all pieces.

Ta-da! Look at these cuties!!

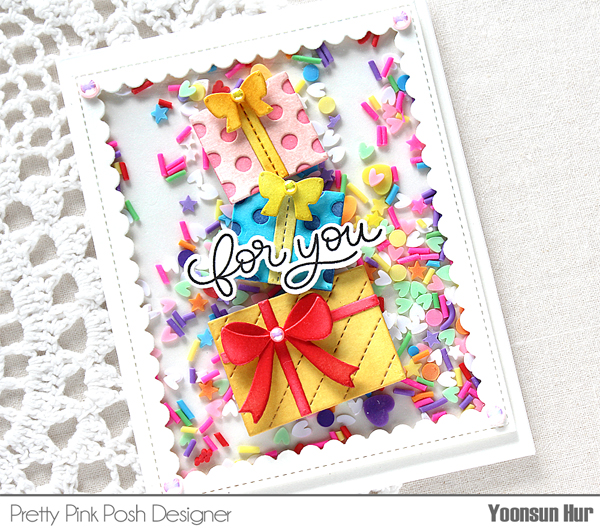
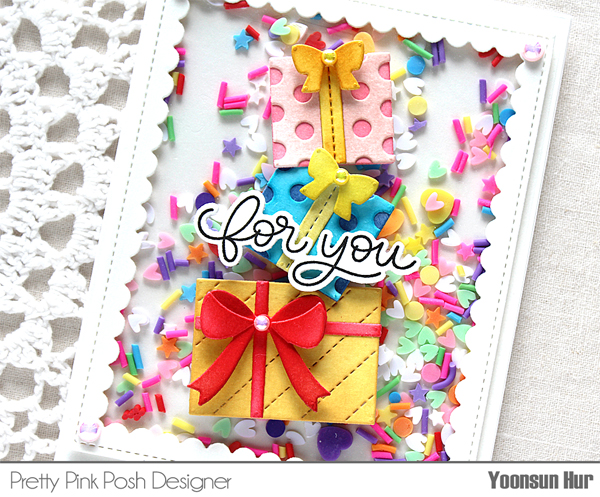
I added lots of new birthday confettis inside the shaker panel – I love them so much!

GIVEAWAY!!
Pretty Pink Posh is giving away 3 $50 gift certificates up for grabs (one winner each day). Winners will be picked randomly along the blog hop. Comments must be left by 11:59 PM PST on 2/16/2022. Winners will be announced Pretty Pink Posh blog.


DAY 3 BLOG HOP LIST:
Pretty Pink Posh blog
Caly Person
Wanda Guess
Carly Minner
Channin Pelletier
Ashley Ebben
Lisa Mears
Dana Kirby
Yoonsun Hur (Me!!)

Thank you so much for stopping by. Hope you have enjoyed my cards and many new PPP birthday-themed products.

Keep smiling and be blessed! God bless you all!
Love Love Love RejoicingCrafts
Floral Friday: Waffle Flower Poppy Hawthorn

Hello crafty friends!
Wow, it’s already February this year, I hope your January was always happy!

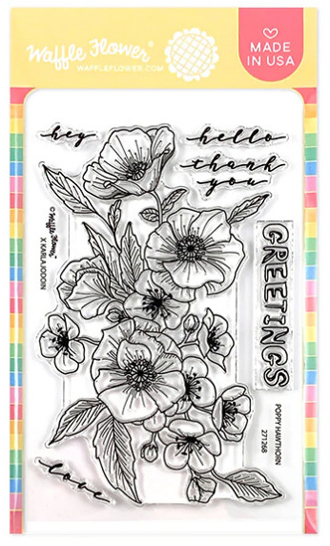
I will start the Floral Friday in February with the Waffle Flower Poppy Hawthorn stamp set – as soon as I saw this flower image, it captivated my heart!

Waffle Flower Poppy Hawthorn stamp set


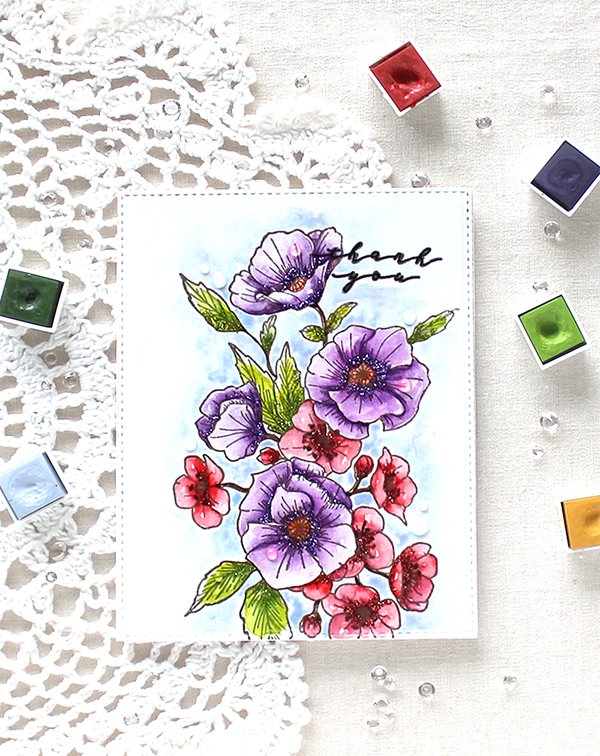
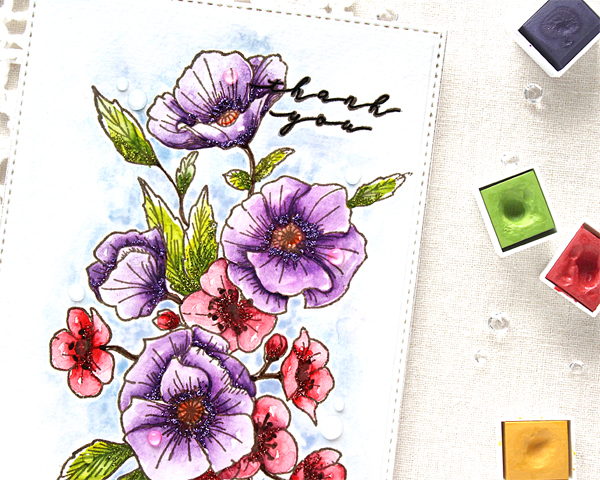
With this beautiful flower set, I made a watercolour card. I stamped the large flower image onto watercolour paper using VersaFine Vintage Sepia pigment ink first, and then watercoloured the stamped image with Altenew Watercolors:
Purple flowers: Deep Iris / Red flowers: Crimson
Leaves: Bamboo, Forest Glades / Stem: Espresso
Background: Caribbean Sky

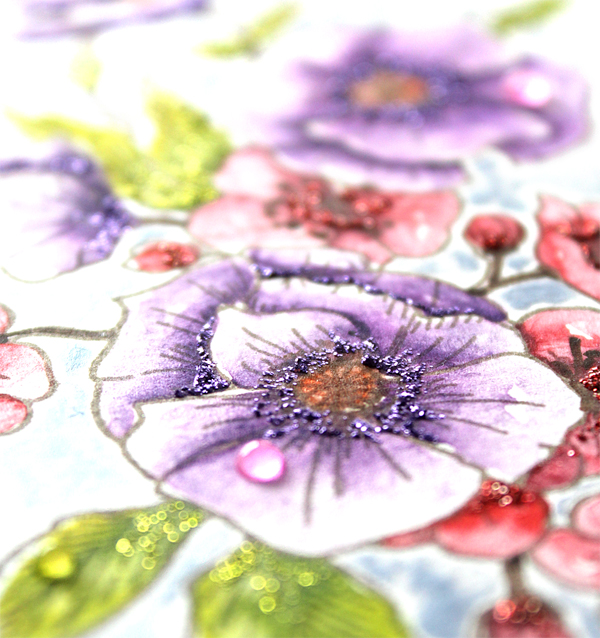
Once the watercoloured floral panel was dry, I added water drops and glitters. Adding glitters make the flower image more beautiful!! I’ve learned this technique from Melissa Phillips. Her glittery flowers are really stunning as shown in the picture below:


I stamped the “Thank you” sentiment on the top right corner on the panel using VersaFine Vintage Sepia pigment ink.

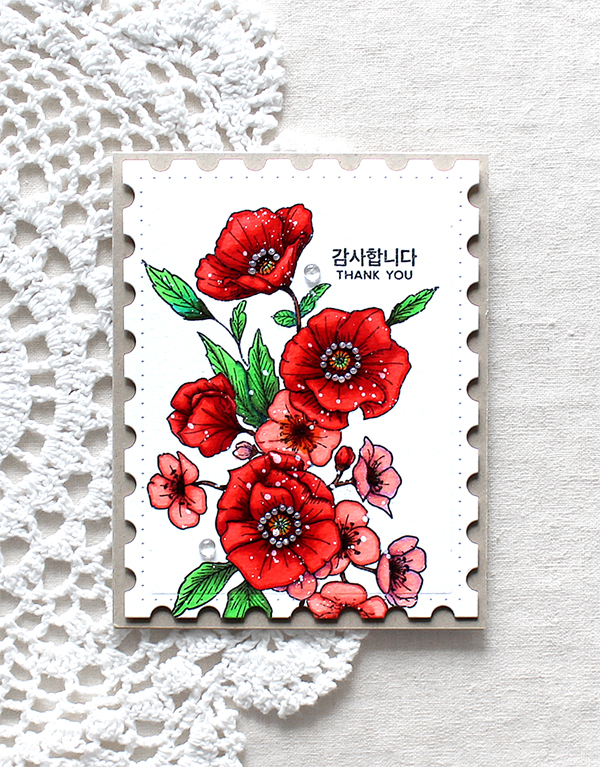
This red flower card is that I made in December last year. At that time, I used Copic markers to colour the flower image. :D


Thank you so much for stopping by. Have a wonderful day!

Keep smiling and be blessed! God bless you all!
Love Love Love RejoicingCrafts
PPP Valentine Theme Week

Hello crafty friends!
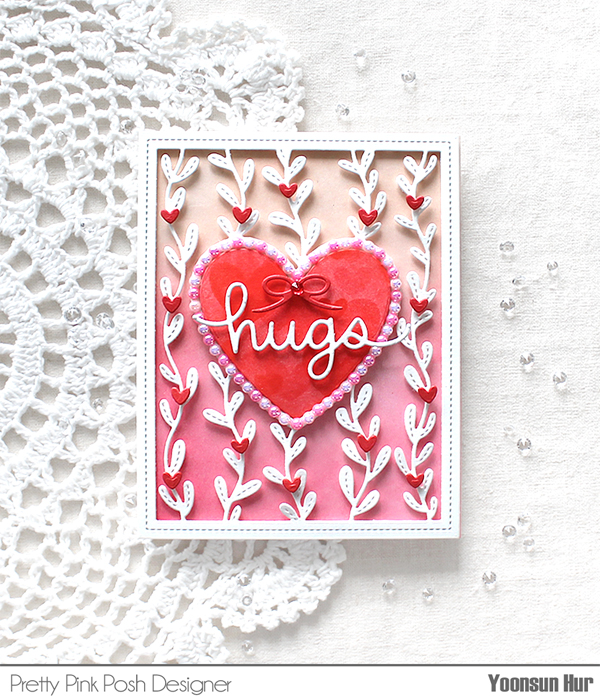
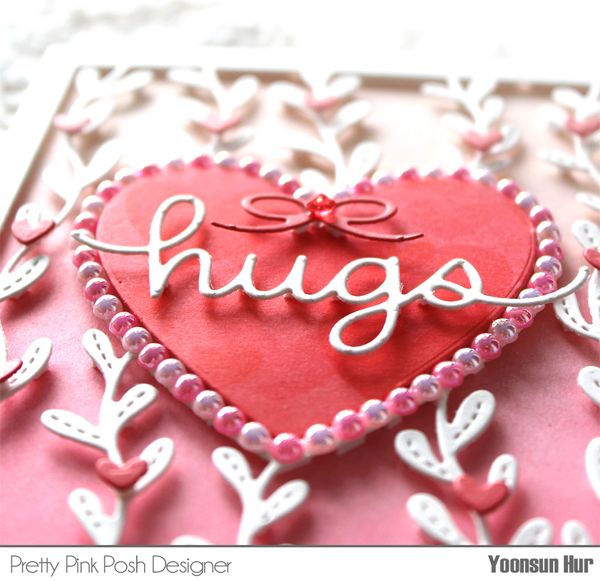
Today I have a love-themed card with PPP Valentine’s Day products.

Save 15% OFF items in the Valentine section during this week!

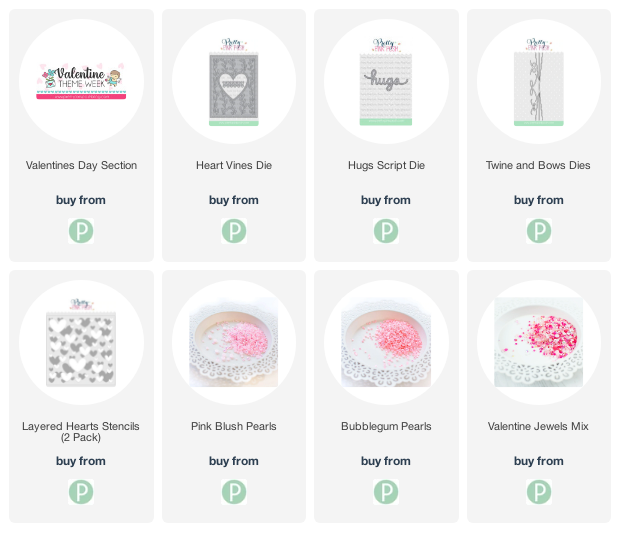
Pretty Pink Posh Heart Vines die is one of my favourite items. It’s a perfect for making love-themed cards!

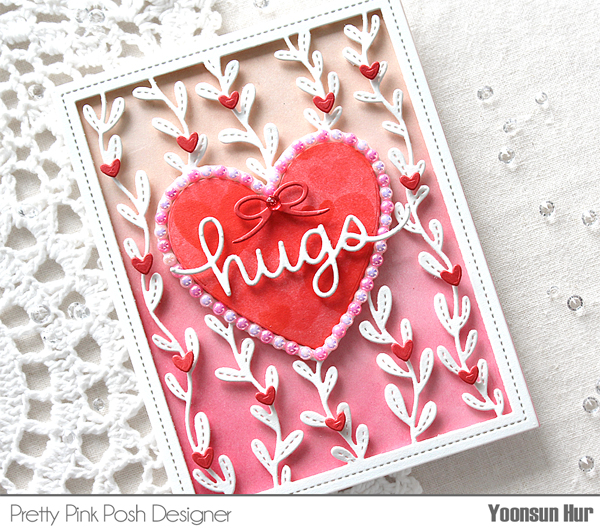
I started by ink blending an A2 sized white card base with Tattered Rose & Worn Lipstick Distress inks. I then die cut the Heart Vines from thick white cardstock, tiny hearts from red cardstock. I made a pink heart background for the centre of the card using the Layered Hearts Stencils and Picked Raspberry & Worn Lipstick Distress inks.

I mounted the Heart Vines panel, tiny red hearts and pink heart shape onto the card front using foam tape, and then decorated the edge of pink heart with Pink Blush & Bubblegum Pearls. For the sentiment, I used the Hugs Script die.

Sending hugs to you all!

Thank you so much for stopping by. Have a wonderful day!

Keep smiling and be blessed! God bless you all!
Love Love Love RejoicingCrafts