Hello crafty friends, I hope you had a wonderful weekend!
Welcome to the My Favorite Things March Release Countdown Day 2.
 Today I am sharing with you the cards that I’ve made using Sweet Succulents and Get Down to Business stamp sets.
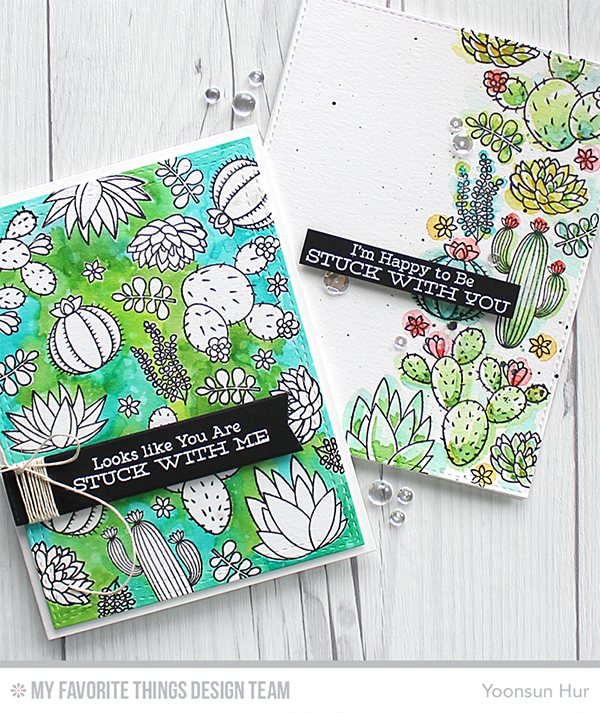
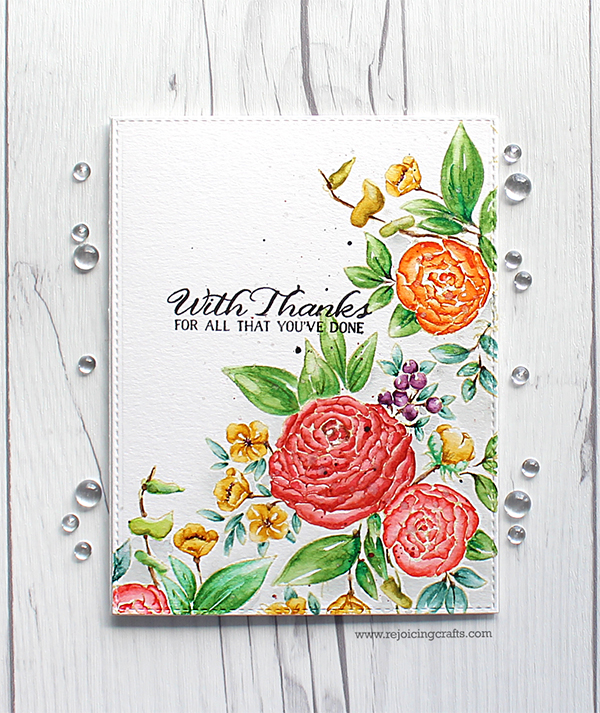
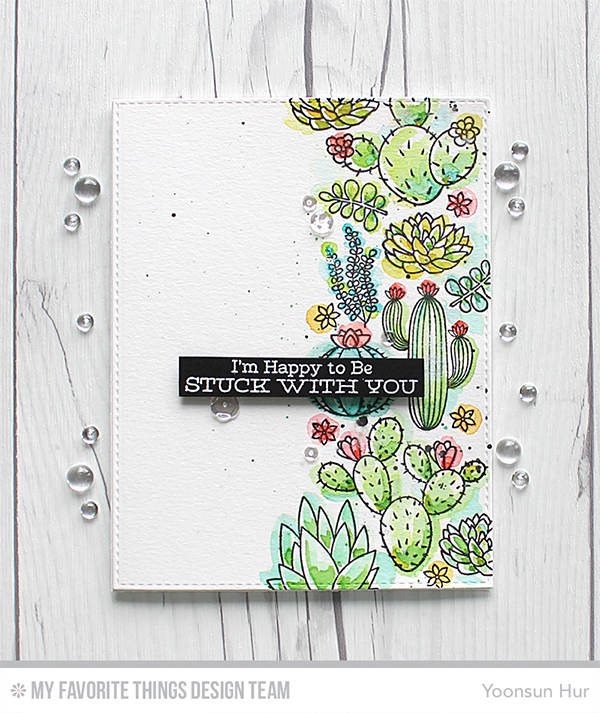 For my first card, I made loose watercolour succulents card. First I 1) Stamped the succulents from Sweet Succulents set onto watercolour paper panel in pigment black. 2) Coloured them (loosely) with Distress inks using water brush – I used Crushed Olive, Evergreen Bough, Mowed Lawn, Peacock Feathers, Tumbled Glass, Twisted Citron, Wild Honey, and Festive Berries Distress inks 3) Spritzed with Ranger Perfect Pearls Mist, then added black ink splatters. 4) White heat embossed the sentiment on black card stock. 5) Mounted two panels as shown to A2 white card base using dimensional foam tape. 6) Embellished with a few PPP clear sequins.

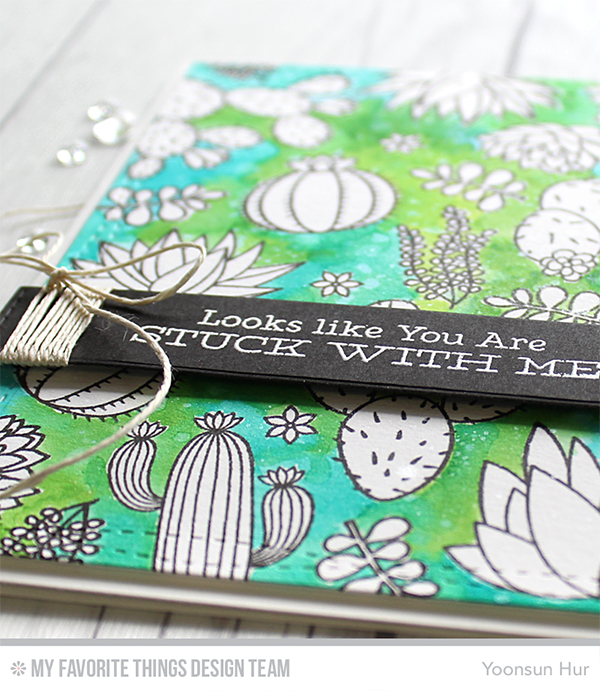
 For my second card with the Sweet Succulents stamp set, I randomly stamped the succulents onto watercolour paper in pigment black ink, then trimmed the panel using Wonky Stitched Rectangle STAX Die-namics. I then painted a background around them using Peacock Feathers and Mowed Lawn Distress inks. I stamped the sentiment from Sweet Succulents set on black card stock using embossing ink, white heat embossed, then die cut it using fishtail banner die in the Blueprints 27 Die-namics. Finally I mounted two panels as shown to A2 white card base using dimensional foam tape.
 For my last card today, I used Get Down to Business stamp set. I stamped the images from Get Down to Business set onto watercolour paper panel using black pigment ink and then coloured them with Peerless watercolours. Oh, this stamp set is perfect for masculine cards!

Make sure to check out MFT Blog for all the info for today along with links to all the other DT member’s blog posts.
See you tomorrow for more countdown fun! Have a wonderful day!
Keep smiling and be blessed! God bless you all!
Love Love Love RejoicingCrafts


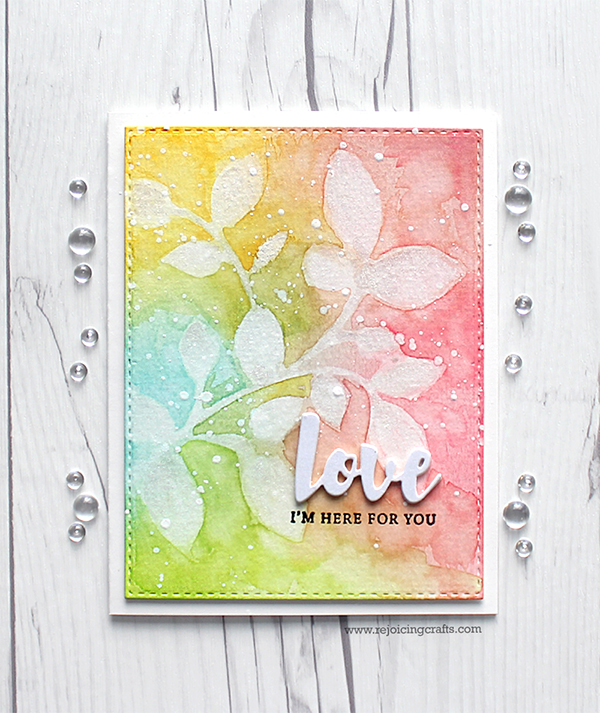 For the background, I 1) Die cut a piece of watercolour paper using
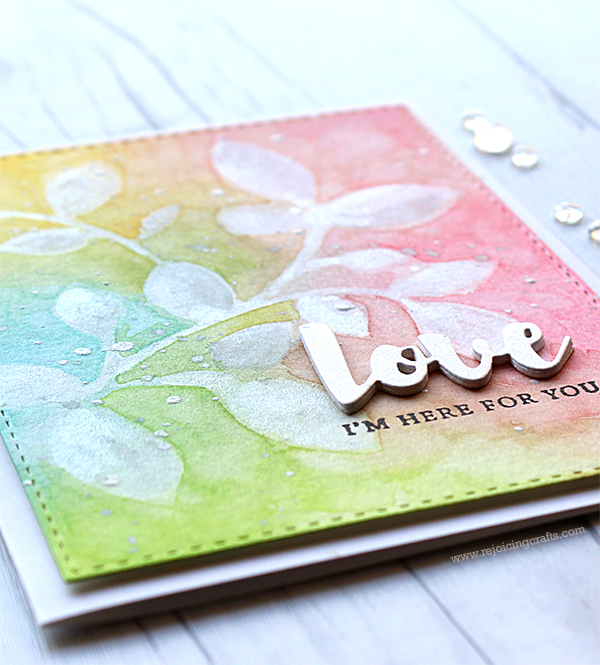


 Today I am featuring the Birdie Brown
  For my first card, I made a watercolour card with the
 Here is another card with the


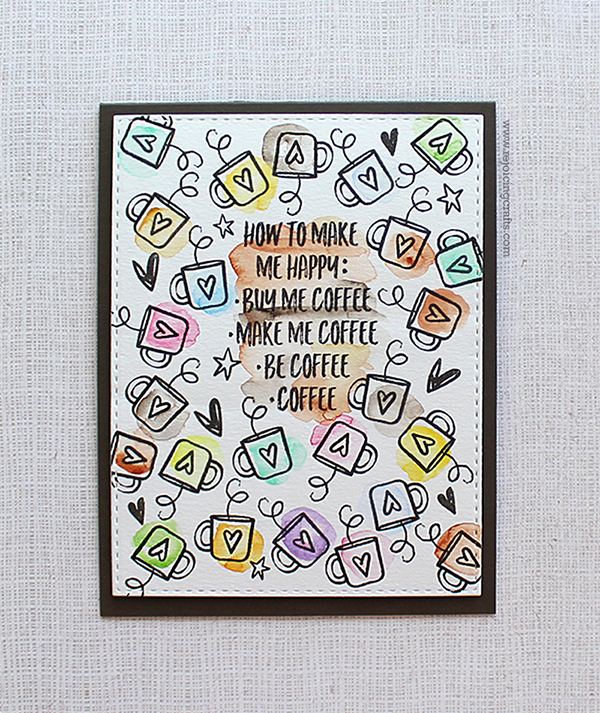 To create this card, I 1) Stamped the sentiment from
 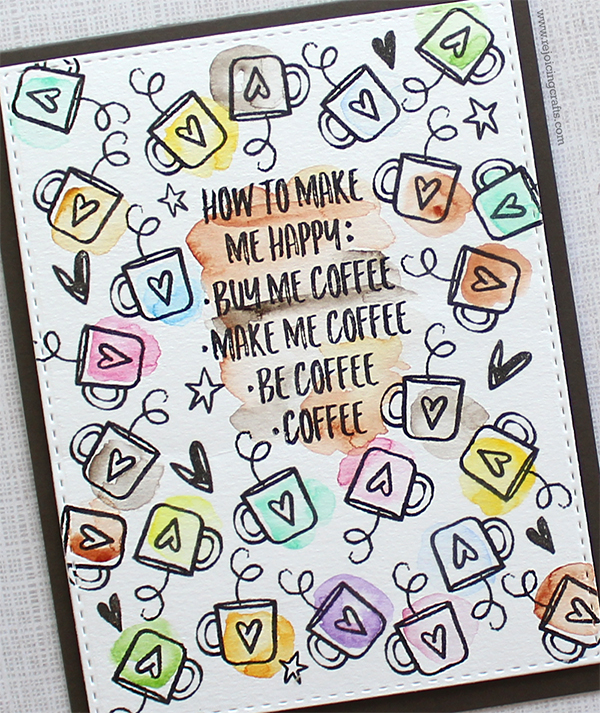 “Don’t Worry, Be Coffee!!”


 With this new