SSS Rainbow floral background

Hello crafty friends!
Today I want to share with you my rainbow flower card with my favourite Simon Says Stamp Leaves Background stamp.
YoonsunHur-20160614-SSS-001rainbowcardchallenge_logoLast week, I was tagged for the Rainbow Card Challenge by my oh-so-talented (seriously amazing) friend Debby Hughes. The Rainbow Card Challenge is that crafty people create a card with rainbow colours and tag two friends for fun! Oh, I love rainbow colours and am so excited to join!!
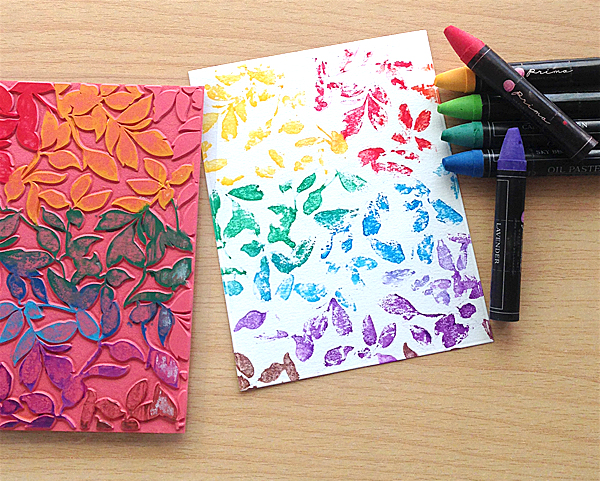
YoonsunHur-20160614-SSS-P01To create my rainbow subtle floral background, I directly coloured the SSS Leaves background stamp using Prima Water Soluble Oil Pastel at first. I then brushed the rainbow coloured background stamp with water using a wet paint brush and then stamped it on watercolour paper panel.
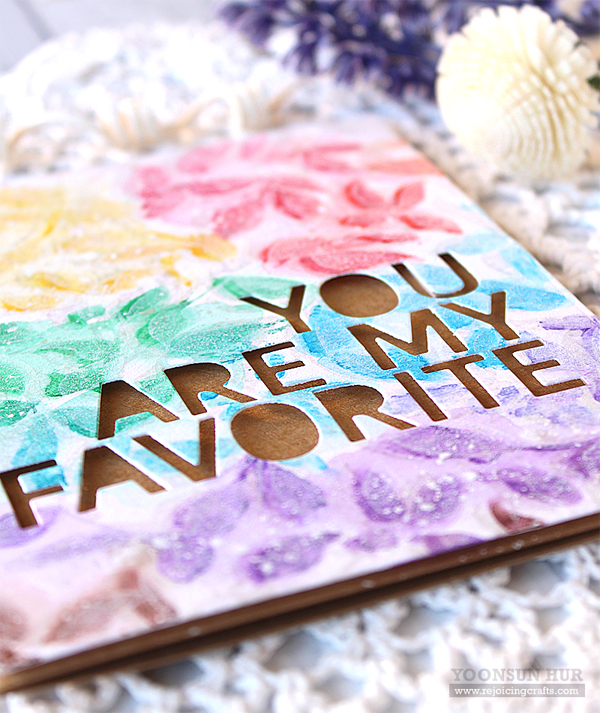
YoonsunHur-20160614-SSS-002Next, I added on the stamped panel a bit of water & white ink splatters. Once dry the panel, I stamped the Leaves Background all over the panel in Versamagic Cloud White opaque pigment ink once again. I die cut the word “YOU ARE MY FAVORITE” and then mounted the panel on kraft card base using dimensional foam tape.
YoonsunHur-20160614-SSS-003

To continue to see the rainbow awesomeness, I am tagging my amazingly talented friends Wanda Guess and Amy Lee – I know these two ladies are so busy at this time but I really wanna see their gorgeous rainbow projects!!

That’s it for today. Thank you so much for stopping by. Happy crafting!

Keep smiling and be blessed! God bless you all!
Love Love Love RejoicingCrafts

http://static.inlinkz.com/ppr.js

Altenew – Beautiful Day

Hello crafty friends, TGIF!
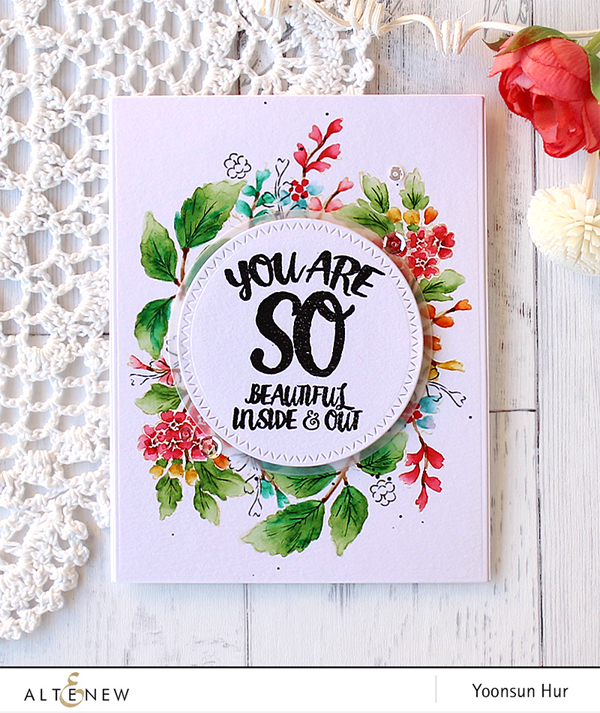
Today I want to share with you my floral wreath card using the Altenew Beautiful Day stamp set.
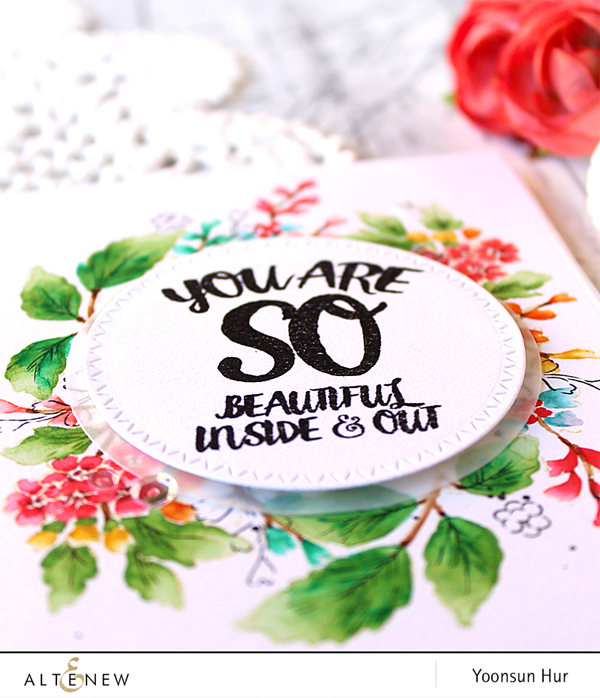
YoonsunHur-20160610-Altenew-002For my card today, I used no-line watercoloring technique. First, I stamped the sentiment from the Oriental Orchid set on white card stock using VersaFine Onyx Black and then trimmed it with circle die. I positioned the sentiment panel at the centre of watercolour panel, then traced a circle on it very lightly with a pencil. Next, I stamped the outlined flowers and leaves from the Beautiful Day set around the circle using Antique Linen Distress ink – I created my own floral wreath. Then, I watercoloured them with Distress markers:
Red & Orange flowers: Festive Berries, Barn Door, Fired Brick, Abandoned Coral, Carved Pumpkin
Yellow flowers: Fossilized Amber
Leaves: Mowed Lawn, Lucky Clover, Peacock Feathers
Stem: Vintage Photo
Once dry the coloured panel, I mounted it on an A2 sized white card base using double-sided tape first, and then layered the vellum circle & sentiment circle die cuts using dimensional foam tape. To finish it off, I embellished with a few PPP clear sequins.
YoonsunHur-20160610-Altenew-003

Thank you so much for stopping by. Happy crafting!!

Keep smiling and be blessed! God bless you all!
Love Love Love RejoicingCrafts

http://static.inlinkz.com/ppr.js

Clearly Besotted – To Have and To Hold

Hello crafty friends, happy Thursday!
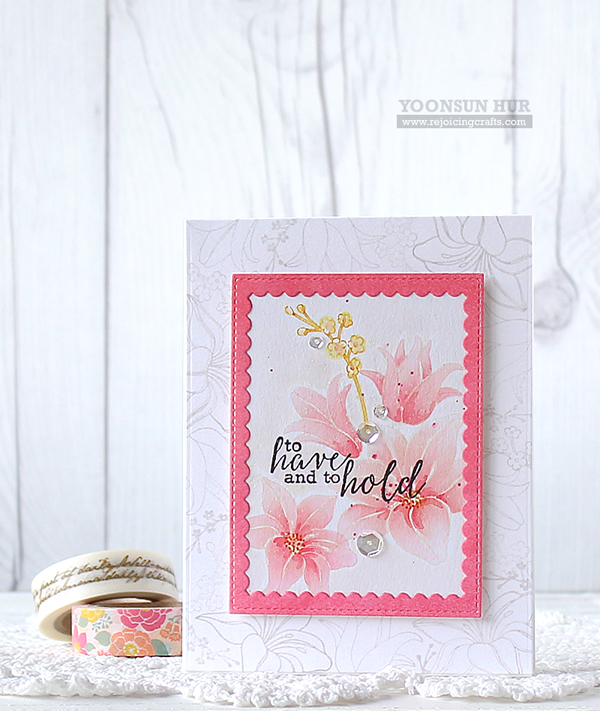
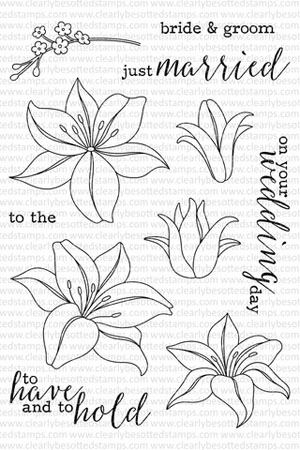
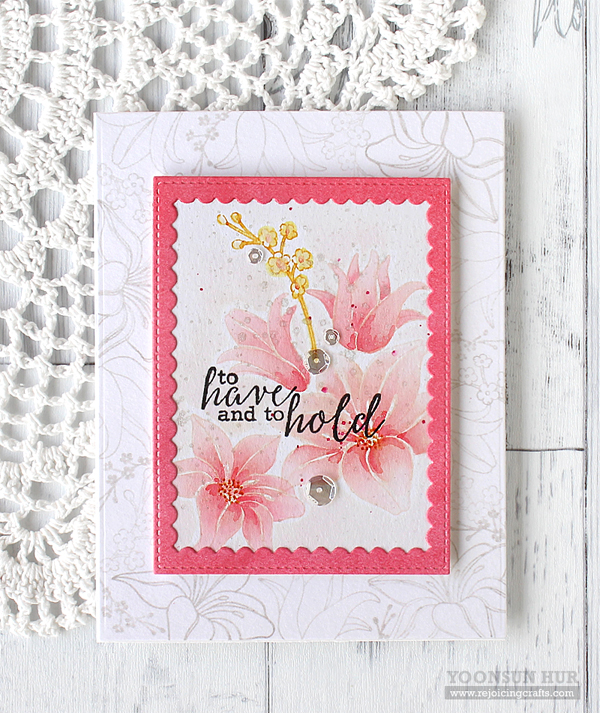
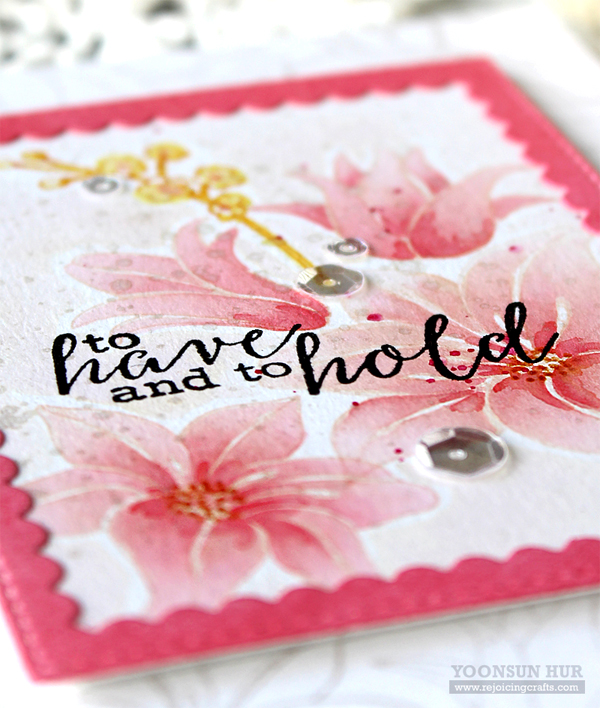
Today I want to share with you my wedding card with so beautiful Clearly Besotted To Have & To Hold Stamp Set.
YoonsunHur-20160609-CBesotted-001CBesotted-ToHave-ToHoldThe wedding season is in full swing and the cards with these outlined lilies & sentiments can make all beautiful June brides so happy!!
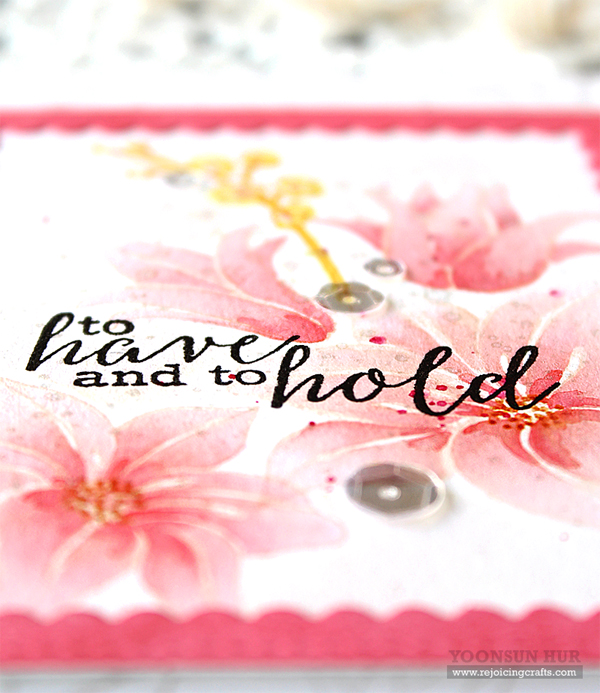
YoonsunHur-20160609-CBesotted-002To create the card, I randomly stamped the flowers from the To Have & To Hold set on white paper panel using SSS Fog Gray dye ink. Next, I stamped the lilies on a separate watercolour paper using Tattered Rose Distress ink, coloured them with Tattered Rose, Worn Lipstick, and Festive Berries Distress inks using waterbrush – I used no-line watercoloring technique. I added the Perfect Pearls Mist all over the coloured panel. Once dry the panel, I stamped the sentiment with VersaFine Onyx Black. For the pink scallop frame, I die cut the frame from white card stock using the PPP Scallop Frames Dies, then inked it with Worn Lipstick Distress ink using a mini ink blending tool. Finally, I mounted all elements as shown to A2 white card base using dimensional foam tape, then embellished with a few PPP clear sequins.
YoonsunHur-20160609-CBesotted-003YoonsunHur-20160609-CBesotted-004That’s it for today. Thank you so much for stopping by. Have a fabulous day!!

Keep smiling and be blessed! God bless you all!
Love Love Love RejoicingCrafts

http://static.inlinkz.com/ppr.js

MFT June Release – New Product Launch

Hello crafty friends!
Welcome to the My Favorite Things new product launch! It’s Time!! All of the new products we’ve been sharing all week are officially available in the MFT Store now!
NewProductLaunchIn June, I am featuring so beautiful Bundles of Blossoms Background Stamp.
MFT-JUNE-NPL-IMGI love, love, love this background stamp so much!!!

YoonsunHur-201606-MFTRC-DAY1-001Yesterday, I shared my card with the Bundles of Blossoms Background Stamp. I heat embossed the whole background in gold and then coloured part of them with Distress inks using waterbrush.

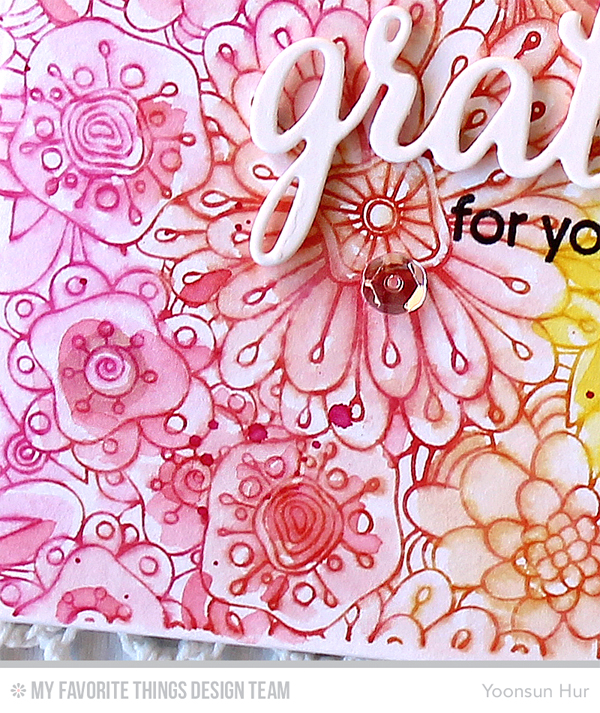
YoonsunHur-201606-MFTRC-NPL-001And today, I am sharing another card with it in a different way. I 1) Inked the Bundles of Blossoms Background stamp using Wild Honey, Victorian Velvet, Festive Berries, Worn Lipstick, and Scattered Straw Distress inks. 2) Stamped & Coloured the whole background on watercolour paper panel using waterbrush – Distress inks react with water. 3) Added some ink splatters. 4) Die cut the word “grateful” from white card stock using the Grateful for You set three times, glued them together using a fine tip glue pen. 5) Mounted all elements as shown to A2 white card base using dimensional foam tape. 6) Embellished with a few PPP clear sequins.
YoonsunHur-201606-MFTRC-NPL-002YoonsunHur-201606-MFTRC-NPL-003YoonsunHur-201606-MFTRC-NPL-004Don’t forget to check out the MFT blog to see all of the amazing projects the creative team has created. You can leave a comment on all of the designer’s New Product Launch posts for a chance to WIN one of two $100 gift vouchers!

Thank you so much for stopping by. Happy crafting!!

Keep smiling and be blessed! God bless you all!
Love Love Love RejoicingCrafts

http://static.inlinkz.com/ppr.js

MFT June Release Countdown – Day 2

Hello crafty friends, happy Monday!
Welcome to the My Favorite Things June Release Countdown Day 2.
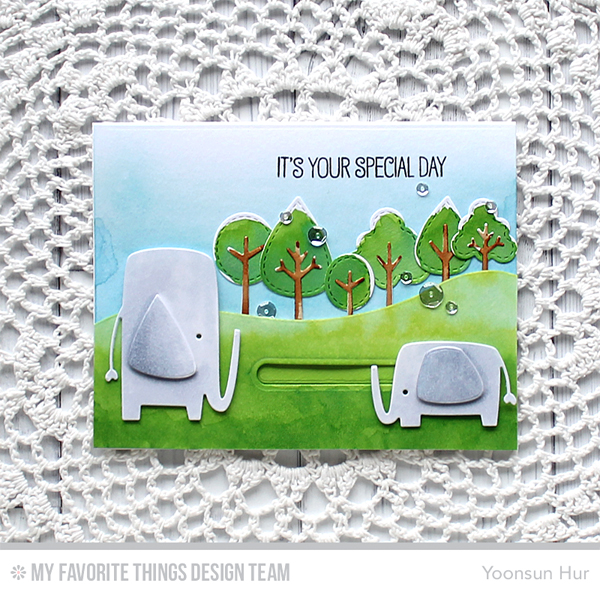
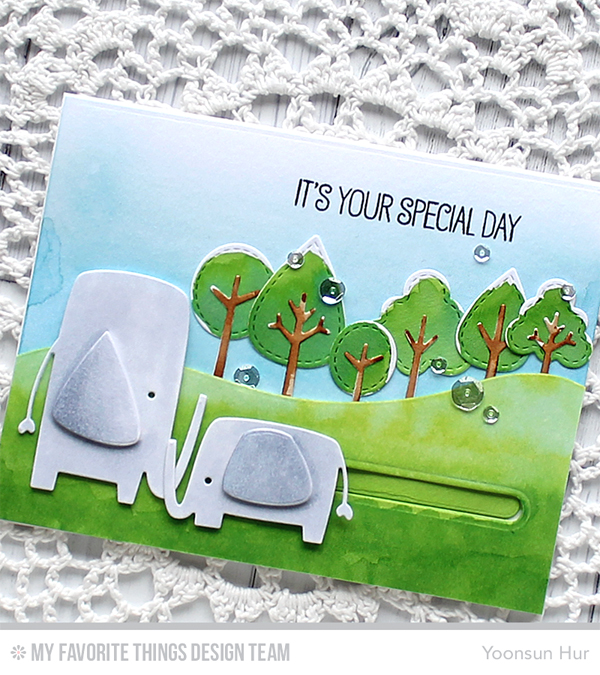
NewReleaseCountdown_Day2My card today featuring the Jungle Friends Stamp Set & Die-namics, Surf & Turf Die-namics, Trees in the Forest Die-namics.
YoonsunHur-201606-MFTRC-DAY2-001To create this card, I die cut the elephants from white card stock using the Jungle Friends Die-namics, coloured them with Copic markers C1 & C3. For the background, I ink blended the hill, Surf & Turf Die-namics, with Twisted Citron & Mowed Lawn Distress inks, the sky with Tumbled Glass Distress ink using a mini ink blending tool. I then die cut the trees from watercolour paper using the Trees in the Forest Die-namics, coloured them with Mowed Lawn & Vintage Photo Distress inks.

For the interactive part, I die cut a slider slot from the ink blended hill using the Surf & Turf Die-namics, two 3/8″ circles from white card stock as well. Next, I adhered one of the circle die cuts to the back of the baby elephant, then also glued the Spin & Slide Disc underneath the circle die cut using double-sided tape. Lastly, I inserted another circle die cut into the slot, then mounted the baby elephant on it.
YoonsunHur-201606-MFTRC-DAY2-002Make sure to check out MFT Blog for all the info for today along with links to all the other DT member’s blog posts.

See you tomorrow for more countdown fun! Have a wonderful day!

Keep smiling and be blessed! God bless you all!
Love Love Love RejoicingCrafts

http://static.inlinkz.com/ppr.js