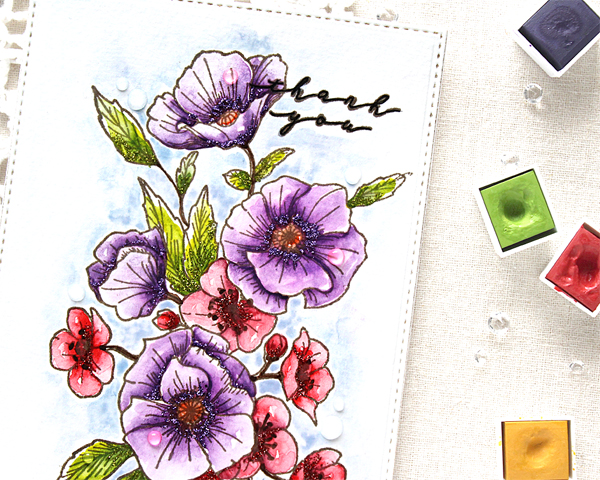
Hello crafty friends!
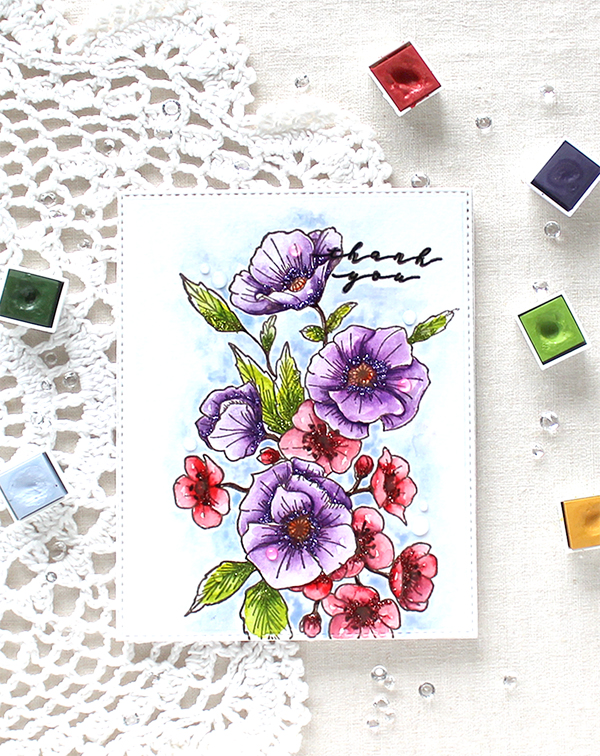
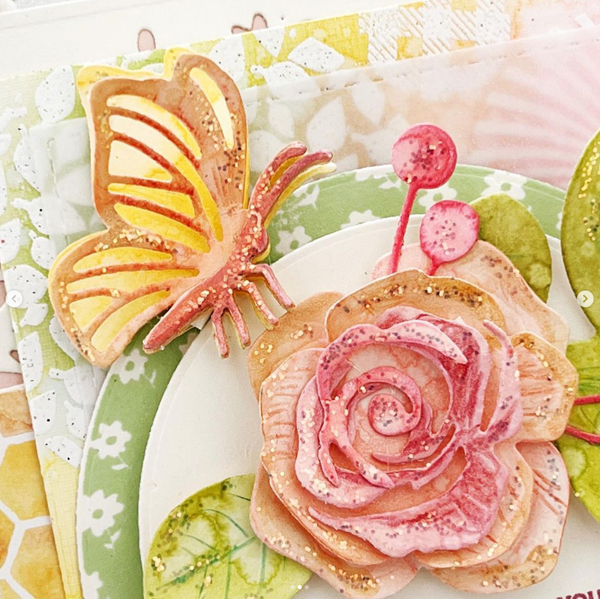
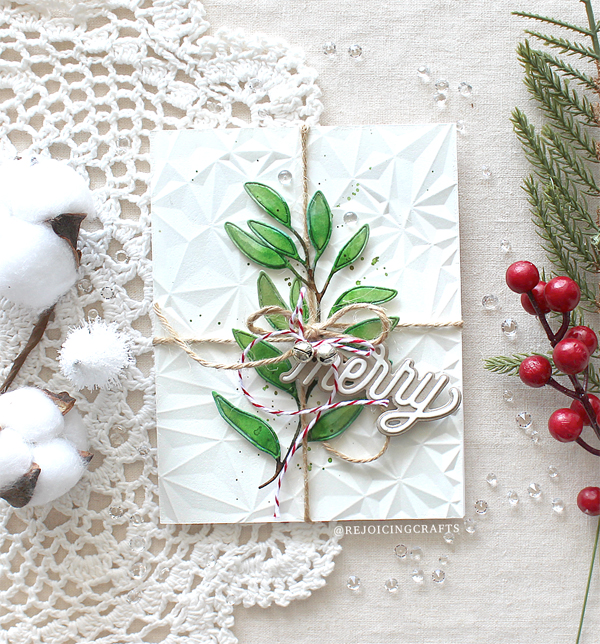
Today I have a floral card with Altenew Garden Picks 3D die set. Altenew has many stunning layered floral dies and the Garden Picks is definitely one of beautiful layered die sets!
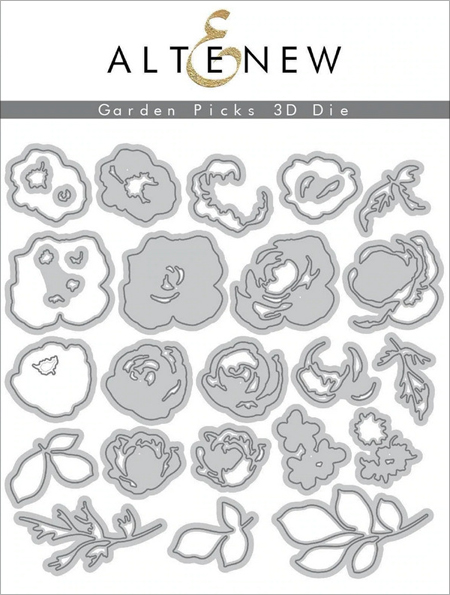
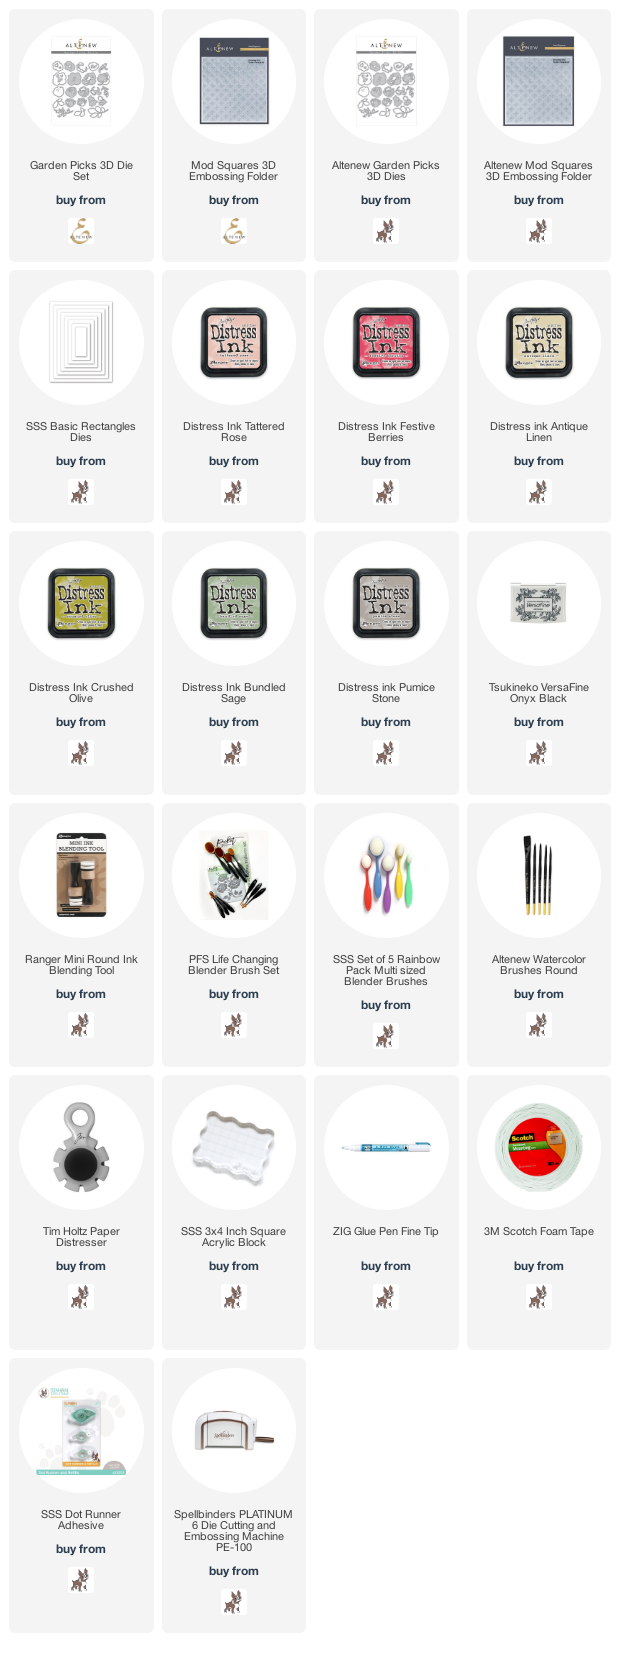
Altenew Garden Picks 3D Die Set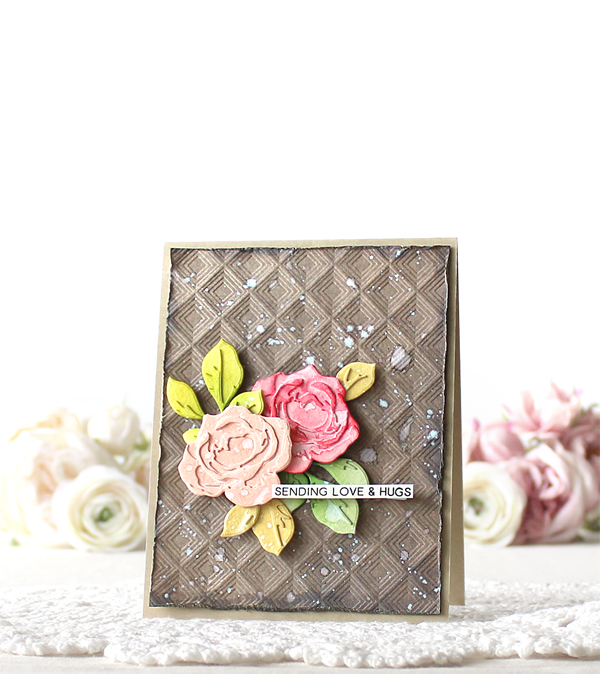
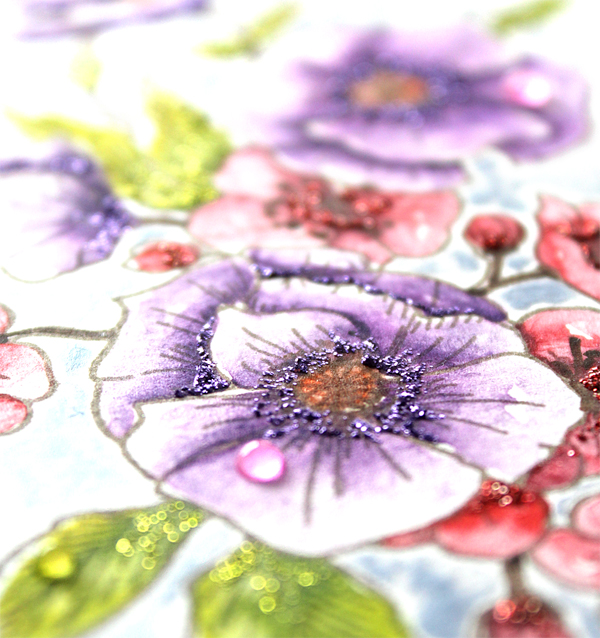
To make this card, I started by die cutting the roses and leaves from watercolour paper using the Altenew Garden Picks 3D dies. I then assembled pieces together using fine tip glue pen – I made layered roses & leaves. I applied Distress inks to each die cut using mini blending tools & blending brushes:
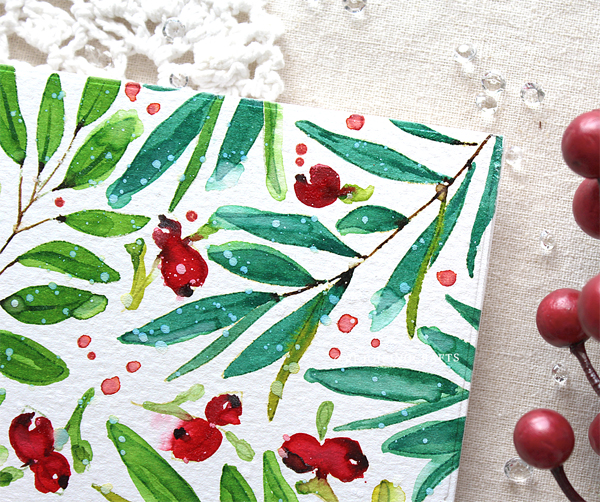
Roses: Tattered Rose (pale pink) & Festive Berries (red)
Leaves: Bundled Sage (muted green), Crushed Olive (bright green)
and Antique Linen (vintage yellow). 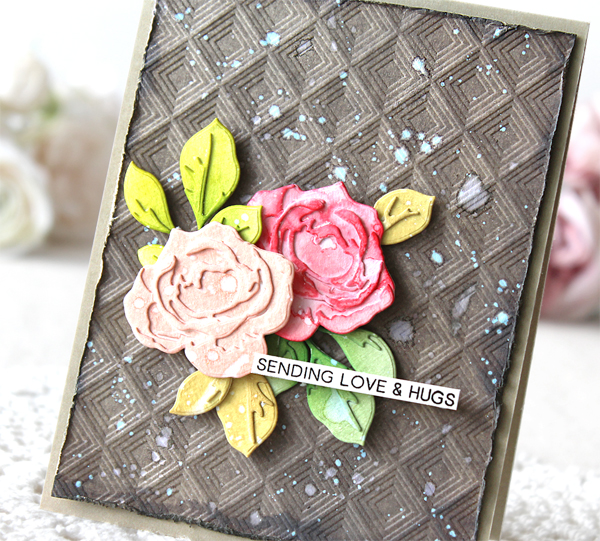
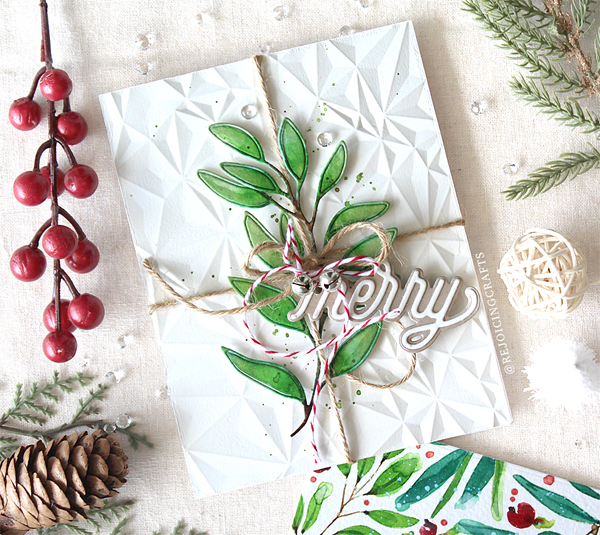
For the background panel, I inked onto watercolour paper panel with Pumice Stone Distress ink first, and then dry embossed the panel with the Altenew Mod Squares 3D Embossing Folder – I love this patterns so much!! I then distressed the edges of the panel using Tim Holtz Paper Distresser.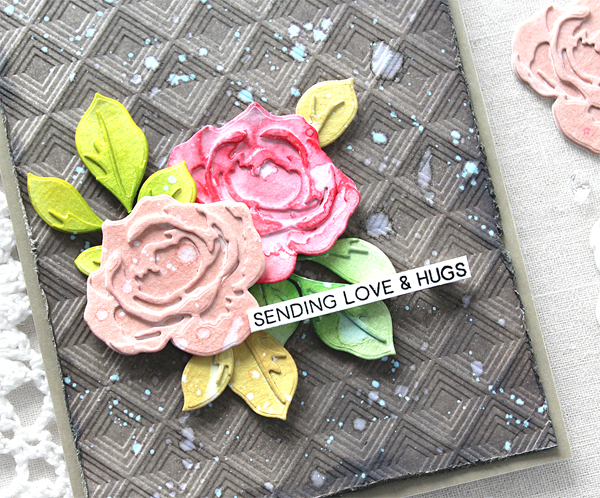
I mounted all elements on khaki card base using foam tape, and then added waterdrops & white ink splatters all around the card. I’m so satisfied with the vintage look! :D
Thank you so much for stopping by. Have a wonderful weekend!
Keep smiling and be blessed! God bless you all!
Love Love Love RejoicingCrafts