Simple Flower Cards

Hello crafty friends!
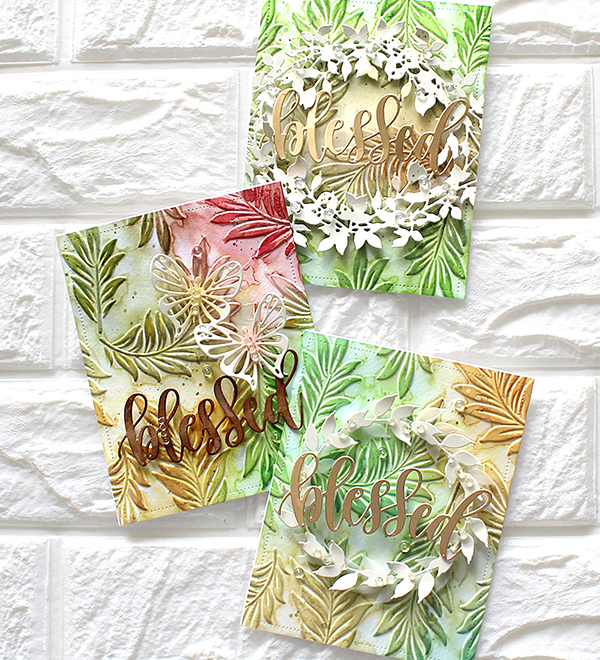
Today I will share with you a couple of simple floral cards with the MFT Stitched Flowers Die-Namics. I’m still obssessed with the MFT Stitched Flowers! ;)


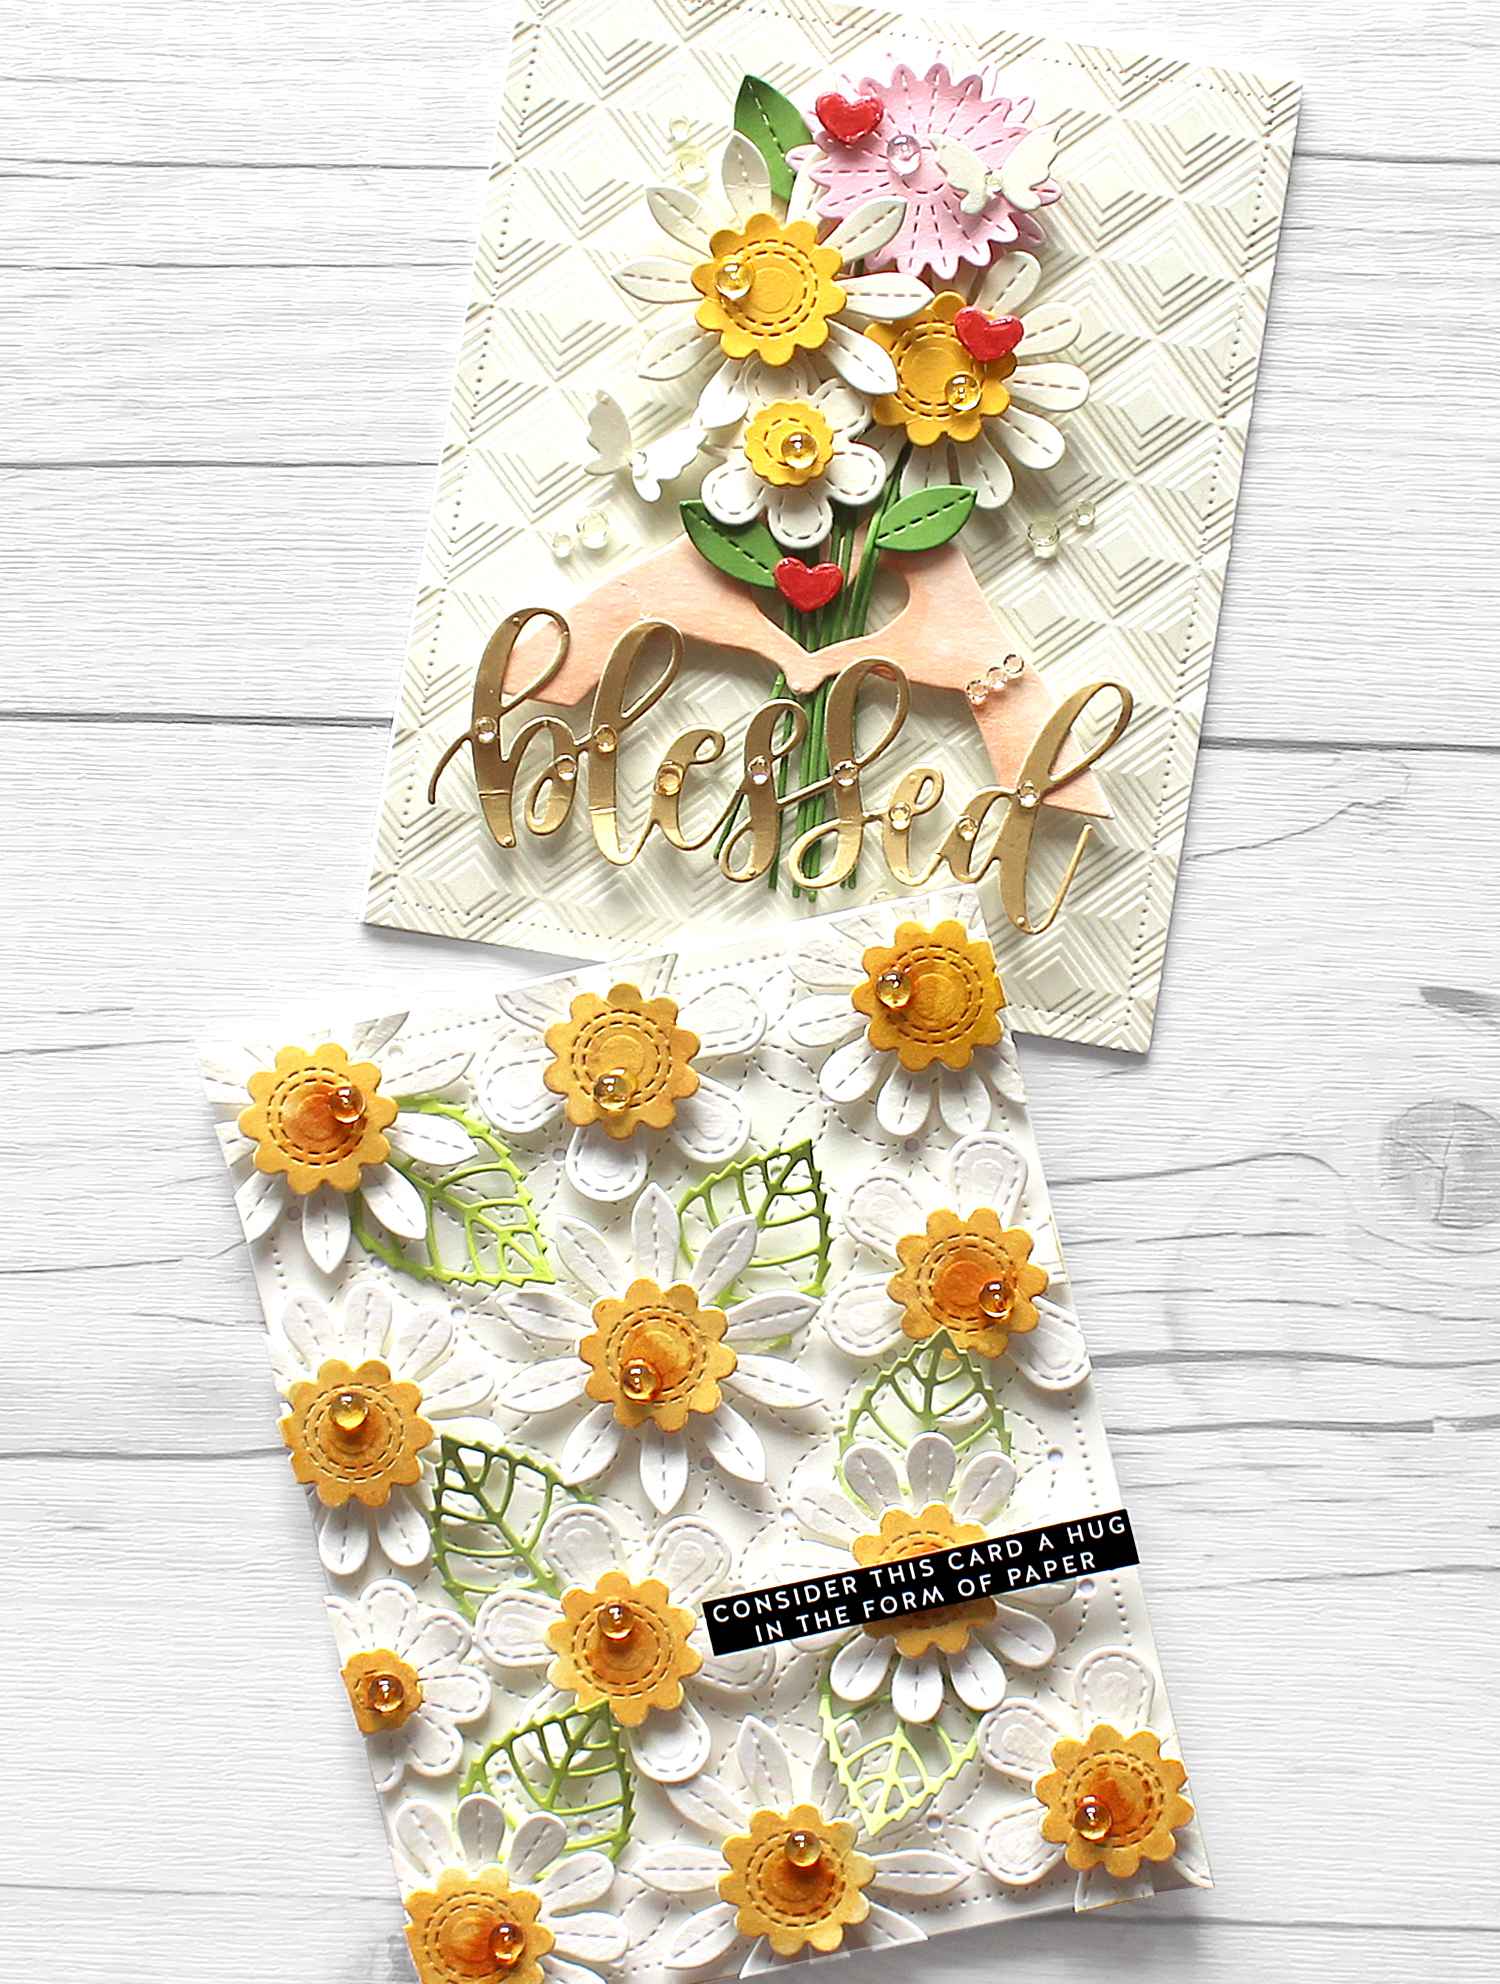
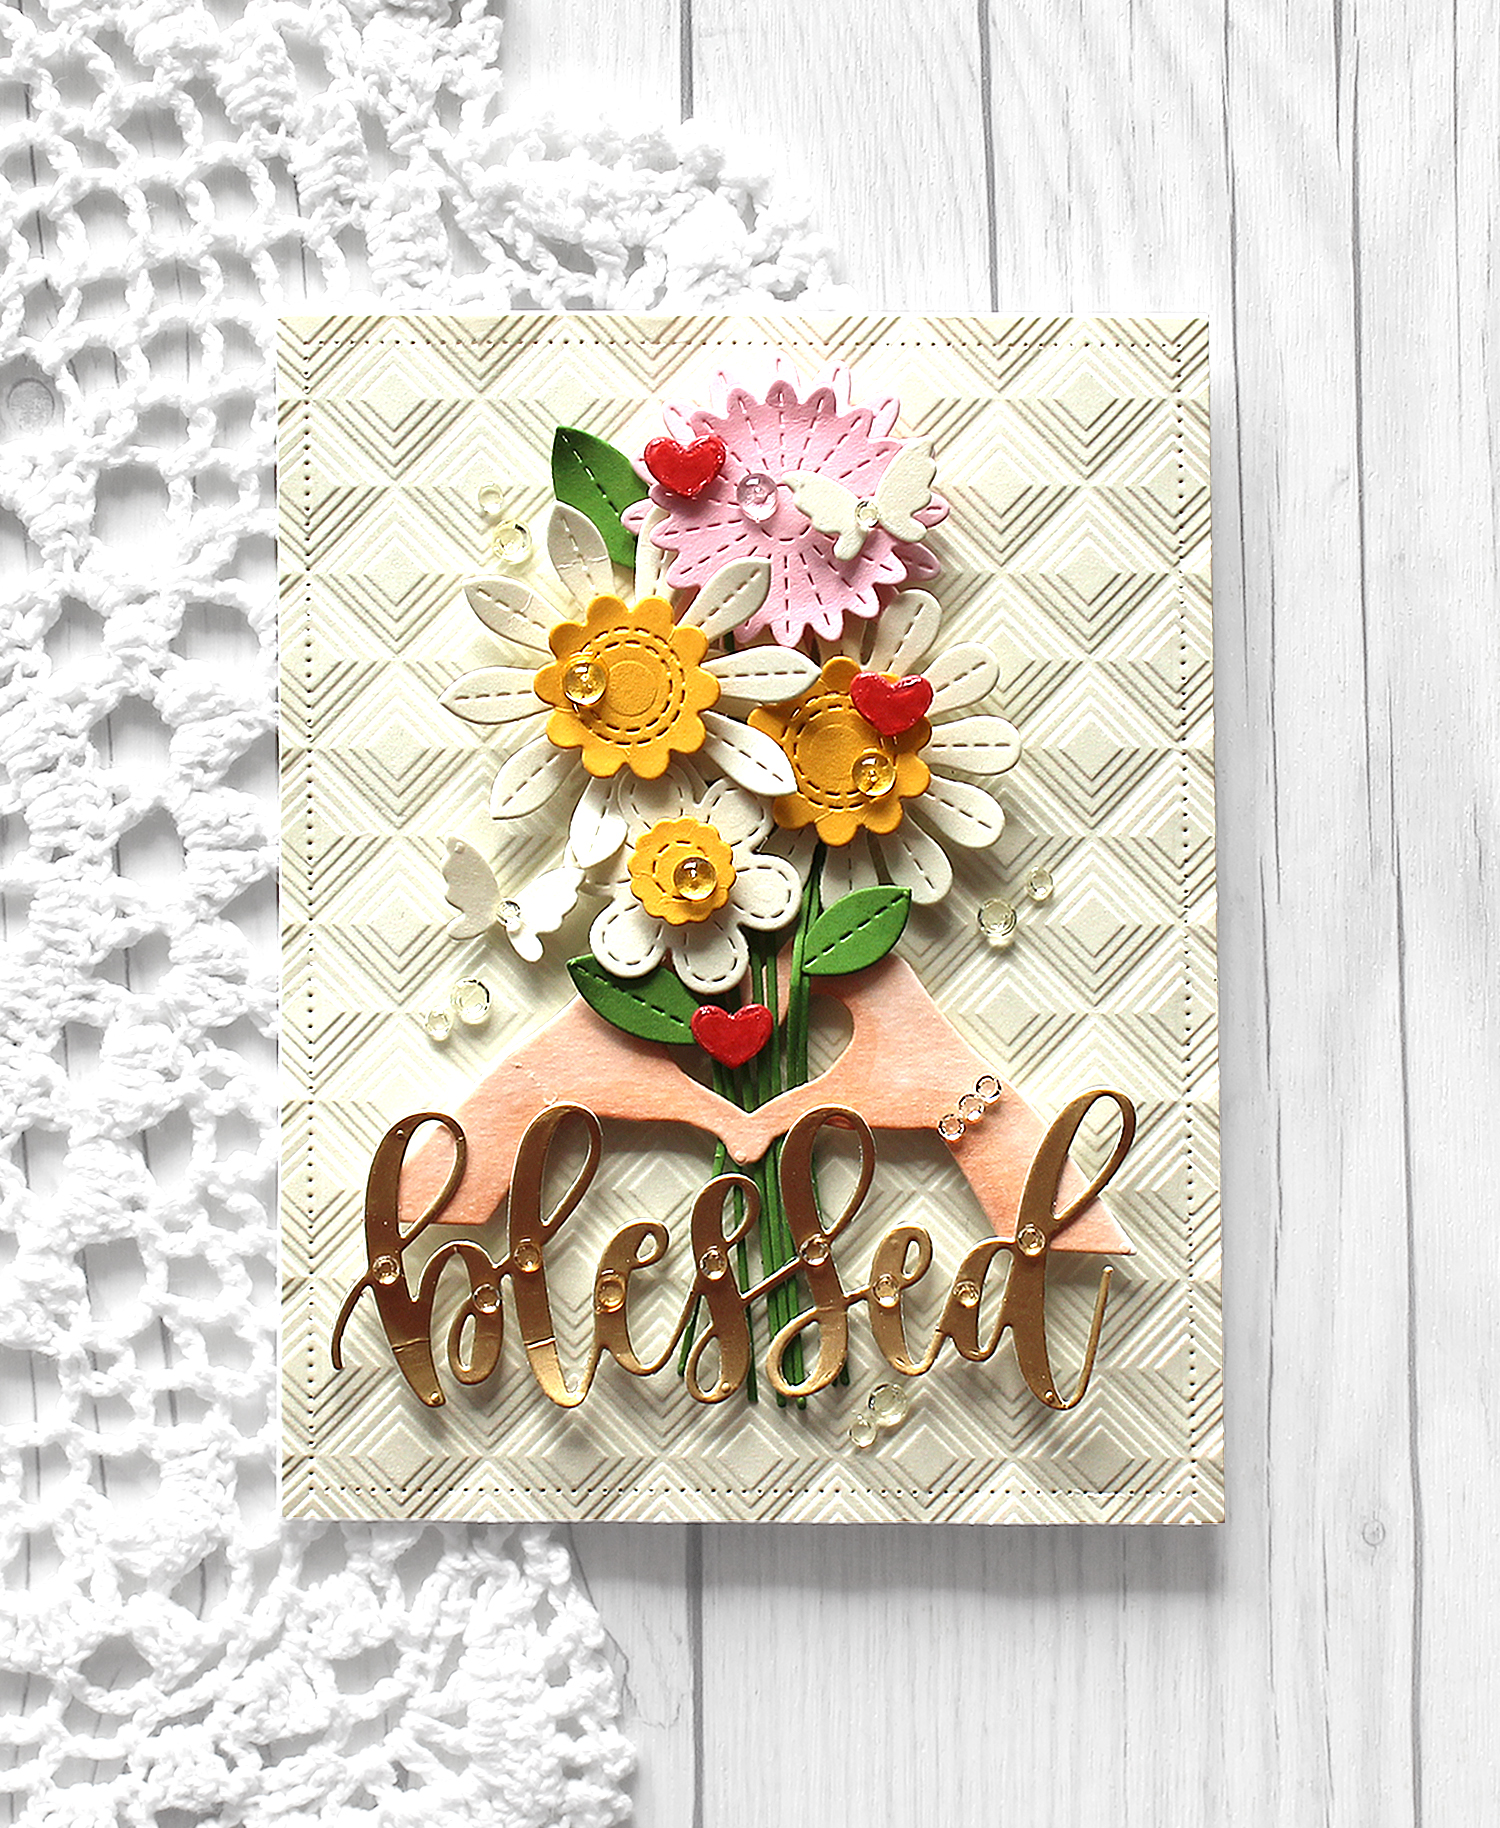
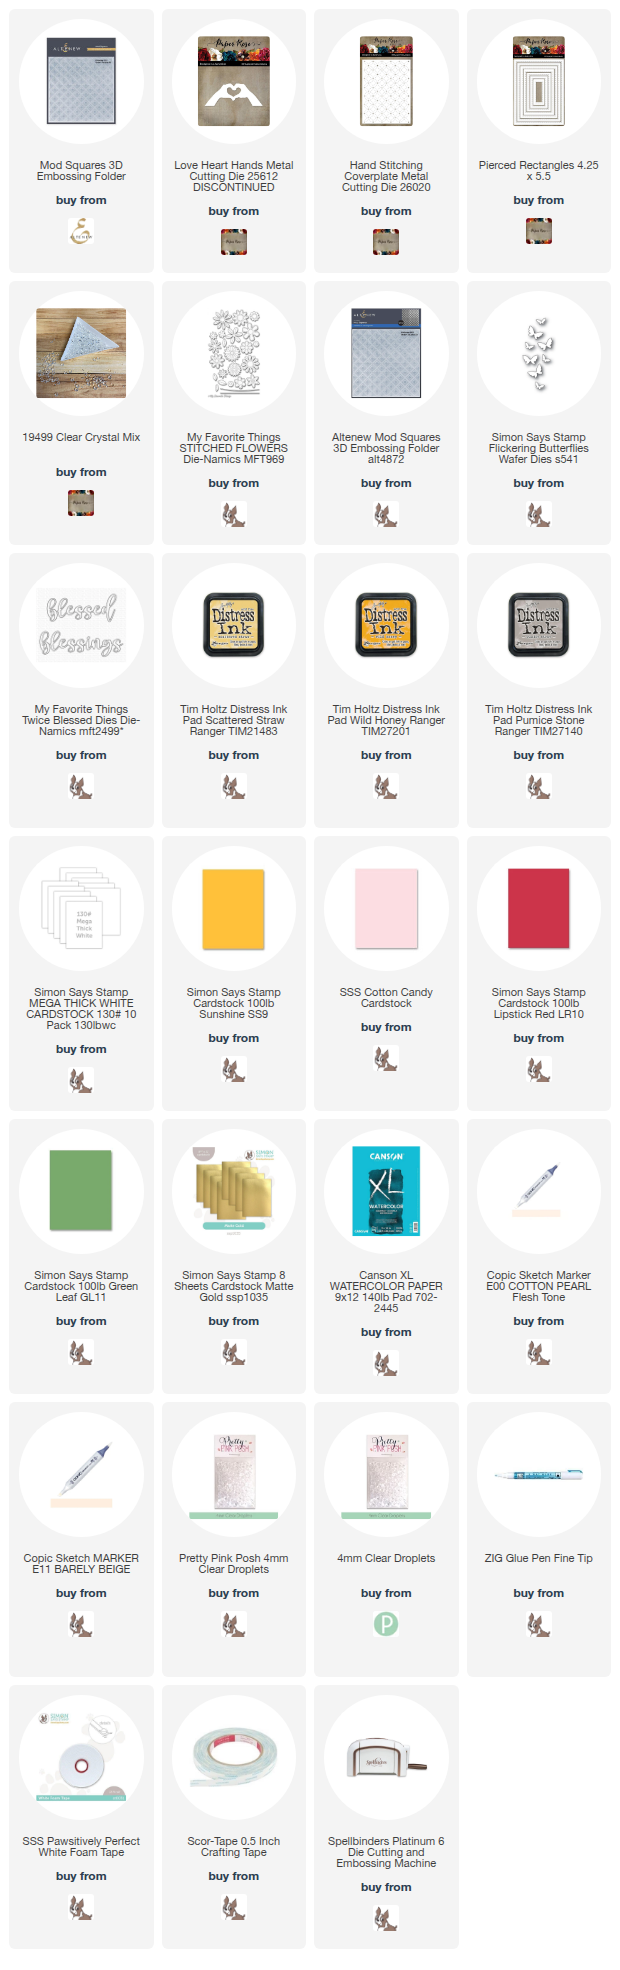
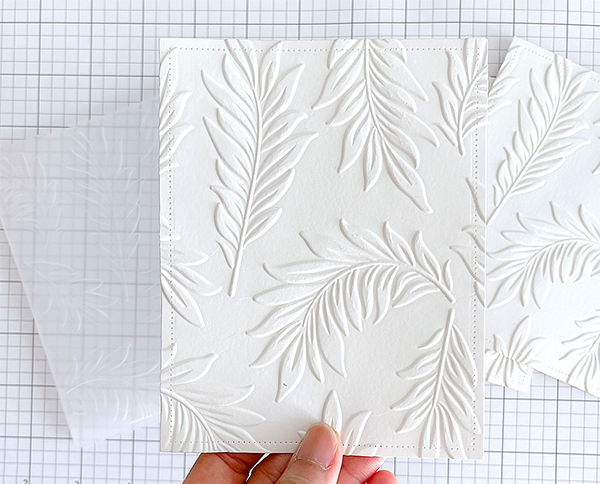
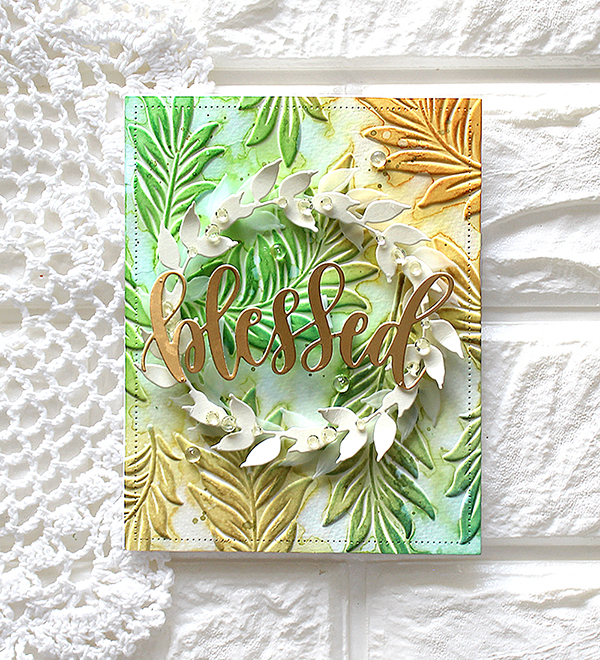
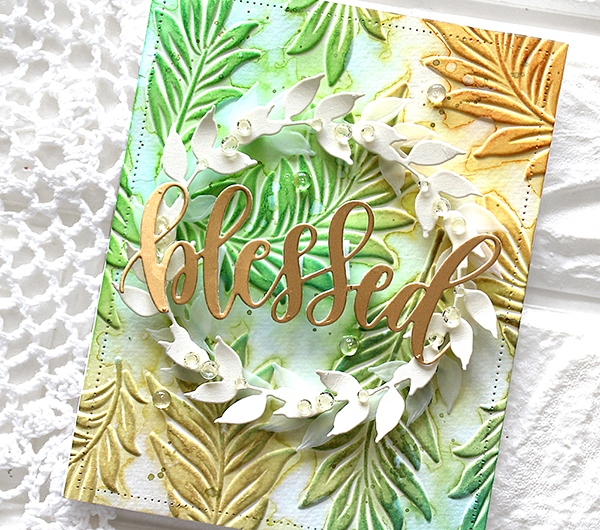
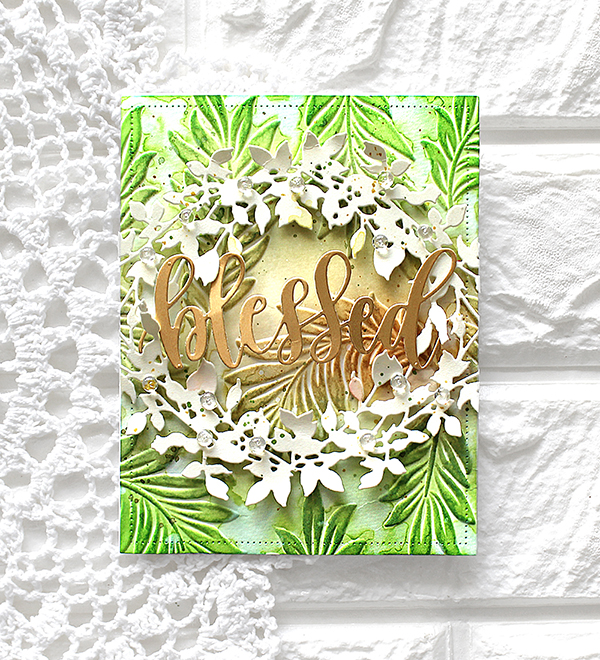
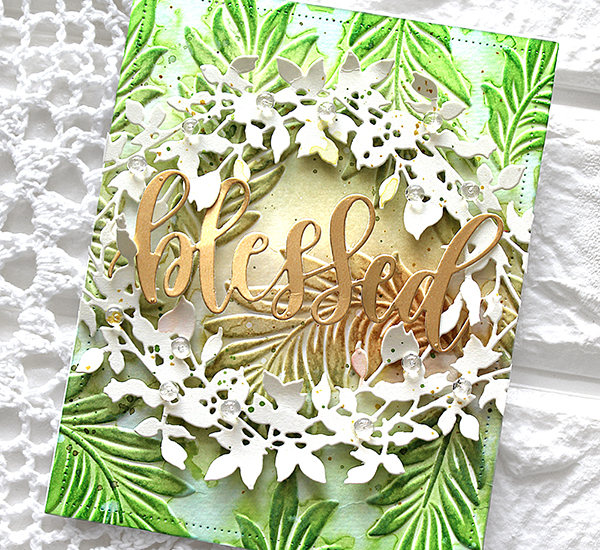
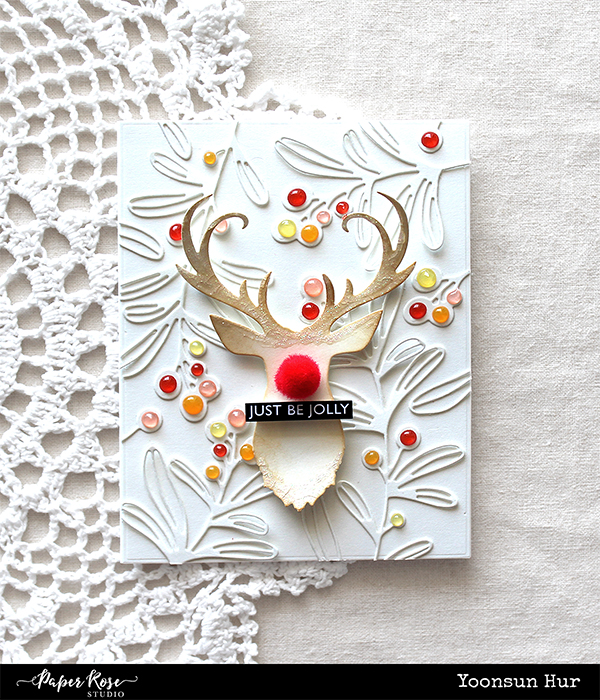
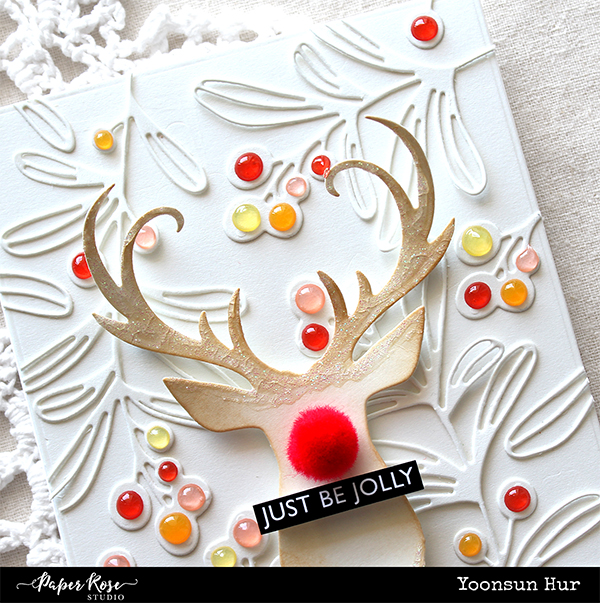
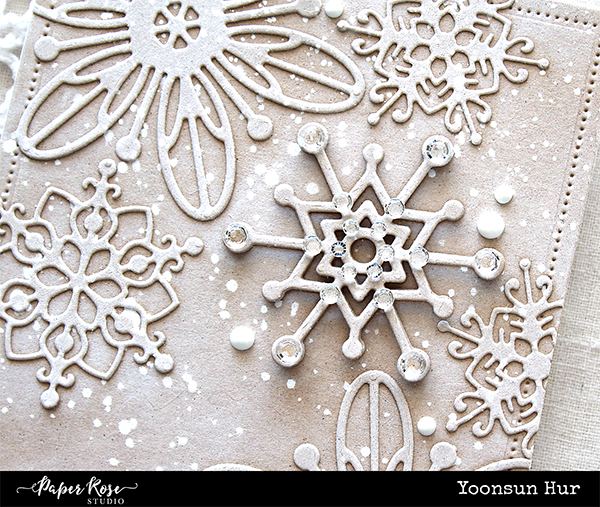
For my first card, I made a card to celebrate a wedding. For the background panel, I die cut from thick white cardstock using an A2 sized Paper Rose Studio Pierced Rectangles Panel die first, then dry embossed the panel using Altenew Mod Squares 3D embossing folder. (By the way, Paper Rose Studio is a craft company based in Australia. As a fellow Australian, I feel so proud to know that such a wonderful craft company is from here. :D)

I die cut several shaped and sized stitched flowers, very thin stems and tiny leaves from assorted colour cardstock using MFT Stitched Flowers Die-Namics. I also cut Love Heart Hands from white cardstock, coloured the die cut with E00 Cotton Pearl & E11 Barely Beige Copic sketch markers. For the sentiment, I die cut from Matte Gold cardstock using MFT Twice Blessed Die-Namics.

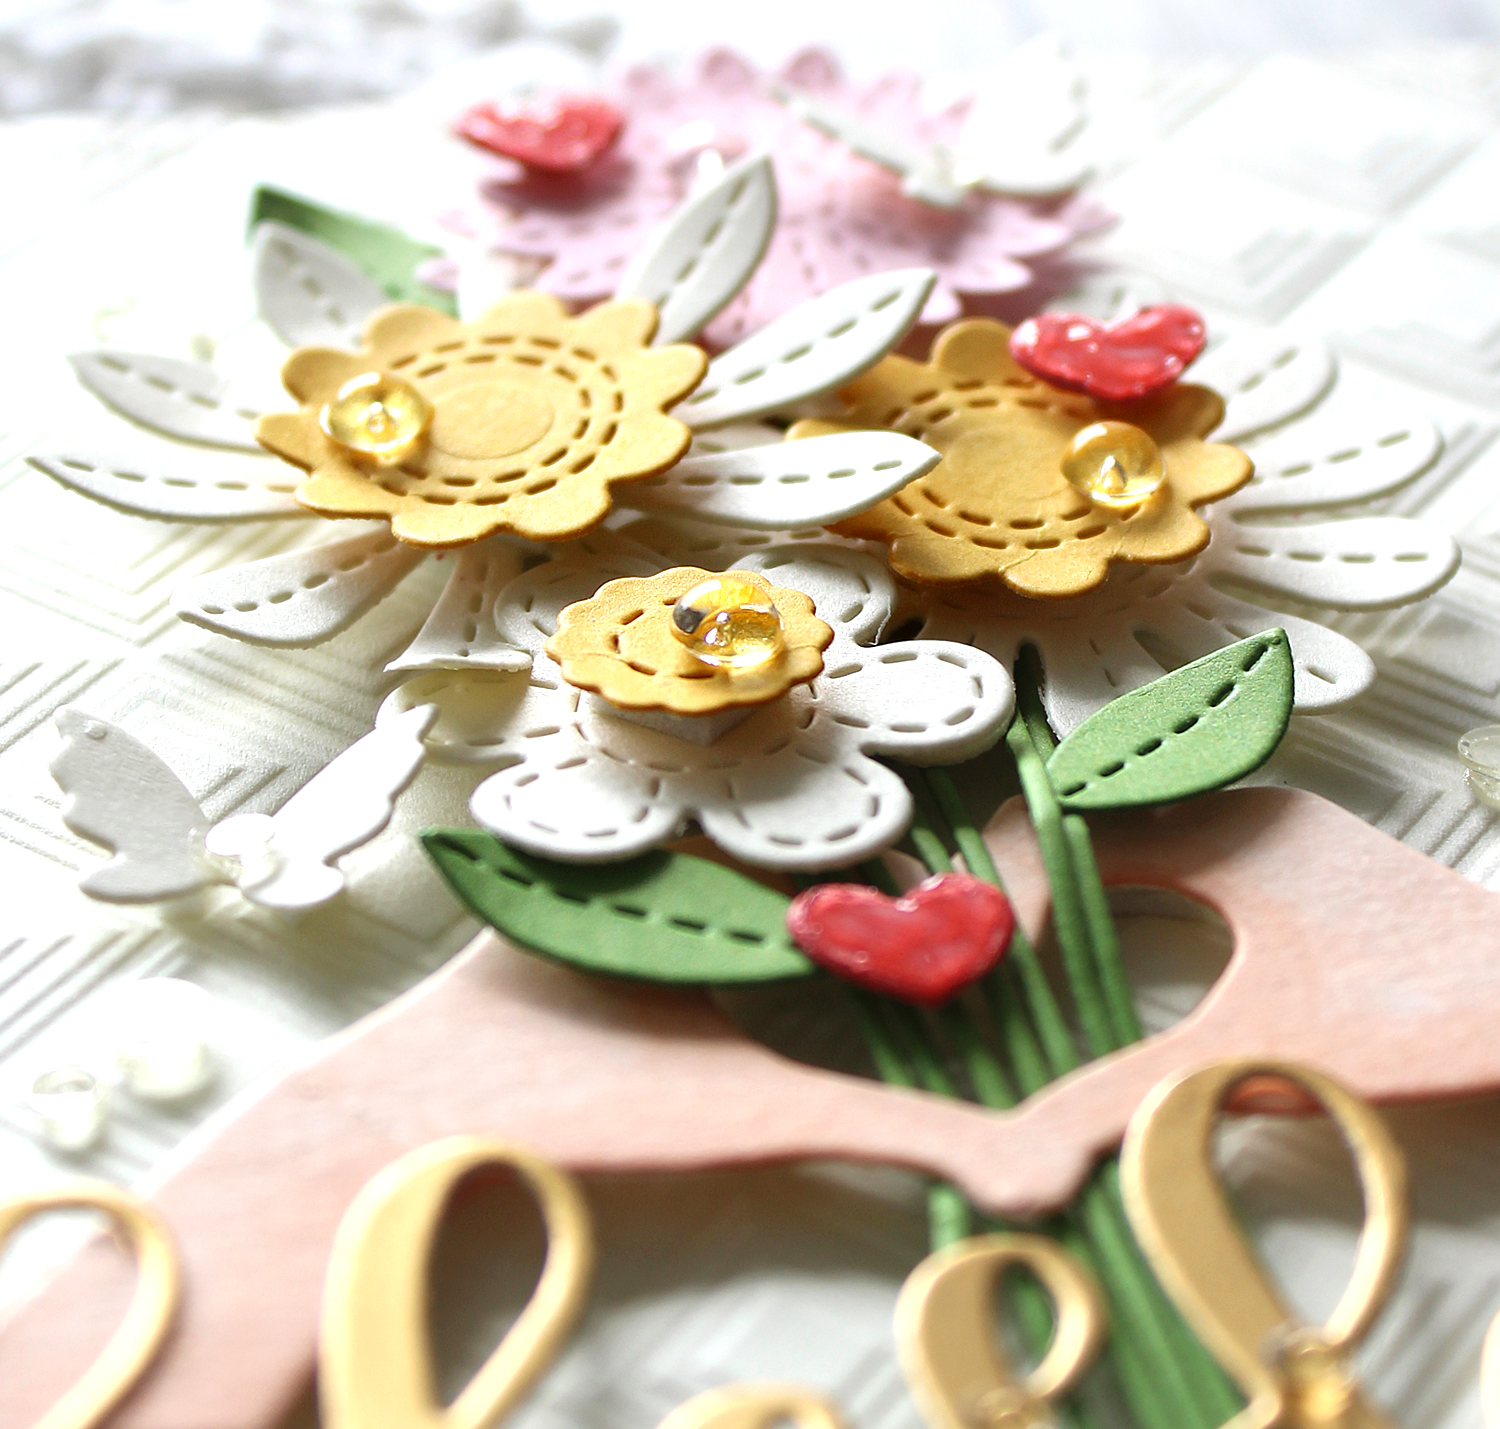
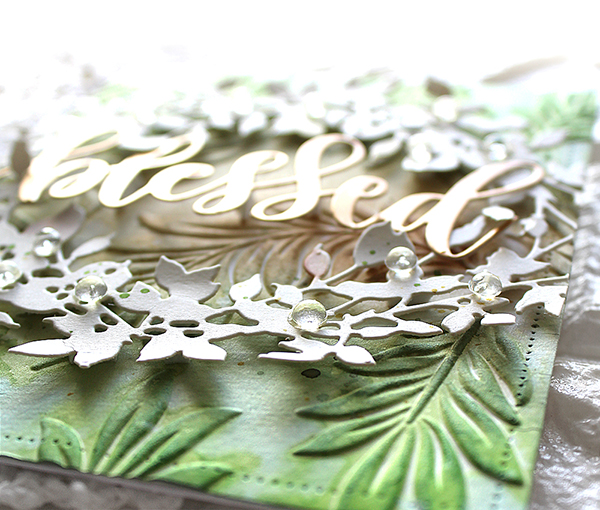
I assembled stitched flowers and leaves to make bouquet using adhesives as you can see the picture, then decorated bouquet, wrist, and gold ‘blessed’ sentiment with Paper Rose Studio Clear Crystals because it’s a card to celebrate a beautiful bride, it’s perfectly fine to add as many sparkling crystals as we can! :D


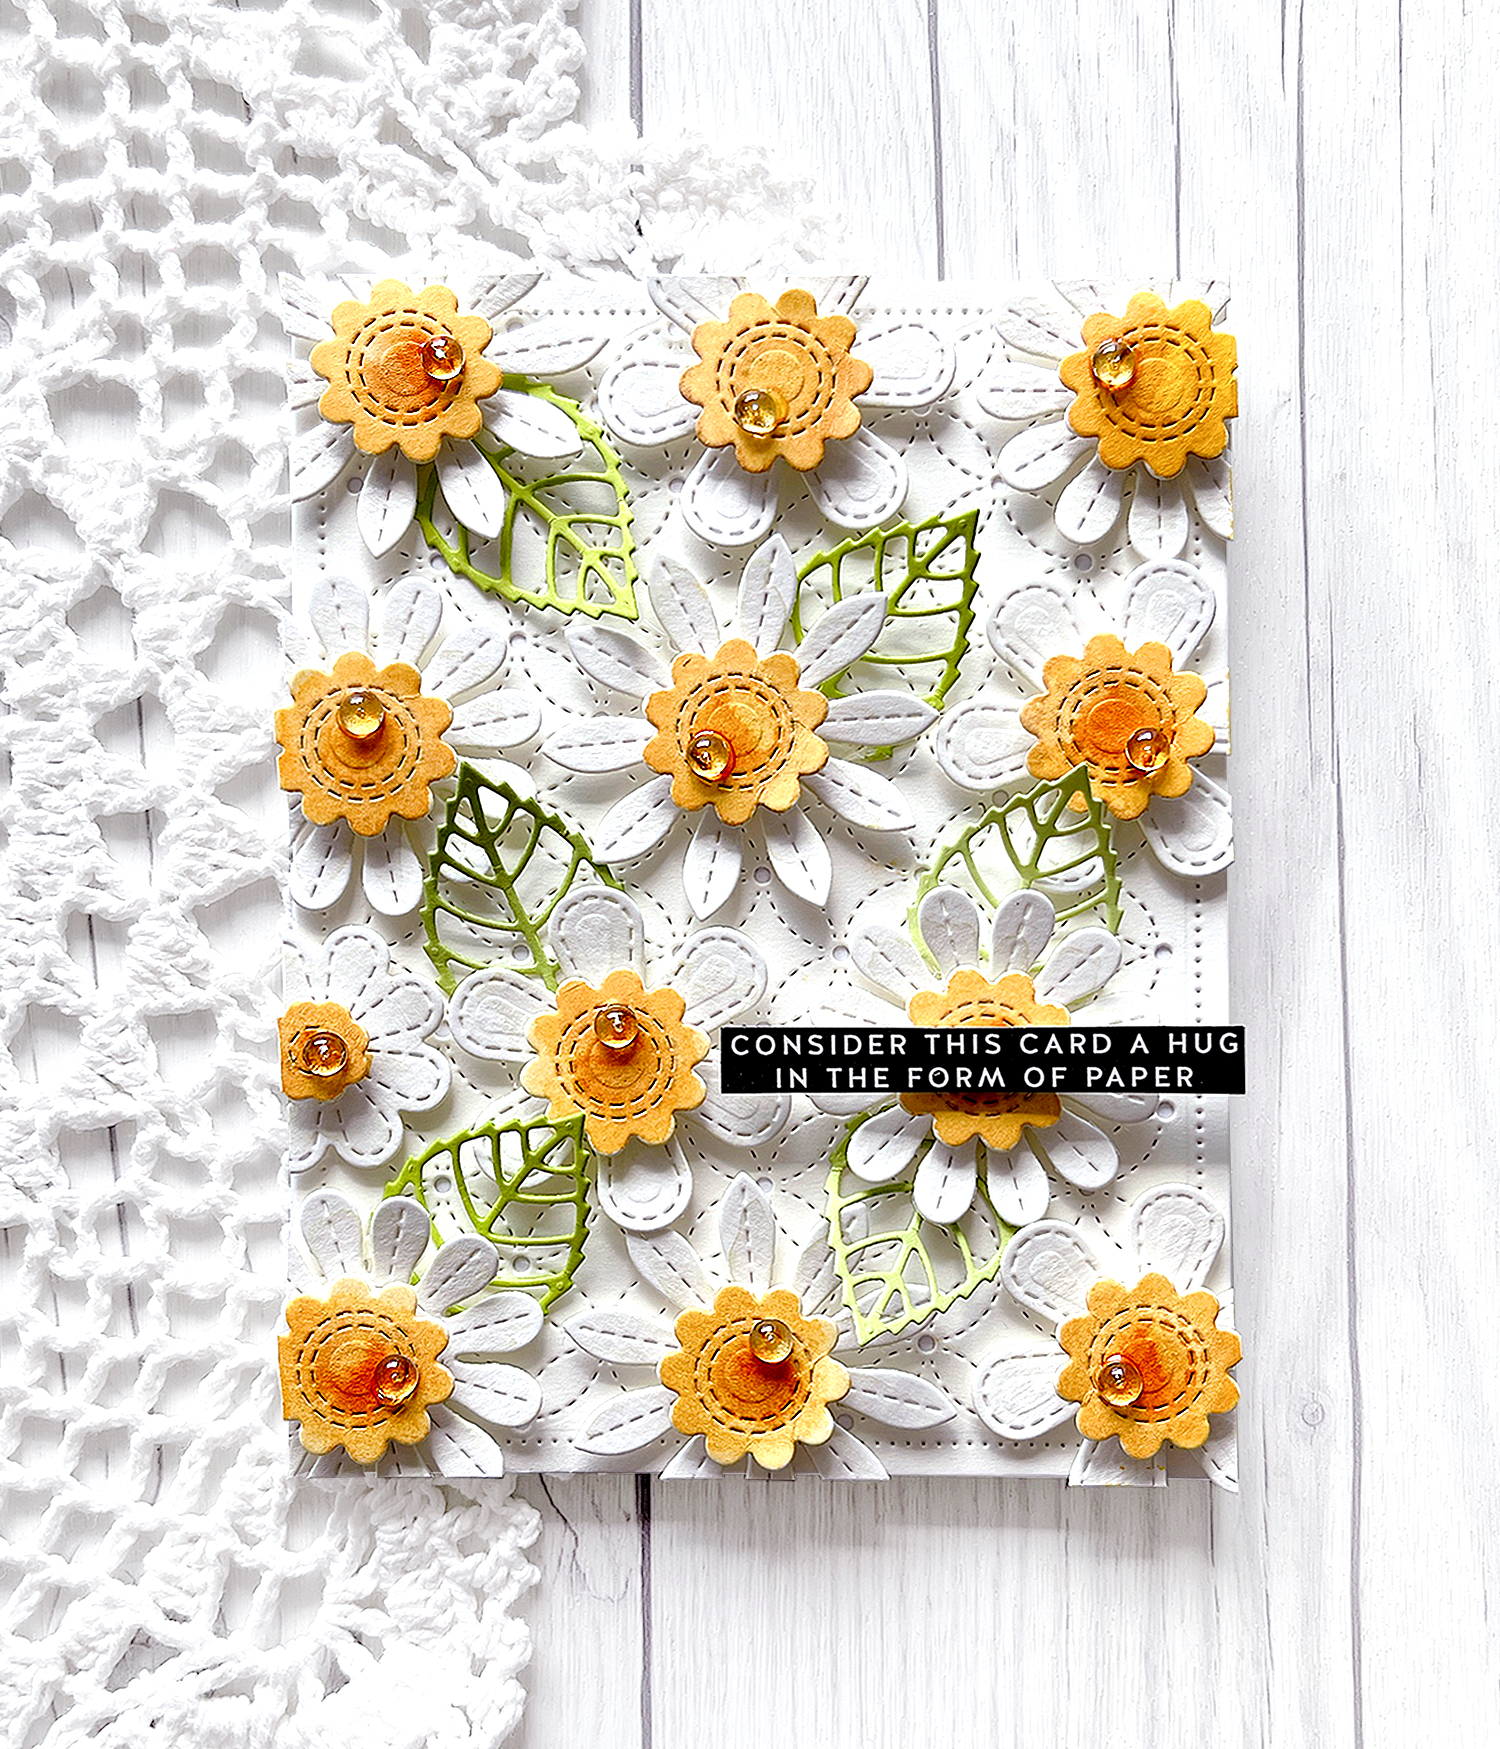
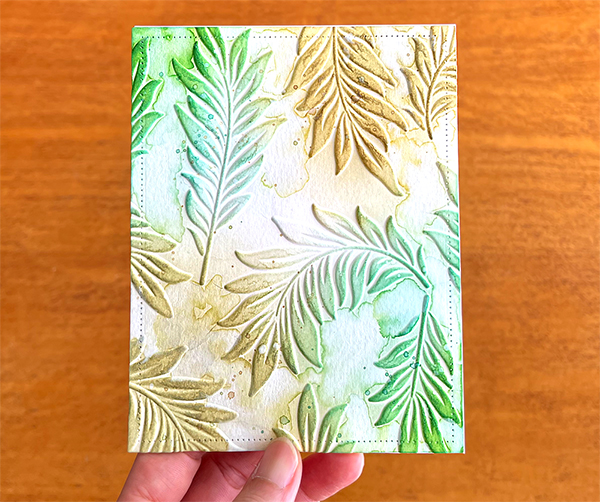
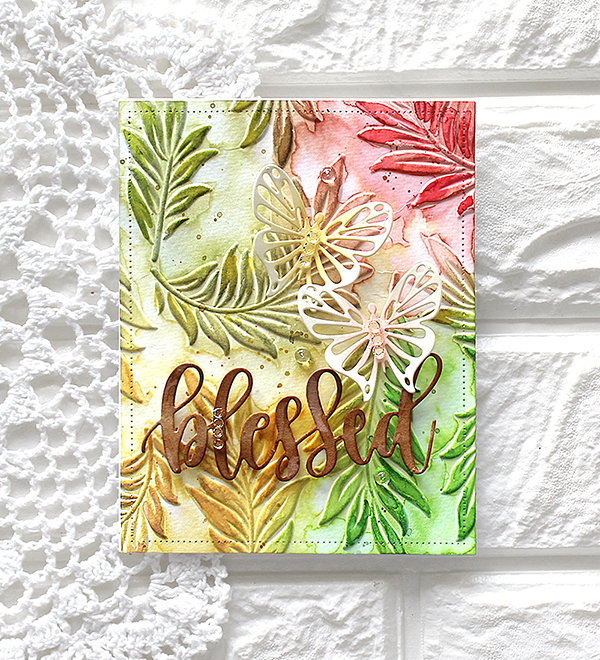
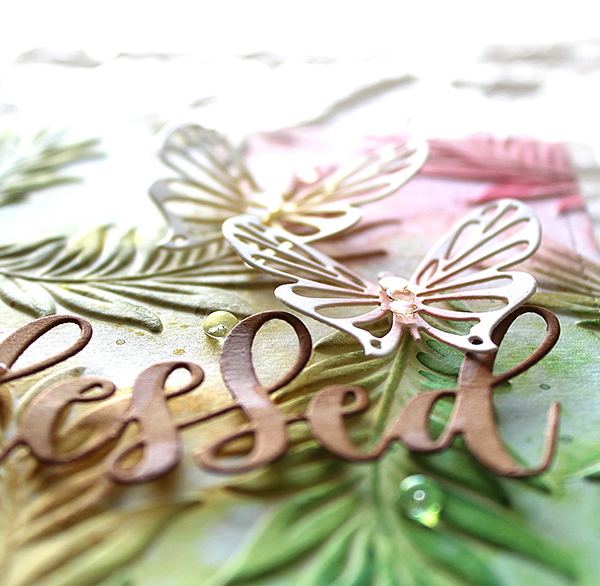
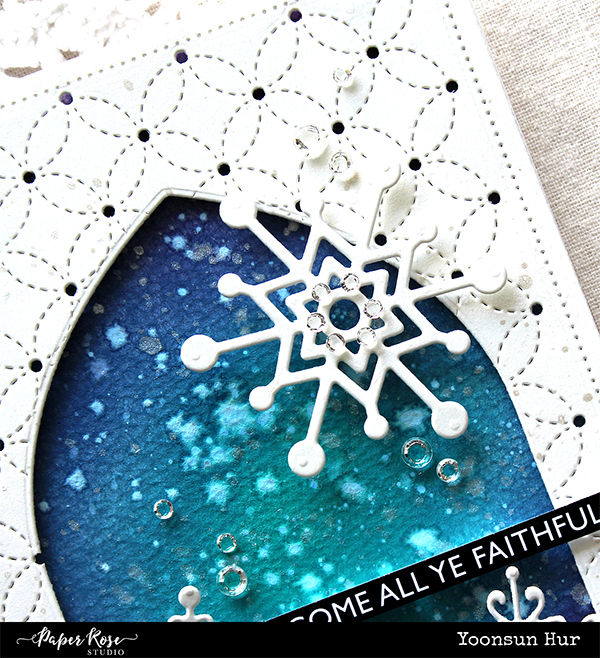
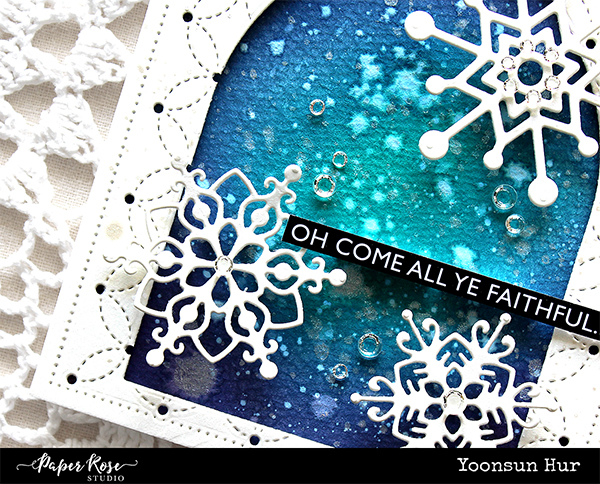
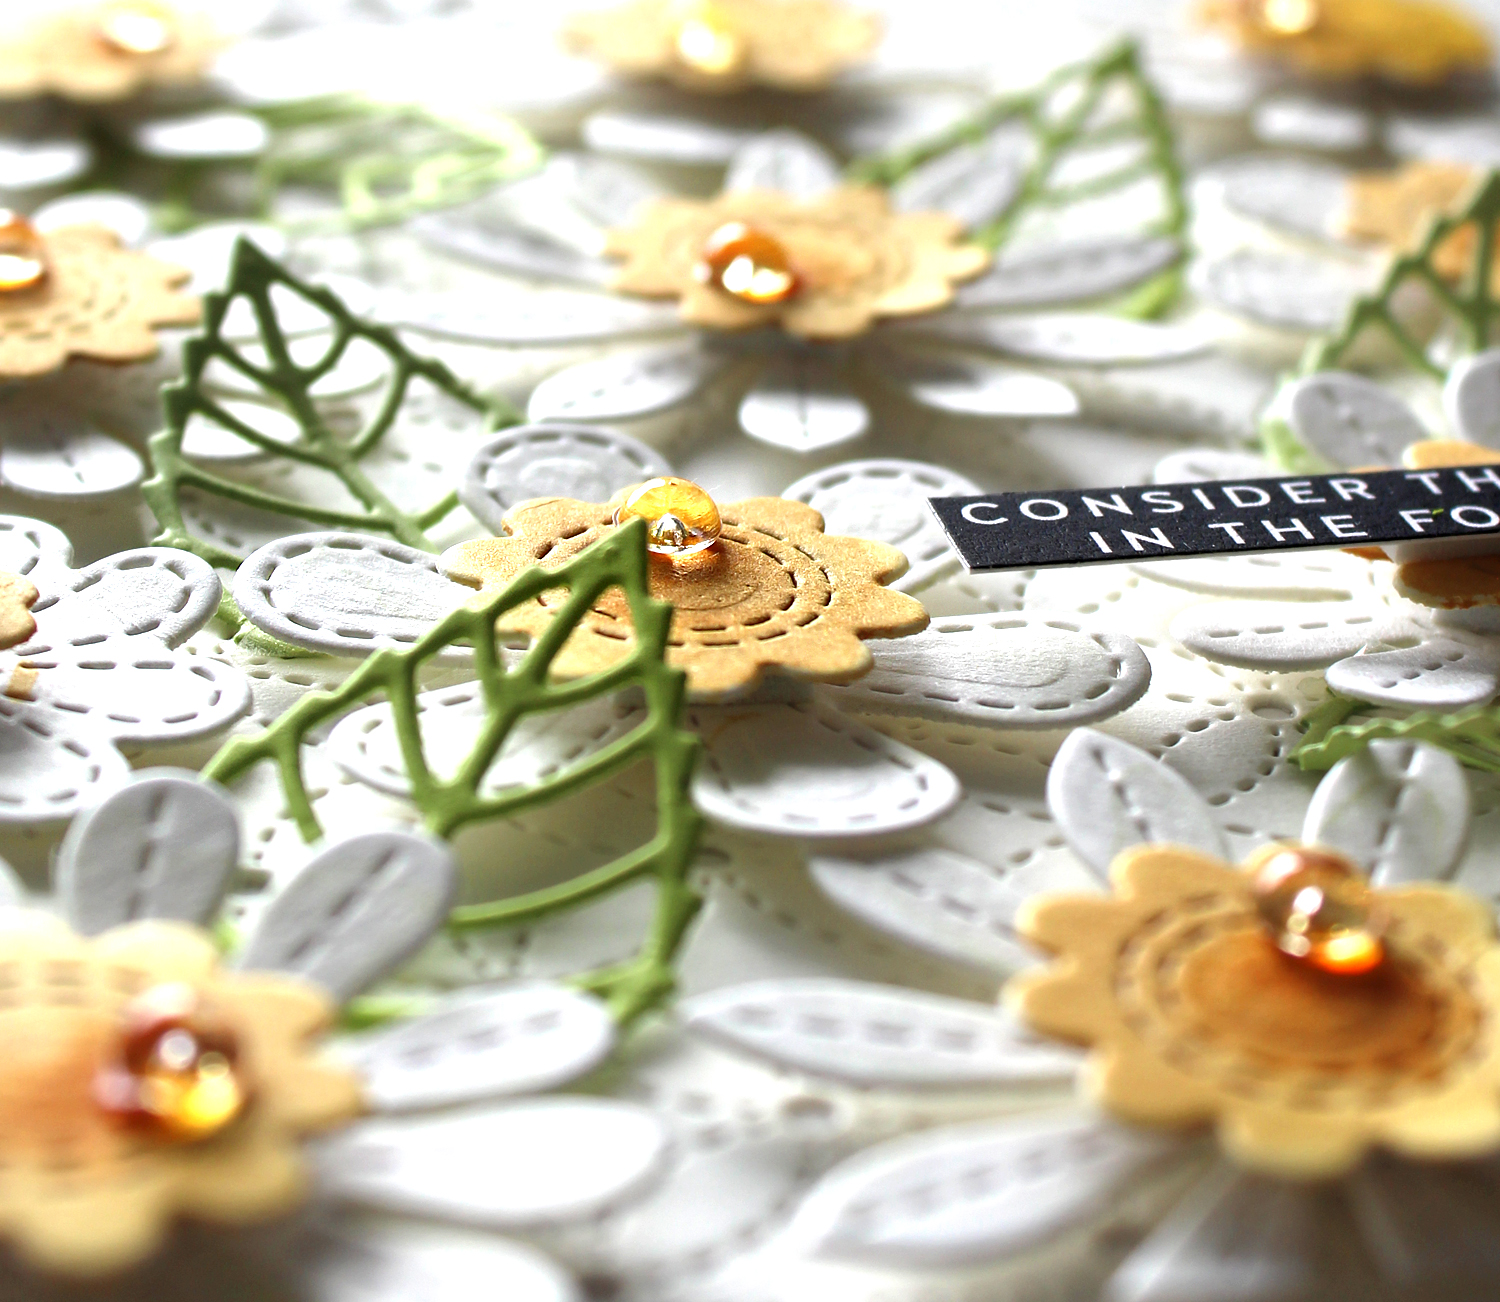
For the second card, I made a watercolour stitched flower card. It is east to make! I die cut some stitched flowers from watercolour paper first, randomly adhered flowers onto an A2 sized white paper panel using foam tape, then lightly watercoloured all flowers. I coloured the centre of each flower with Scattered Straw & Wild Honey distress inks, petals with Pumice Stone distress ink. I added green leaves between the flowers as accents. :)


Thank you so much for stopping by. Have a wonderful weekend!

Keep smiling and be blessed! God bless you all!
Love Love Love RejoicingCrafts

Leafy Blessed Cards

Long time no see, crafty friends!!
It’s been a whole year-I am finally back on the blog after such a long time! I had such a strong desire to connect with you all through cards every single day, but time just wouldn’t allow it. During this precious long Easter holiday, as I sat down to make cards again, I realised just how much joy cardmaking brings me. I’ve decided to reconnect with all of my crafty friends through cards once more. :D

Today, I will share with you three of my leafy “Blessed” cards. Can’t lie, I made them and I’m kinda obsessed! Haha!

The main supply for my today’s cards is the Altenew Floating Foliage 3D Embossing Folder – the leafy background is really gorgeous, even just this leafy pattern on the white cardstock is so pretty, don’t you think?!!

I ink blended with several green and yellow distress inks on the leafy background using ink blending tool and, to give it a watercolour look, I lightly touched the ink-blended pattern with a water brush. For the ink blended background panel, I used Mowed Lawn, Crushed Olive, Bundled Sage, Antique Linen, Scattered Straw and Aged Mahogany Distress inks.

For the first card, I added white and vellum Leafy Wreath from Altenew and gold “Blessed” sentiment from MFT on the A2 sized leafy pattern card.

I decorated the wreath using clear crystals from Paper Rose Studio. I love this bling-bling, shiny wreath so much!

For my second card, I added beautiful butterflies and “Blessed” sentiment from MFT over the A2 sized leafy pattern card. For the “Blessed” sentiment, I die cut it from kraft cardstock and applied Vintage Photo distress ink.


For my last card today, I added white Leafy Garland from Altenew and gold “Blessed” sentiment from MFT on the A2 sized leafy pattern card.

I decorated the wreath using PPP 4mm clear droplets. I love how sparkly and shiny this wreath turned out! :)

From now on, I plan to share cards I make on my blog, then give away through Instagram (@rejoicingcrafts). I want to give back the joy and happiness I’ve received from my wonderful followers by sharing it through my handmade cards. I hope for your warm support and interest! :D

Thank you so much for stopping by. Have a wonderful day!

Keep smiling and be blessed! God bless you all!
Love Love Love RejoicingCrafts

PRS Oh Come All Ye Faithful…

Hello crafty friends!
Today I have another Christmas card with the Paper Rose Studio snowflakes and Nesting Arches die sets.

I die cut an A2 sized paper panel from thick white cardstock using the Pierced Rectangles die set. I then applied the Hand Stitching Coverplate to the panel – made a beautiful patterns! Next, I made an arch window from the panel using the Nesting Arches die set.

I applied blue Distress inks to watercolour paper using blending tool, added white & metallic silver ink splatters and water droplets. I then adhered it to the back of the arch window panel using foam tape.

I added some beautiful snowflakes to the front of the card – used the Snowflake Set 2 and Snowflake Trio die set.

Thank you so much for stopping by. Have a great day.

Keep smiling and be blessed! God bless you all!
Love Love Love RejoicingCrafts

PRS Just Be Jolly

Hello crafty friends, happy weekend!
Today I want to share with you my clean & simple Christmas card with the Paper Rose Studio Deer Head and Mistletoe Large dies.

I die cut the Mistletoe Large from thick white cardstock several times, then adhered them onto an A2 sized white paper panel using Micro Dot Sheets Adhesive.

I die cut the Deer Head from white cardstock, then lightly applied Tea Dye Distress ink to the Deer Head die cut. I added the Deer Head on the centre of the card using foam tape, and then decorated it with red pompom & Jewel Drops.

Thank you so much for stopping by. Have a great day.

Keep smiling and be blessed! God bless you all!
Love Love Love RejoicingCrafts

Paper Rose The Bestest Christmas Ever

Hello crafty friends, happy Monday! Hope you had a great weekend.
Today I have a tone-on-tone kraft Christmas card with the Snowflake Set 2 and Snowflake Trio die sets. These two snowflake sets are so pretty!!

Kraft is a must-have colour for Christmas, right?! So I made a tone-on-tone kraft Christmas background with some beautiful snowflakes. I die cut some snowflakes from Neenah Smooth Desert Storm paper using the Snowflake Set 2 & Snowflake Trio die sets first. I then die cut the A2 sized Pierced Rectangle panel from the same Neenah Smooth Desert Storm paper. I adhered all snowflake die cuts onto the A2 Pierced Rectangle paper panel and then applied pigment white ink to the snowflake background panel.

I spritzed opaque white ink splatters all around the panel and then added some white dots using the Nuvo Simply White Crystal Drops.

I decorated one of the snowflake with Clear Crystal Mix.

Thank you so much for stopping by. Have a great day.

Keep smiling and be blessed! God bless you all!
Love Love Love RejoicingCrafts