Hello crafty friends, happy Monday!
Welcome to MFT February Beautiful Butterflies Card Kit Countdown Day 1. You will no doubt have a delightful and glorious time with this fabulous kit for two days!!

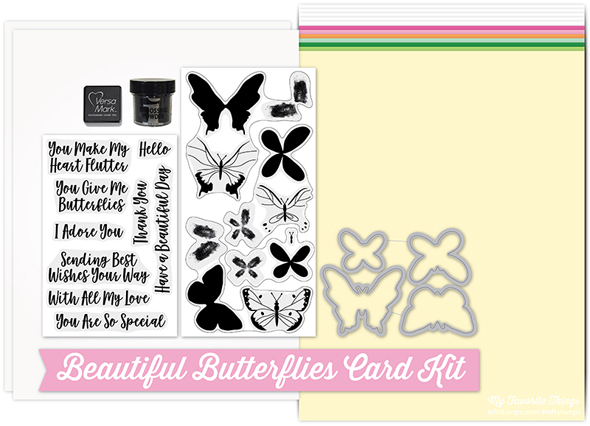 Beautiful Butterflies Card Kit
Beautiful Butterflies Stamp Set
You Give Me Butterflies Stamp Set
Beautiful Butterflies Die-namics
Card Stock: Cotton Candy, Field Day, Lemon Chiffon, Orange Fizz, Ripe Raspberry, Sour Apple, Spearmint, Smooth White (5 sheets)
2 Sheets Translucent Vellum
Versamark Cube
Black Embossing Powder
New Mid Month Free with $60 Die-namics is the Sentiment Label Strip Die-namics.
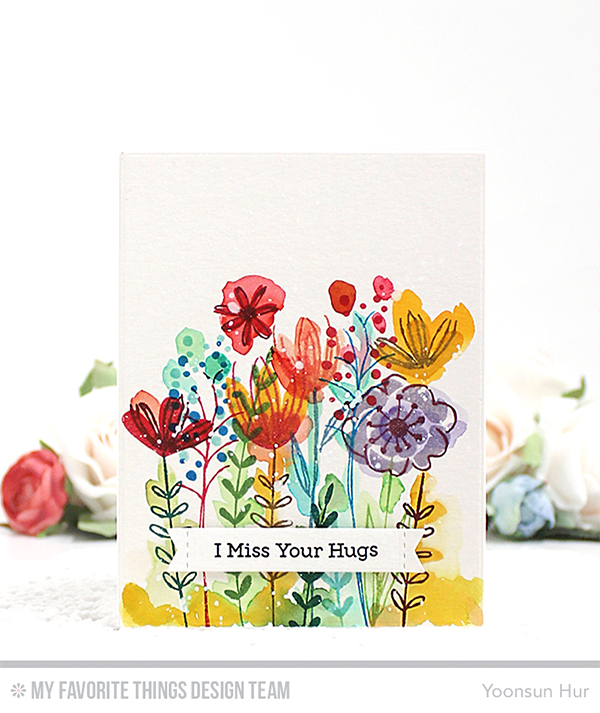
Here is what I came up with:
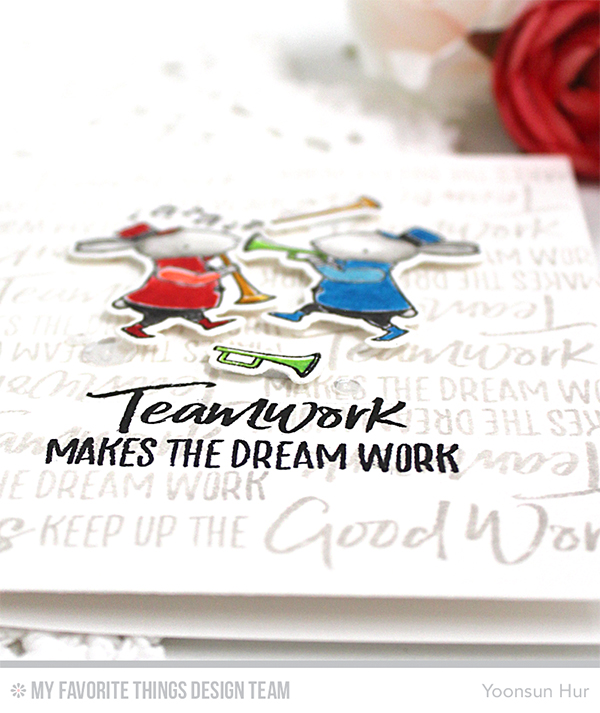
 To start, I 1) Die cut a piece of watercolour paper using the Wonky Stitched Rectangle STAX Die-namics. 2) Stamped the butterflies from the Beautiful Butterflies set randomly onto the watercolour paper panel using hybrid inks:
Red: Coral Crush (Base), Red Hot (Accents), Paver Red (Antennae)
Yellow: Pineapple, Latte, Chocolate Brown
Green: Sour Apple, Gumdrop Green, Green-Eyed Monster
Blue: Summer Splash, Blue Yonder, Lush Lagoon
Violet: Wild Wisteria, Grape Jelly, Razzle Berry
3) Watercoloured the background with Peerless watercolors and a wet paint brush. 4) Added some ink splatters (colours and opaque white). 5) Stamped the sentiment from the You Give Me Butterflies set on the bottom right corner in Black Licorice hybrid ink. 6) Mounted the panel on the Primitive White card base using foam tape.
 I’m so in love with these butterflies – seriously stunning!!
 Thank you so much for stopping by and see you tomorrow for more card kit countdown fun! Happy crafting!!
Keep smiling and be blessed! God bless you all!
Love Love Love RejoicingCrafts


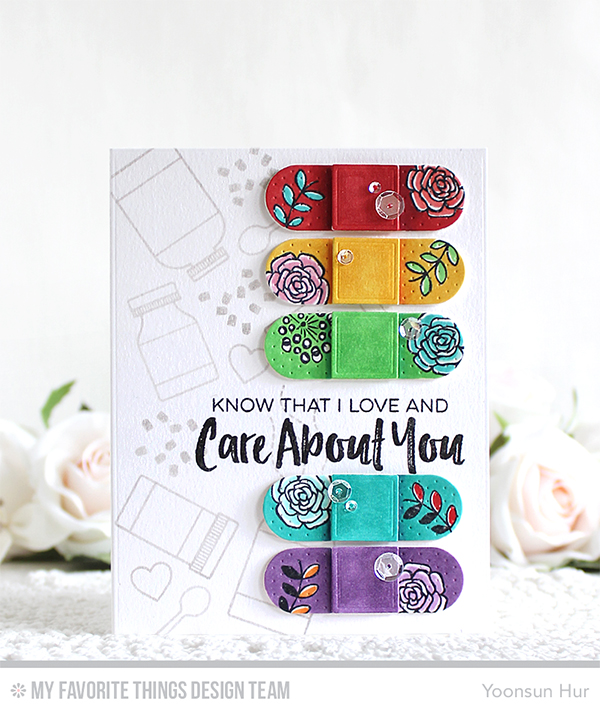 For today’s card, I created the flower patterned bandages
  Would you want to put on? I believe that these flower bandages can heal your body and mind!!


 Today I will be sharing with you my watercolour flower card with the
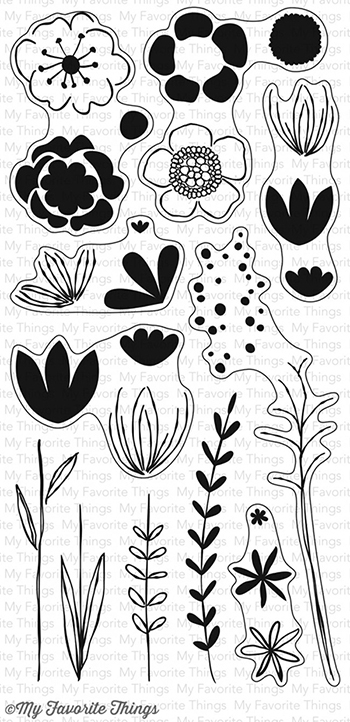
 I started by stamping beautiful flowers and leaves from the
 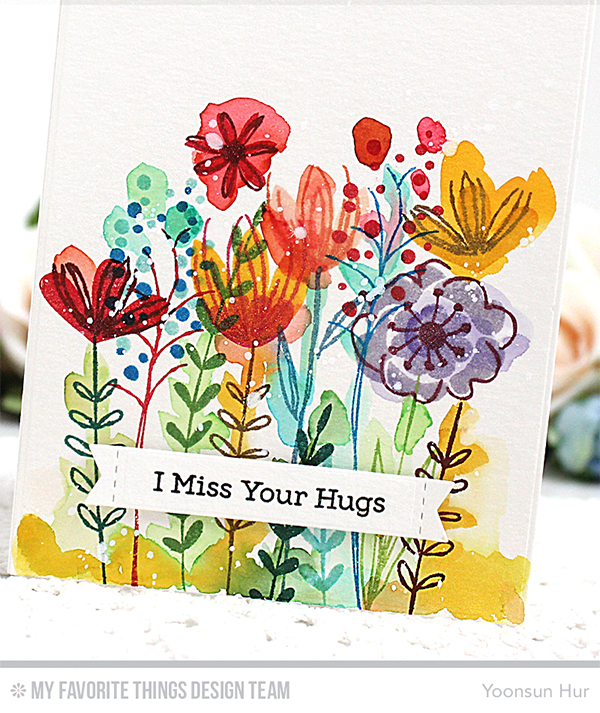 Don’t forget to check out the


 My card today features the
  I started by creating my own patterned background with the
 Make sure to check out


 Today I will be sharing with you my wine tag with the
  To create the tag, I 1) Die cut the
  Make sure to check out


