Hello crafty friends, happy Monday!
Welcome to MFT January No Place Like Home Card Kit Countdown Day 1.
 Gather your family and friends into a home surrounded by handmade items that turn your house into a comfortable nest, a haven – a place to feel comfort and love!! The No Place Like Home kit makes you feel more cozy and comfortable :D

No Place Like Home Card Kit
No Place Like Home Stamp Set
Home Sweet Home Die-namics
Lock & Key Die-namics
Card Stock: Blu Raspberry, Brick Red, Cement Gray, Cherry Crisp, Chocolate Brown, Gumdrop Green, Kraft, Sno Cone, Silver Shine (2 sheets), Smooth White (5 sheets)
1 sheet Adhesive-Backed Cherry Wood Paper
FREE with $60 Die-namics:
The mid month Free with $60 die is the Stitched Tiny Tags Die-namics.
Here is what I came up with:
 I started by stamping the flower clusters from the Fancy Flowers set in the December Fancy Flowers card kit on Smooth White card stock using Black Licorice hybrid ink, then coloured them with Copic markers – I used Post-It Notes to mask stamped images. Next, I die cut the large keyhole from the centre of the Primitive White stitched rectangle panel using the Lock & Key Die-namics in the kit. I die cut the heart key from the Cherry Crisp card stock, then added a Wink of Stella Clear. For the sentiment, I stamped it from the No Place Like Home set on the bottom of the front panel in Black Licorice hybrid ink. Lastly I mounted all elements as shown to the Cherry Crisp card base using foam tape.
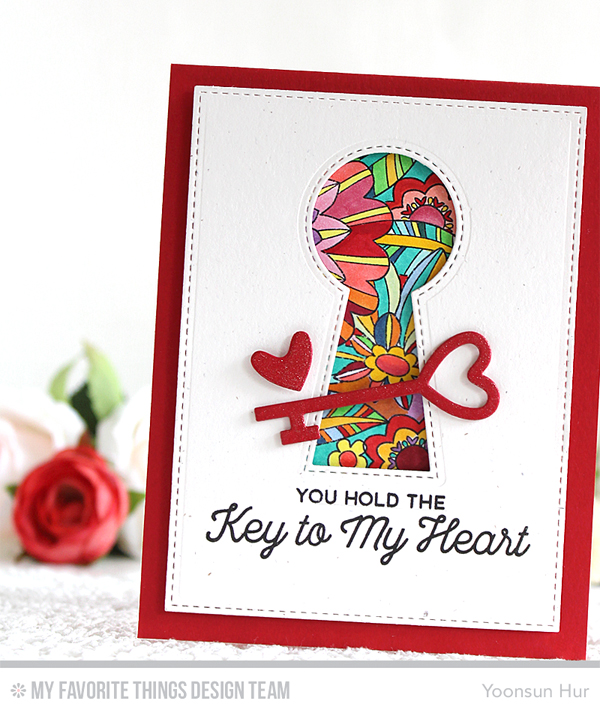 The large keyhole & heart key set is so awesome, isn’t it?!

That’s it for today. See you tomorrow for more card kit countdown fun! Happy crafting!!
Keep smiling and be blessed! God bless you all!
Love Love Love RejoicingCrafts


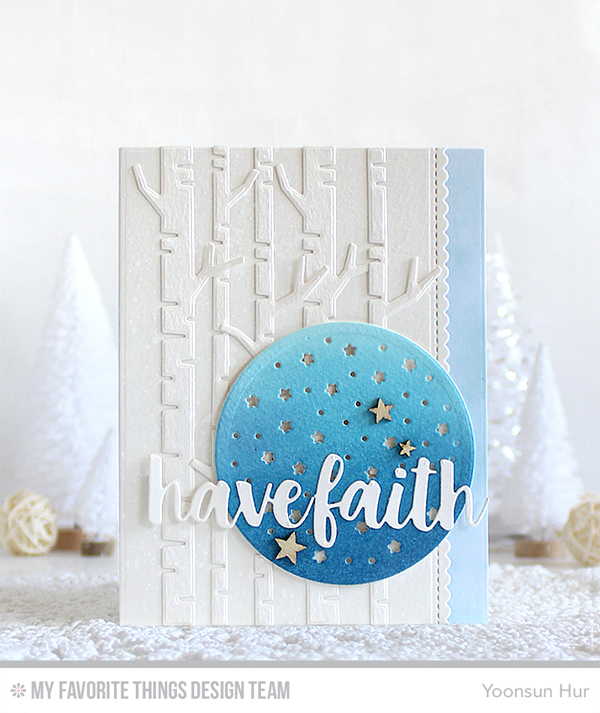 Christmas is over – it does come and go too fast – but I still miss Christmas!! So I made a wintery card with this week’s MFT sketch. I started by die cutting the birch trees from white card stock using the
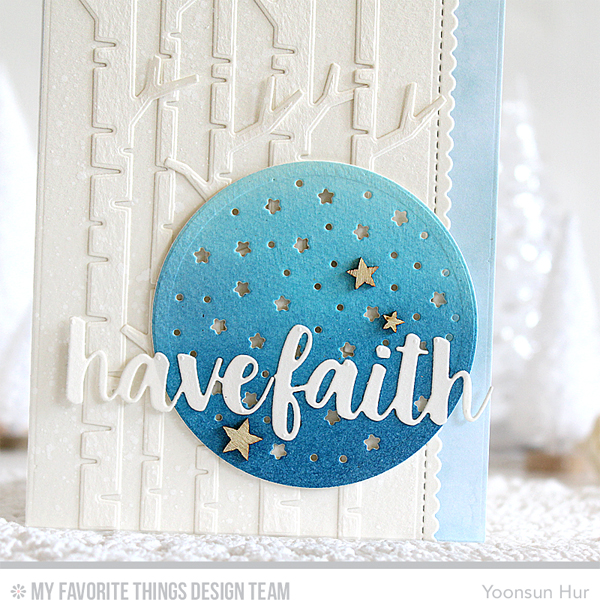
 Thank you so much for stopping by. Happy crafting!!


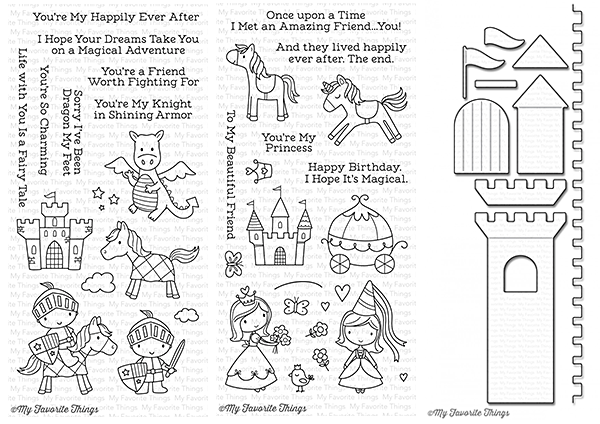
 To create the card, I stamped, coloured (with Copic markers) and die cut the knight & princess from the
  Ta-da! I added the castle inside the card using the
  And I stamped the sentiment as well.
 Make sure to head over to the


 Today I will be sharing with you a couple of simple watercolour cards that I’ve made using the
 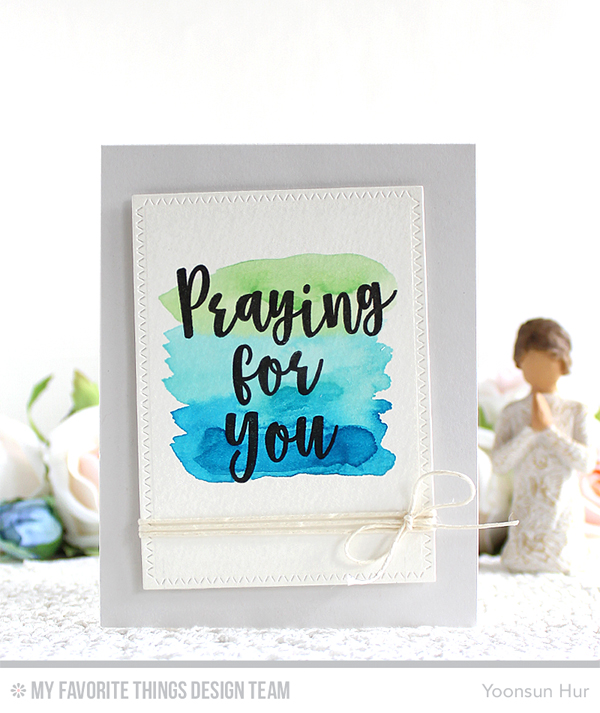 For my first card, I made the “Praying for you” card. I stamped the sentiment from the
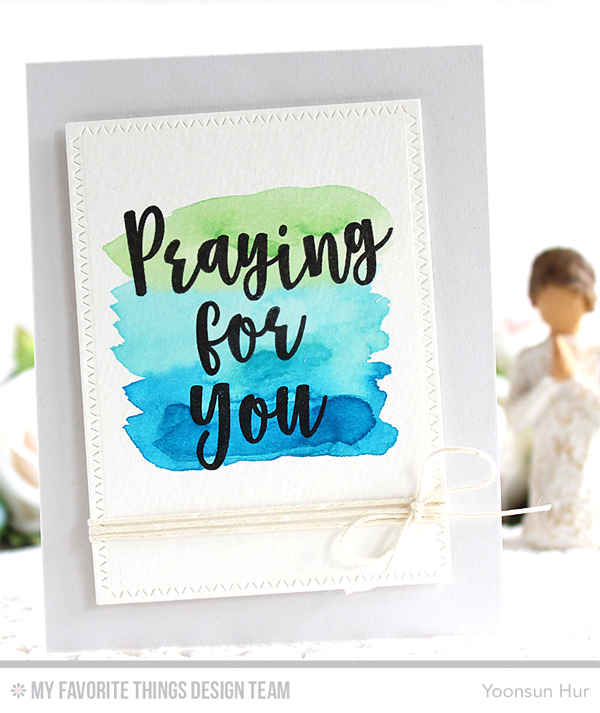
 For my second card, I made a wedding card! I stamped the “Happily ever after” from the set on watercolour paper in black pigment ink, then painted pink on it – I used Geranium Pink and Arbutus Pink Peerless watercolors.


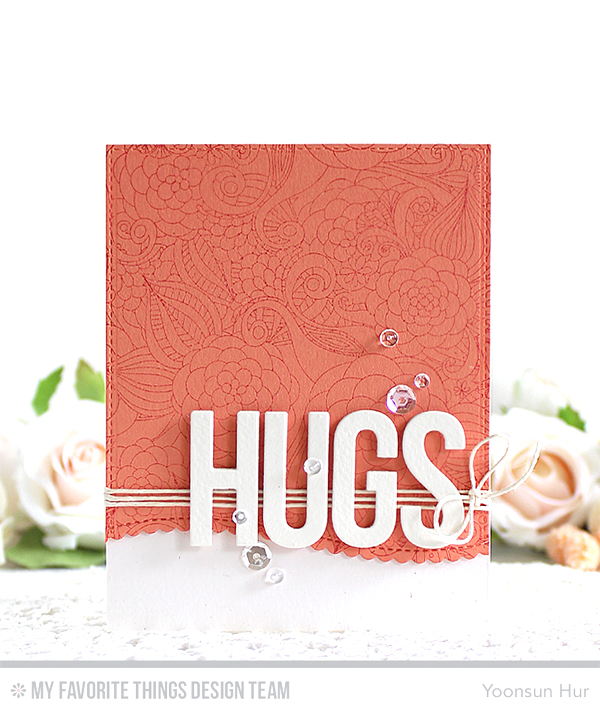
 Today I am featuring so gorgeous
 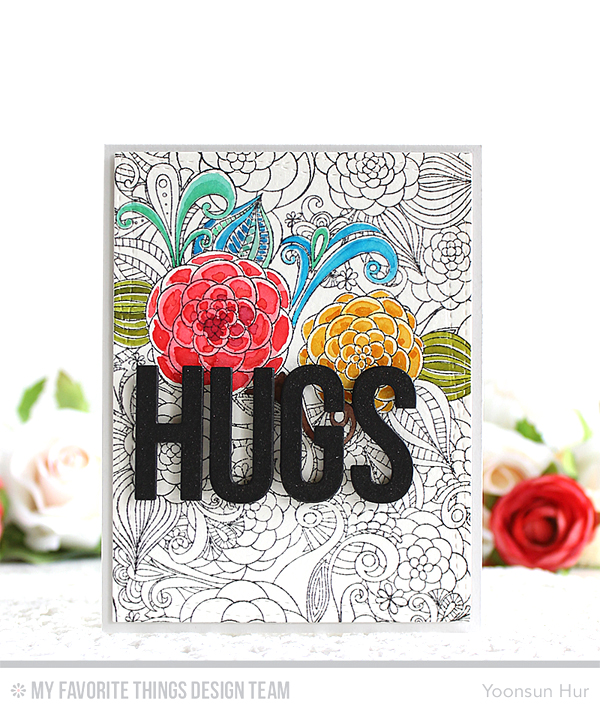 For my first card, I 1) Stamped the
  I added the
 For my second card, I 1) Stamped the