PPP June 2022 Product Release Blog Hop – Day 1

Hello crafty friends!
Welcome to Day 1 of the Pretty Pink Posh June 2022 Product Release Blog Hop. If you arrived here from the super talented Tammy Stark’s blog you are on the right track.
There are jam packed with so many fun & adorable products in June!
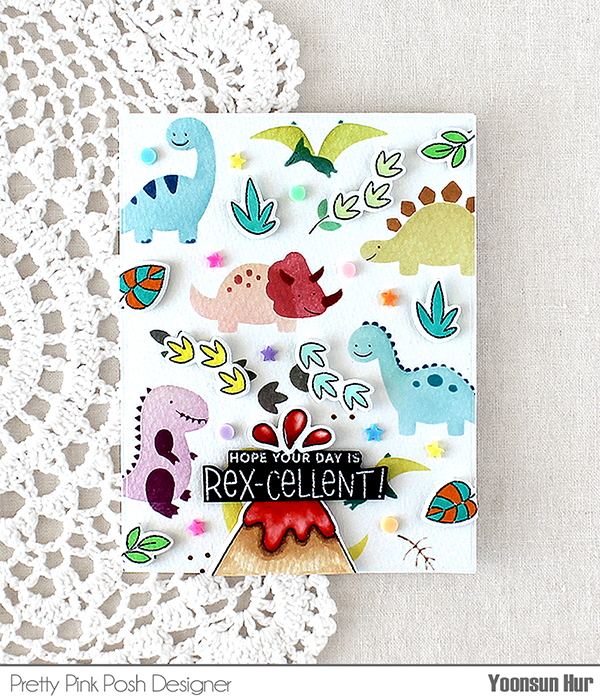
For my first card, I used so adorable dinosaurs. I used the 3 Layers Dinosaurs stencils to make a fun background. I applied soft coloured Distress inks to the base stencil, and then used darker colours to the details.
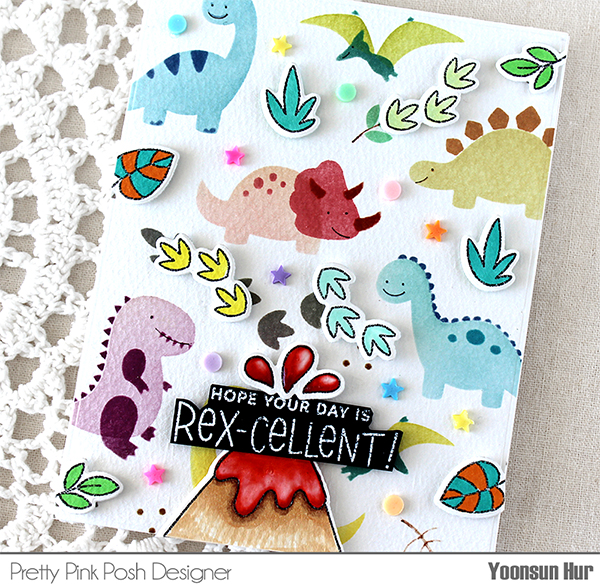
For the bottom of the card, I stamped volcano from the Dinosaur Additions set with black dye ink, coloured with Copic markers, and then die cut it with the matching dies. For the sentiment, I used the Dinosaur Friends stamp set.
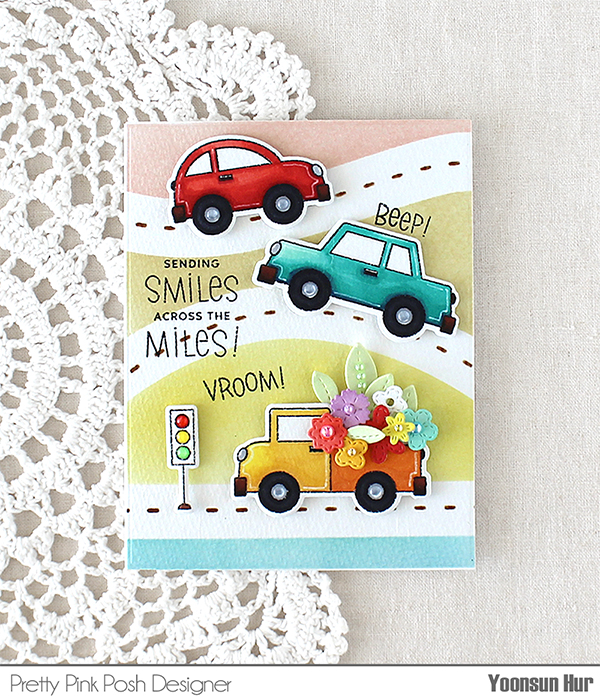

Here is another fun card with brand new layering stencils. For the roads, I used the Layered Roads (3 layer) Stencils. I then stamped the cards from the Across the Miles set on white cardstock using black dye ink first, coloured them with Copic markers, die cut them with the matching dies. I added tiny flowers & leaves on the bottom car using the Spring Foliage dies.
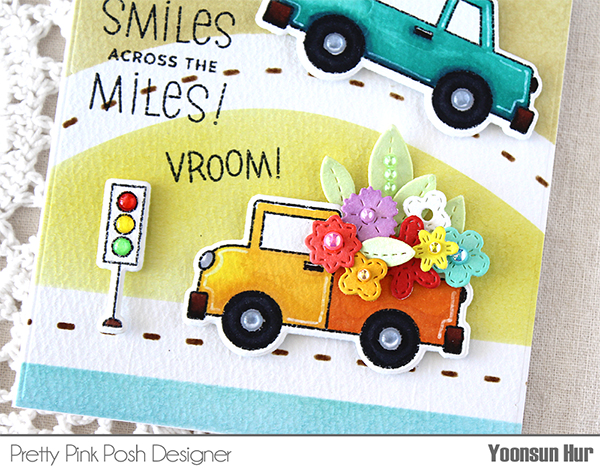
Isn’t it so adorable?!! I love it so much! :D

GIVEAWAY!!
There are 3 $30 gift certificates up for grabs (one winner each day). Winners will be picked randomly along the blog hop. Comments must be left by 11:59 PM PST on 6/23/2022. Winners will be announced on the PPP blog.

BLOG HOP LIST:
Pretty Pink Posh blog
Caly Person
Channin Pelletier
Laura Bassen
Nichol Spohr
Tammy Stark
Yoonsun Hur (Me!!)

Thank you so much for stopping by. Have a great day!

Keep smiling and be blessed. God bless you all.
Love Love Love RejoicingCrafts
Paper Rose Rose Bloom

Hello crafty friends!
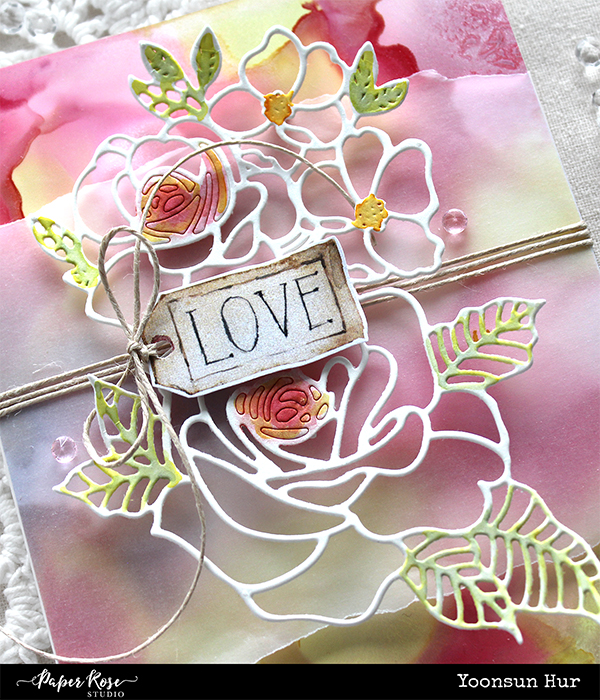
Today I want to share with you another floral card with the Paper Rose Studio Rose Bloom die.

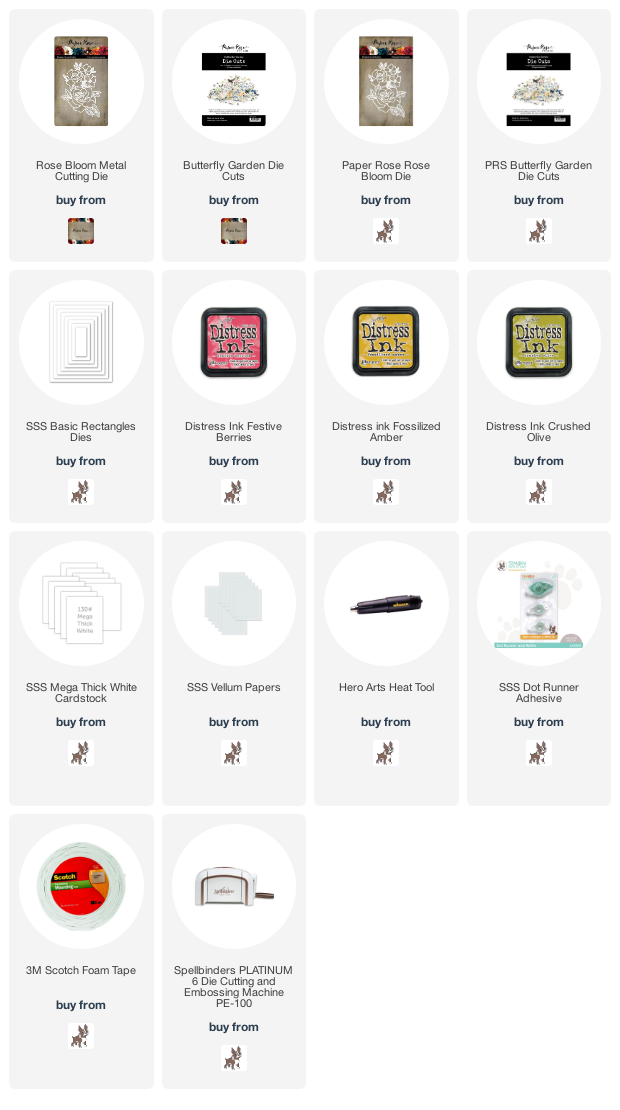
I started by making alcohol ink background with pink and yellow alcohol inks. I just freely dropped alcohol ink drops on the yupo paper, put it aside until it dries. Next, I die cut the Rose Bloom from thick white cardstock, watercoloured to some part of the Rose Bloom die cut with Distress inks. Once the alcohol ink background was dry, I mounted it on an A2 sized white card base using double-sided tape, and then added hand-torn vellum paper & Rose Bloom die cut on the centre of the card.

For the sentiment, I used the small sized “LOVE” tag in the Butterfly Garden die cuts.


Thank you so much for stopping by. Have a great day.

Keep smiling and be blessed! God bless you all!
Love Love Love RejoicingCrafts
Floral Friday: Floral Butterflies

Hello crafty friends, TGIF!

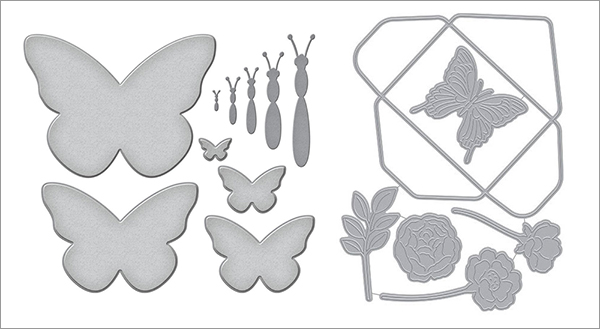
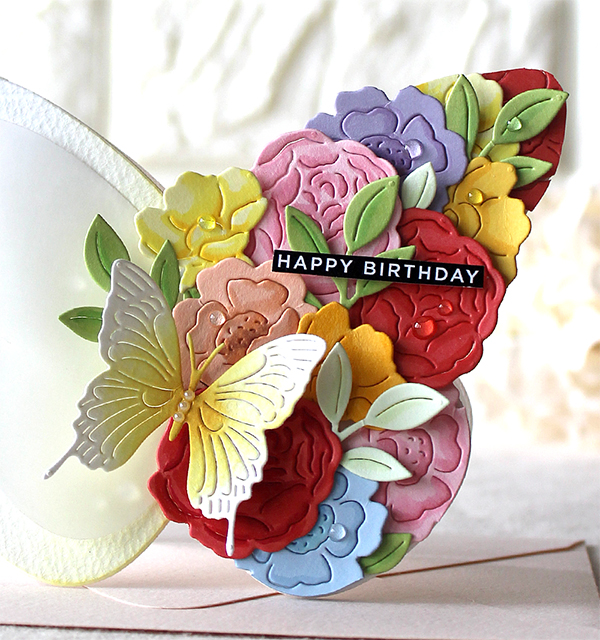
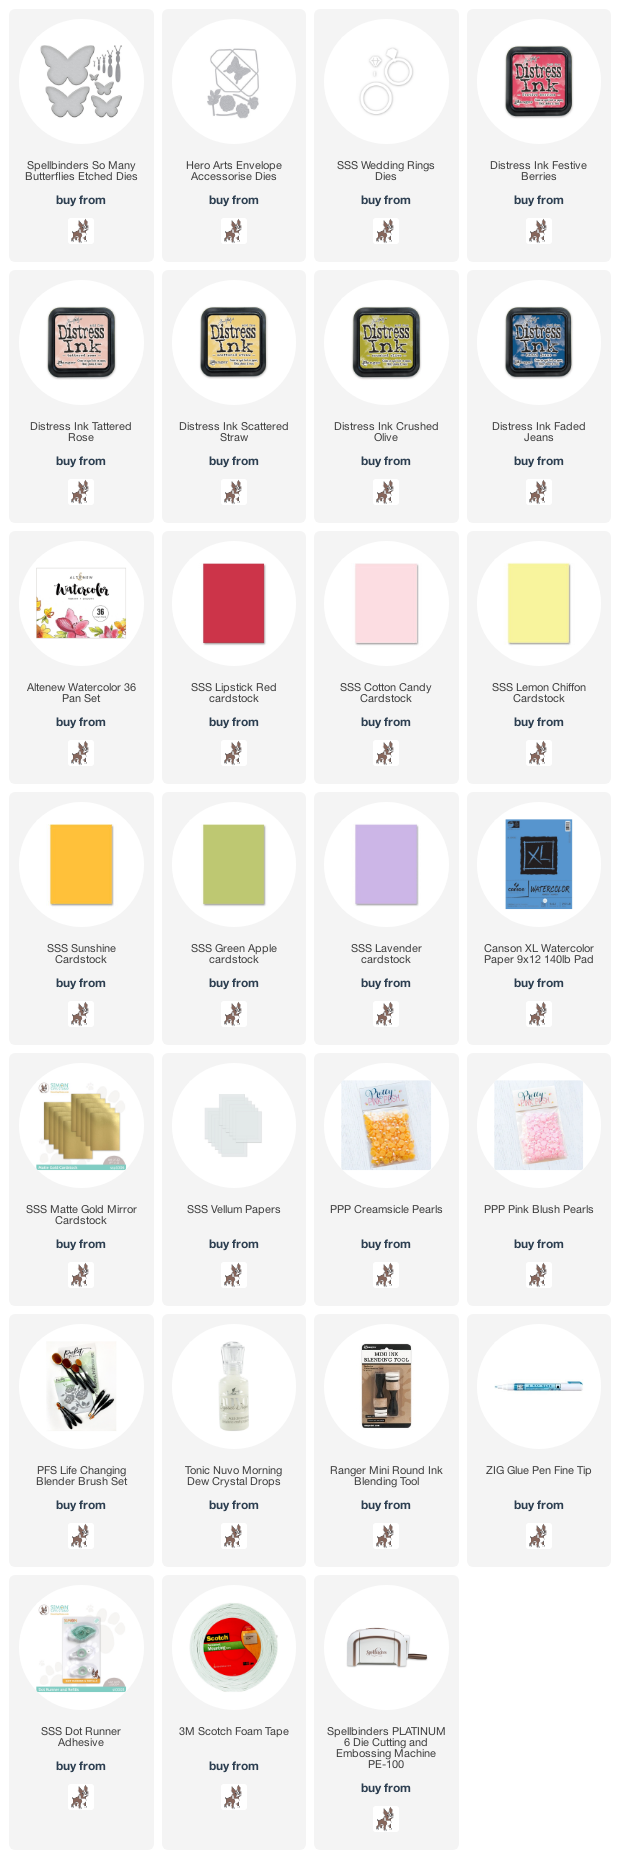
Today I want to share with you beautiful floral butterfly trio using the Spellbinders Bibi’s Butterflies Collection So Many Butterflies Etched dies & the Hero Arts Envelope Accessorise dies.

(Left) Spellbinders Bibi’s Butterflies Collection So Many Butterflies Etched Dies
(Right) Hero Arts Envelope Accessorise Dies


Ta-da! Aren’t they so beautiful to put small flowers, leaves, butterflies on top of the large sized, almost A2 sized, butterfly base? Oh, I love them so much!!

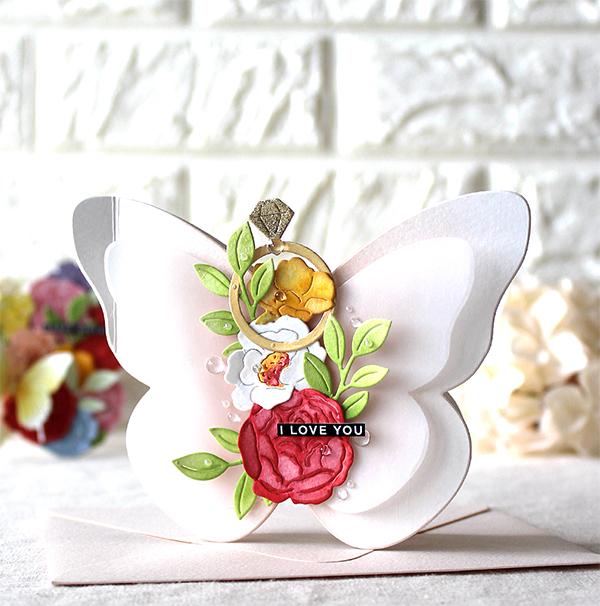
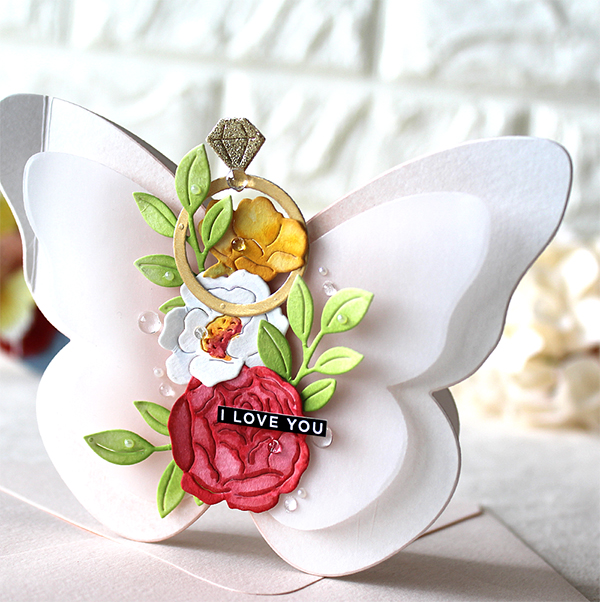
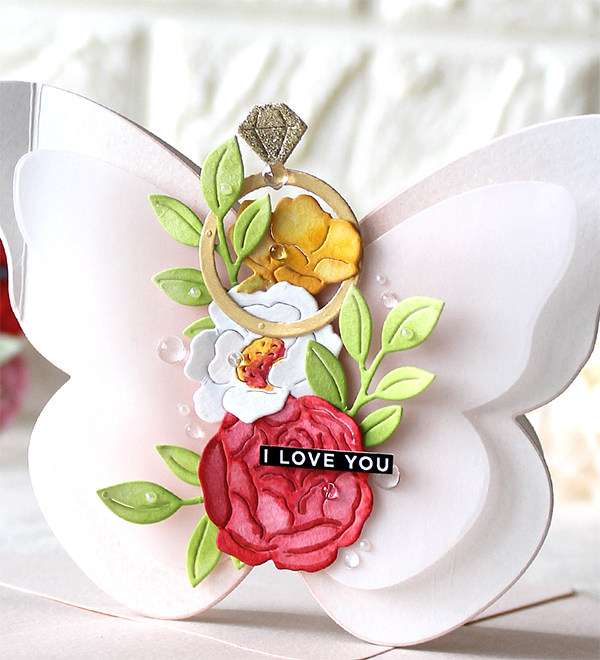
My first butterfly card is a proposal card. I die cut flowers & leaves from watercolour paper using the Hero Arts Envelope Accessorise dies, coloured them with Altenew Watercolor 36 pan set. I also die cut wedding ring from SSS Matte Gold Mirror cardstock using the SSS Wedding Rings dies.

I adhered all watercoloured flowers & leaves, wedding ring on the centre of the white butterfly base using foam tape. I decorated the card with small clear droplets.


For the second butterfly card, I die cut flowers & leaves from watercolour paper using the Hero Arts Envelope Accessorise dies, randomly glued all die cuts on white butterfly card base using fine tip glue pen, and then ink blended it with some Distress inks in rainbow order. I added smaller vellum butterfly die cut, pearls and Hero Arts small butterfly on the card.


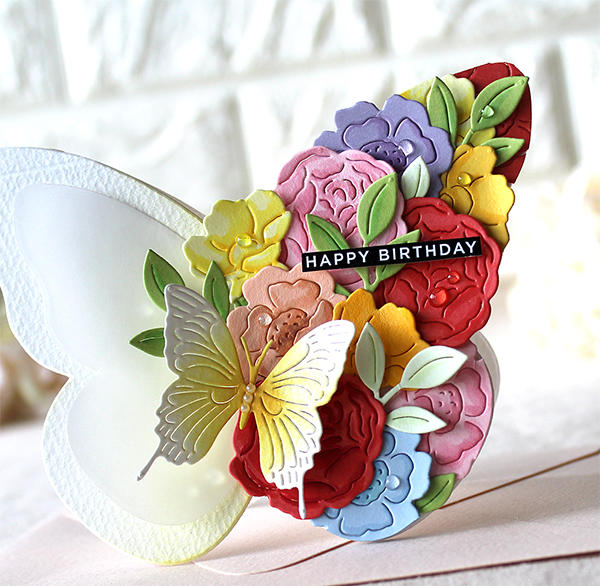
Here is the last but not least, I decorated the right part of the butterfly with colourful flowers & butterfly. I die cut Hero Arts small flowers & leaves from various colour cardstock, butterfly from white cardstock first. I then lightly added colour each die cut with Copic markers, and then arranged all flowers & leaves onto the right side of the white butterfly card base using foam tape.


Isn’t it so lovely?!! I am so very pleased with the result, haha! :D

Thank you so much for stopping by. Have a wonderful weekend!

Keep smiling and be blessed! God bless you all!
Love Love Love RejoicingCrafts
Paper Rose Etched Pansy

Hello crafty friends!
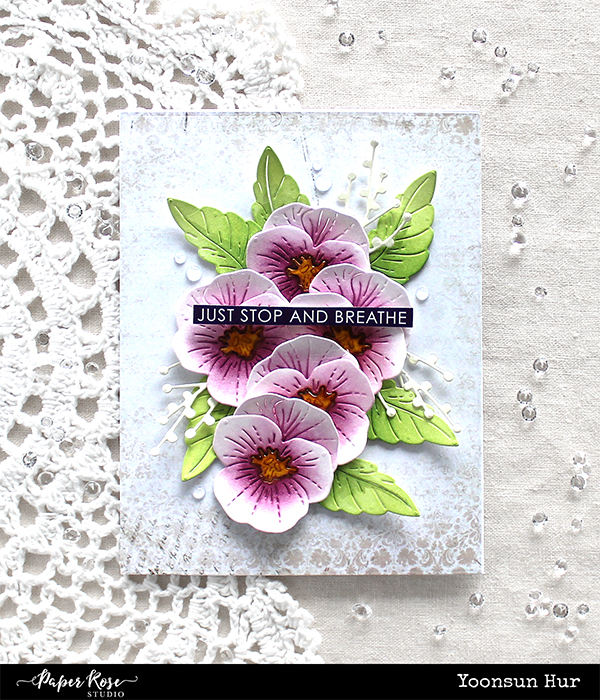
Today I want to share with you a pretty pansy card with the Paper Rose Studio Etched Pansy 2 die set.

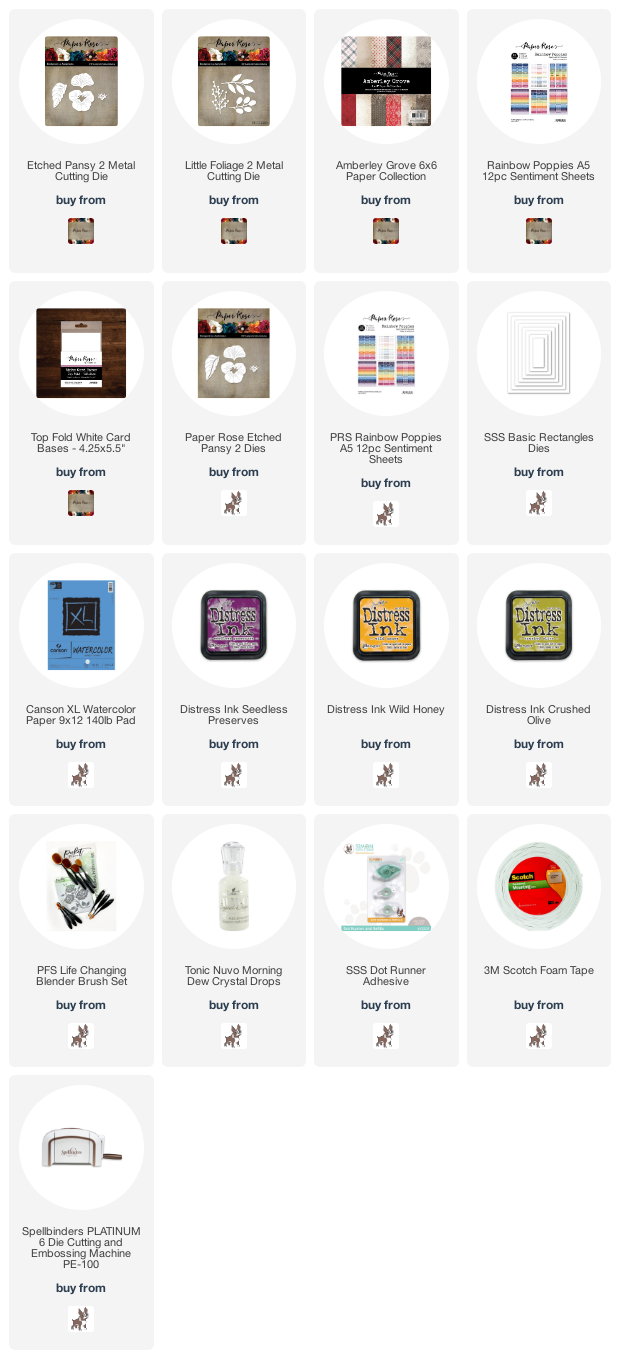
Etched Pansy 2 Metal Cutting Die


I started by die cutting petals and leaves from watercolour paper using the Etched Pansy 2 dies first, and then inked each die cut with some Distress inks as below:
Petals: Seedless Preserves / Centre: Wild Honey / Leaves: Crushed Olive.

For the background, I used one of pattern paper in the Amberley Grove 6×6 Paper Collection. I die cut an A2 sized panel using the SSS Basic Rectangles dies. I mounted an A2 sized pattern paper on the white card base using SSS Dot Runner Adhesive first, then added purple pansies as shown in the picture.


Thank you so much for stopping by. Have a great day.

Keep smiling and be blessed! God bless you all!
Love Love Love RejoicingCrafts
Floral Friday: Altenew Layered Antique Rose

Hello crafty friends, TGIF!

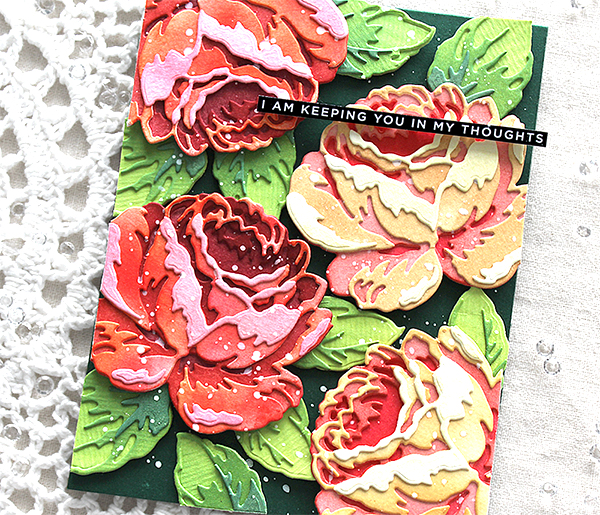
Today I want to share with you a beautiful floral card using the Altenew CAF Antique Rose Layering die set. Altenew has so many gorgeous layering floral dies and this set is my most favourite among them.

Altenew Craft-A-Flower Antique Rose Layering die set


Ta-da! Isn’t it so pretty?!! I love it sooooo much. :D

I started by die cutting many pieces of Antique Rose from watercolour paper. I then inked all pieces with some Distress inks and dye inks:
1) RED ROSE
Base layer: SSS Merlot dye ink / 2nd layer: Festive Berries Distress ink
3rd layer: Dried Marigold Distress ink / Last layer (top layer): Tattered Rose Distress ink

2) BEIGE ROSE
Base layer: Festive Berries Distress ink / 2nd layer: Tattered Rose Distress ink
3rd layer: Tea Dye Distress ink / Last layer (top layer): Antique Linen Distress ink

3) LEAVES
Base layer: SSS Green Apple dye ink / 2nd layer: SSS Green Leaf dye ink
3rd layer (darkest colour): SSS Evergreen dye ink

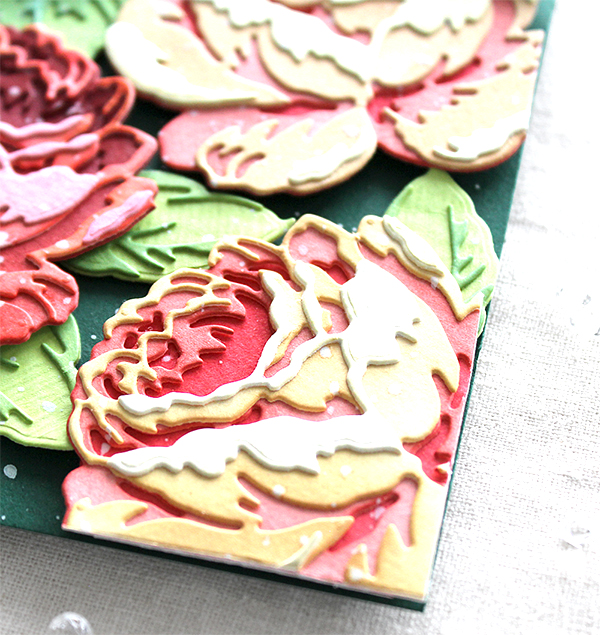
After inking all pieces, assembled them as roses and leaves, then adhered them on dark green card base using foam tape.

Here is a closer look:


I added opaque white ink splatters all around the card.


Thank you so much for stopping by. Have a wonderful weekend!

Keep smiling and be blessed! God bless you all!
Love Love Love RejoicingCrafts