Hello crafty friends, TGIF!
Welcome to the My Favorite Things October Release Countdown Day 5.
 Christmas is coming! And there’s no doubt about that! MFT will no doubt lead you into the world of Sparkle & Shine in October to help you get ready to celebrate! Here are full of awesome holiday stamps and dies to show off your creativity!! Are you ready to have fun?!
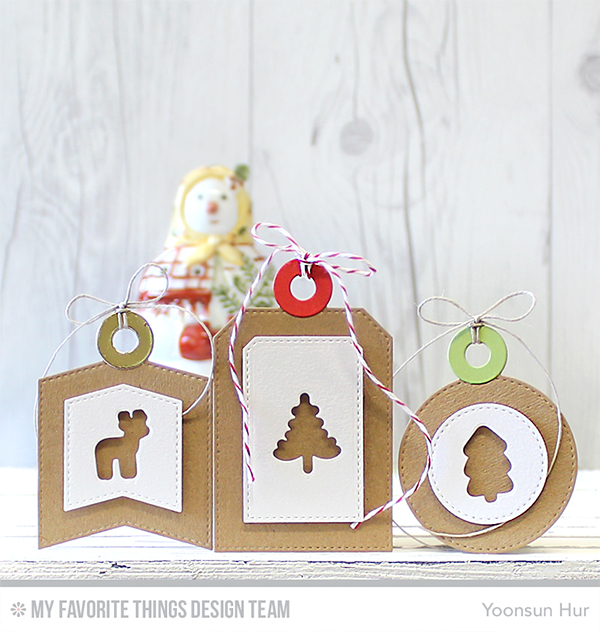 I love (I think everyone loves) Christmas tag hanging from the gift box. The tag itself gives me a great treat!!
Today I made clean and simple tag trio using so sweet Tag Builder Blueprints 4 Die-namics. First I 1) Die cut three of different shaped tags from the kraft card stock. 2) Die cut the smaller shapes from the white card stock, die cut trees and reindeer from the centre of the white panel using Winter Wonderland Die-namics, topped with twines.
 My second example with Tag Builder Blueprints 4 Die-namics is a card. First I 1) Die cut the tag from kraft card stock, stamped the tree from the Trim the Tree stamp set on that using embossing ink, white heat embossed. 2) Added white ink splatters to express snow scenes. 3) Stamped the sentiment from the Gift Tag Greetings stamp set on black paper, die cut it with Blueprints 25 Die-namics. 4) Die cut Four Way Chevron Cover-Up from white card stock. 5) Mounted all elements as shown to kraft card base. 6) Embellished with a few clear sequins.
Make sure to check out MFT Blog for all the info for today along with links to all the other DT member’s blog posts.
See you tomorrow for more countdown fun! Have a wonderful day!
Keep smiling and be blessed! God bless you all!
Love Love Love RejoicingCrafts


 Today I want to share with you the card I’ve made using so very beautiful
  Altenew layered flower stamps look very much like real flowers and this time was no exception!!
 To create the card, I 1) Stamped the layering flowers from the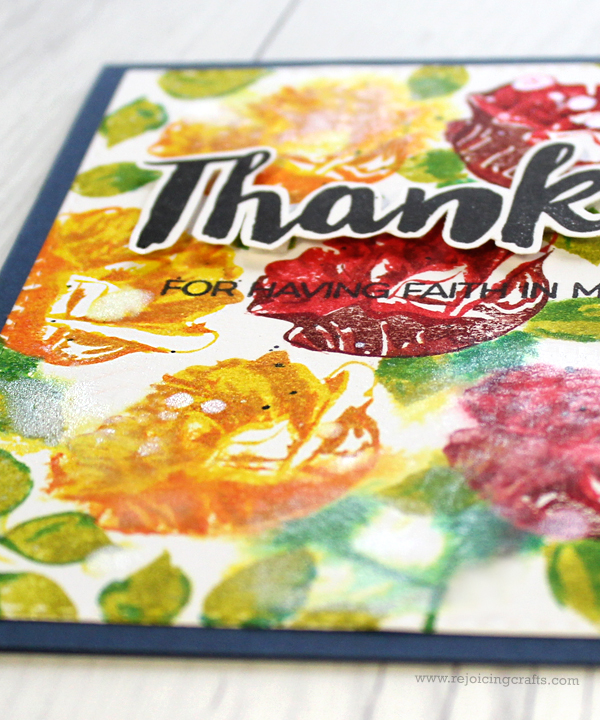


 Today I want to share with you the card I’ve made using a new
 Adorable critters are enjoying the cool air and blue sky in autumn ;)
 Make sure to check out the


 Oh, I love, love, love flower themed projects! LOVE making beautiful things :D
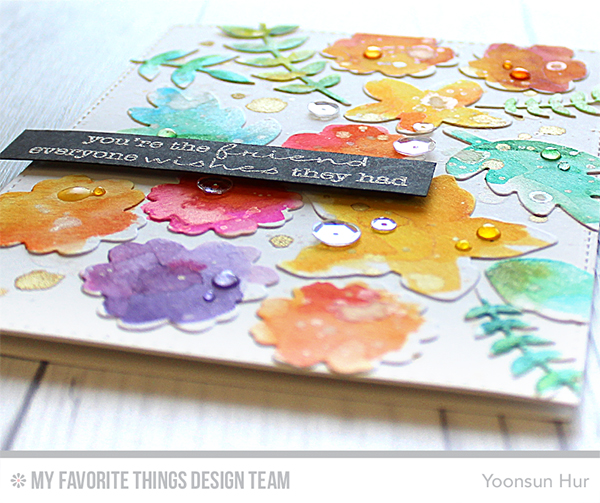 Sparkly gold ink splatter is the perfect way to add a little bit of chic to the colourful flowers!
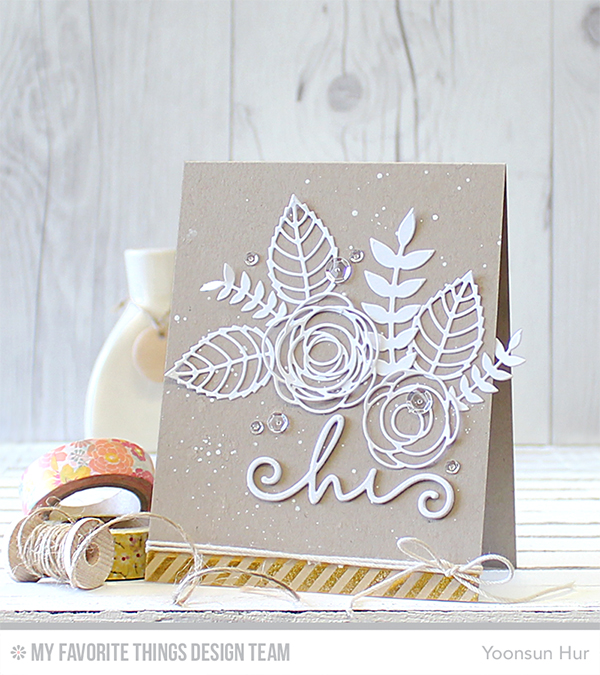 I love the combination of the colours used in this card, especially the white decoration on kraft base. It’s so simple, yet so elegant and classy! I die cut flowers, leaves, and sentiment from the white card stock using


