Hello crafty friends!
Welcome to the Pretty Pink Posh October Product Release Blog Hop! You should have arrived from Pretty Pink Posh blog.
 In October, Pretty Pink Posh have three oh-so-cute die sets, along with new sequin mixes and a brand new clear droplets -I love anything clear by PPP and these clear droplets are so precious!!
 For my first card, I used Mini Tags die set. Using these adorable stitched tags is perfect for sending as many messages as possible.
To create the card, I 1) Stamped Sketched Chevron Background on SSS Lipstick Red card stock using MFT Red Hot hybrid ink, trimmed it with MFT Blueprints 25 Die-namics. 2) Die cut 5 different shaped tags out of scraps of white card stock using a new Mini Tags die set, then stamped holiday greetings from the MFT Gift Tag Greetings, Hand Lettered Holiday stamp sets using VersaFine Onyx Black. 3) Mounted all tags on the stamped panel using dimensional foam tape. 4) Embellished with a few PPP clear droplets.

 For my second card, I used Storybook 2 Dies. This is so versatile same as Storybook 1 Dies. First I 1) Stamped Sketched Chevron Background onto watercolour paper panel using embossing ink, white heat embossed. 2) Coloured the stamped panel with several colours of MFT dye inks using a wet paintbrush. 3) Once dry, die cut Storybook 2 in the watercoloured background panel – I didn’t use the positive pieces so kept them for future use. 4) Die cut Storybook 2 from watercolour paper, then made a snowy winter scene. 5) Mounted each piece in place using dimensional foam tape. 6) Embellished a few clear sequins & droplets.
 Your next stop on the hop is so very talented Carissa Wiley. We hope you have all enjoyed this inspiration blog hop!
Pretty Pink Posh blog
Yoonsun Hur (Me!!)
Carissa Wiley
Liz Sarkisyan
Nina- Marie Trapani
Lisa Elton
Joni Andaya
Heather Hoffman
Amy Kolling
Nichol Magouirk
Jeanne Jachna
Julia Altermann
Gayatri Murali
Nicole Picadura
Yuki Yoshioka
GIVEAWAY ALERT!
There are 2 $25 gift certificates up for grabs. Winners will be picked randomly along the blog hop. (Comments must be left by 11:59 PM PDT on 10/18/2015. Winners will be announced on the PPP blog)
Thank you so much for stopping by. Happy crafting!!
Keep smiling and be blessed! God bless you all!
Love Love Love RejoicingCrafts
Pretty Pink Posh Store
 |
 |
 |
 |
 |
 |
 |
 |
 |
 |


 My Favorite Things is celebrating the joys of a Handcrafted Holiday! And today’s question is “What’s your best advice for a stress-free holiday?” My answer? As a handmade card maker, it’ll have to be: to make a card fast and easy – totally stress-free!!
 As promised, I made simple and easy holiday card! First I 1) Die cut A2 size stitched rectangle from white card stock using


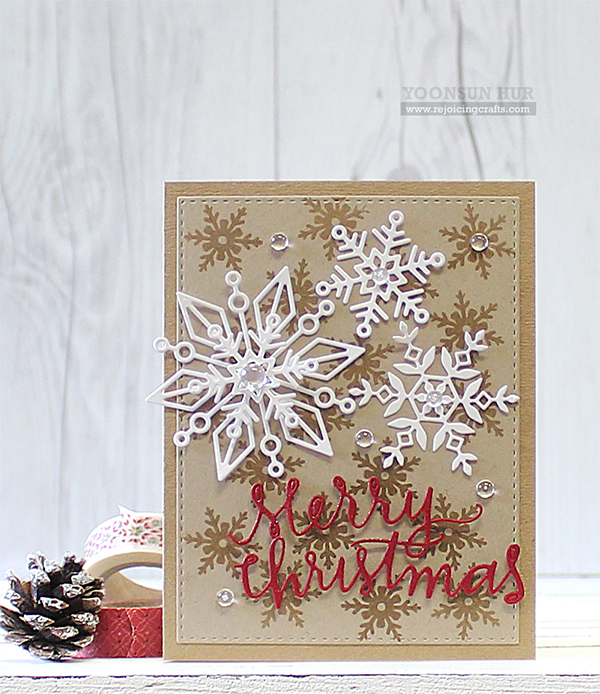 I love to see snowflake cards and one thing for sure, it’s NEVER boring in winter season!! And I also love making Christmas cards with different shapes of the snowflakes :D
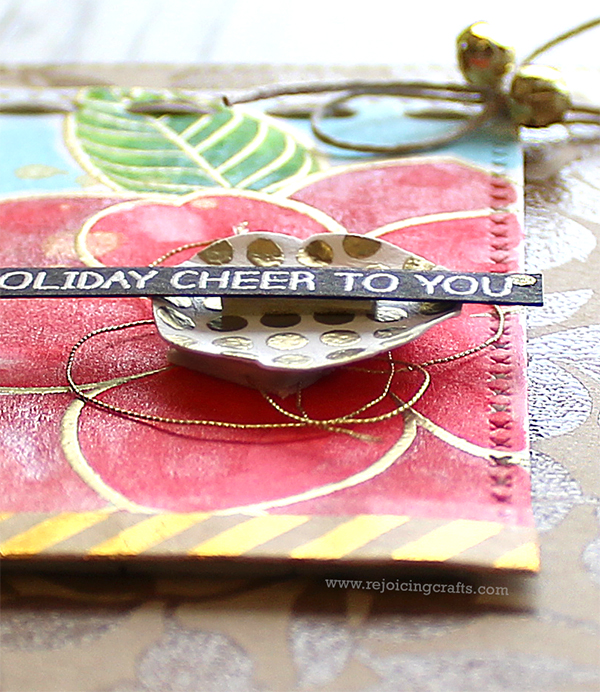
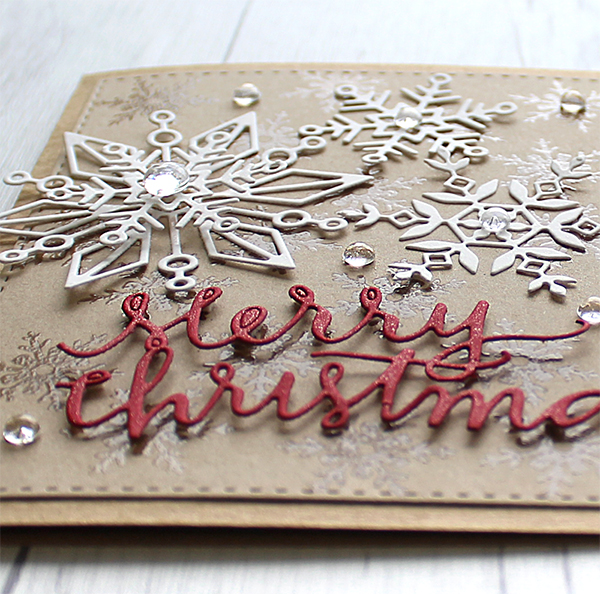 I love the red and white on kraft, it always reminds me of a romantic holiday.
 Simon Says Stamp


 If you want to see more just click to the


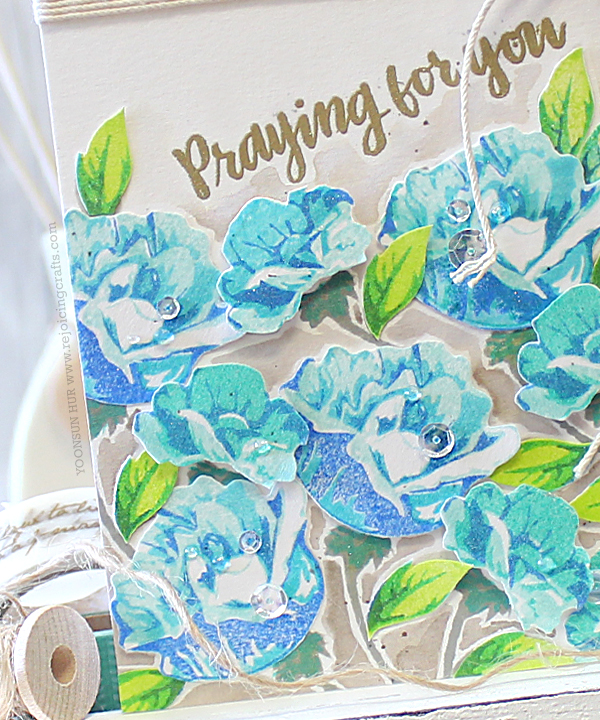
 Today is all about COLOUR! I believe that flowers are the best way to show all the colours of the rainbow. In additions, the layered petals of flowers are perfect for expressing different colours on one spot.
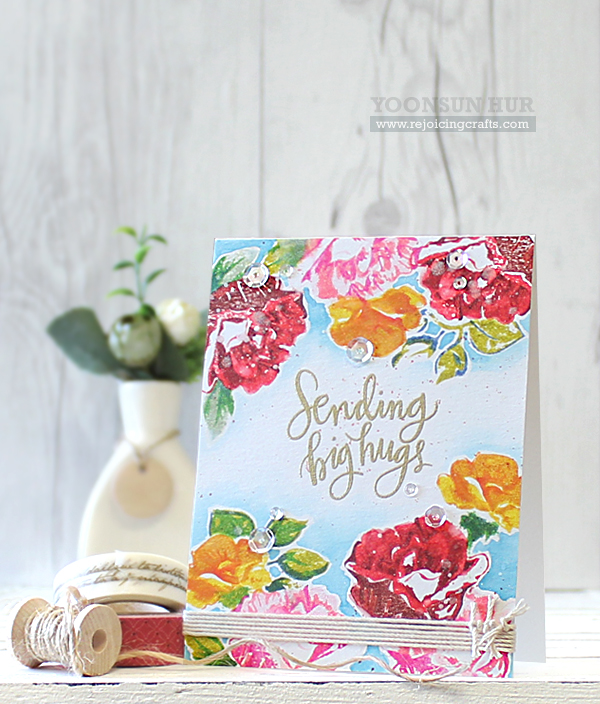 To create the card, I 1) Stamped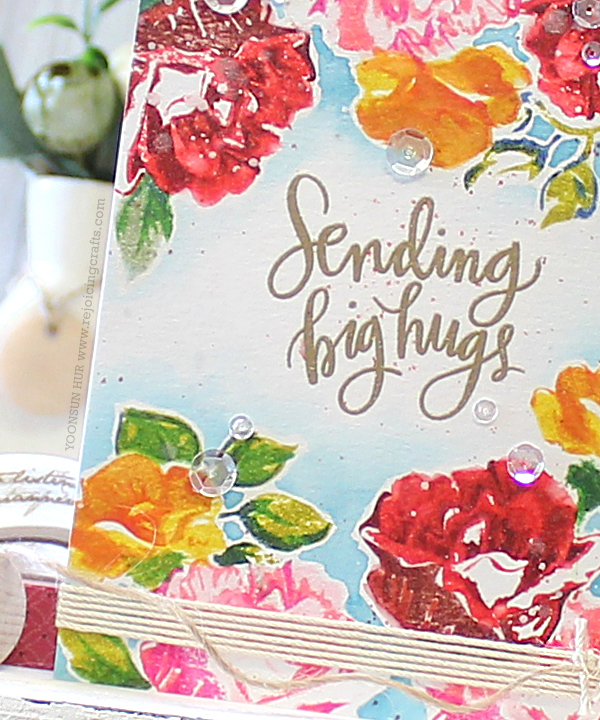
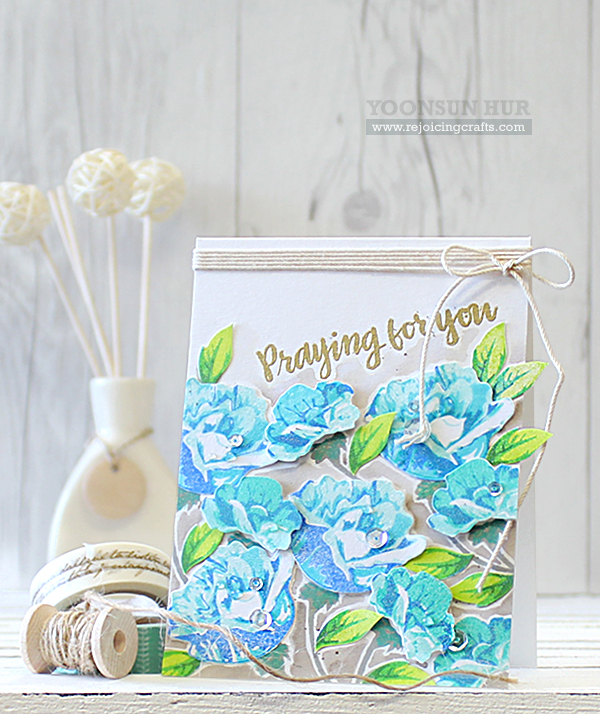 How did I make my second card? Well, it was no different to the way I made it the first card. But this time, I used cool colours instead of warm colours. I stamped the first layer of these blue flowers with