Hello crafty friends!
Welcome to the My Favorite Things new product launch! It’s Time!! All of the new products we’ve been sharing all week are officially available in the MFT Store now! I can’t wait to see what you guys create with them :D
 I have a couple of cards using the newly released Primitive Chevron Background stamp and Scenic Safari Die-namics.
 I just adore the new Primitive Chevron Background stamp! It’s unique, modern, and even beautiful!! I believe that one great background stamp could enhance the whole card design!!
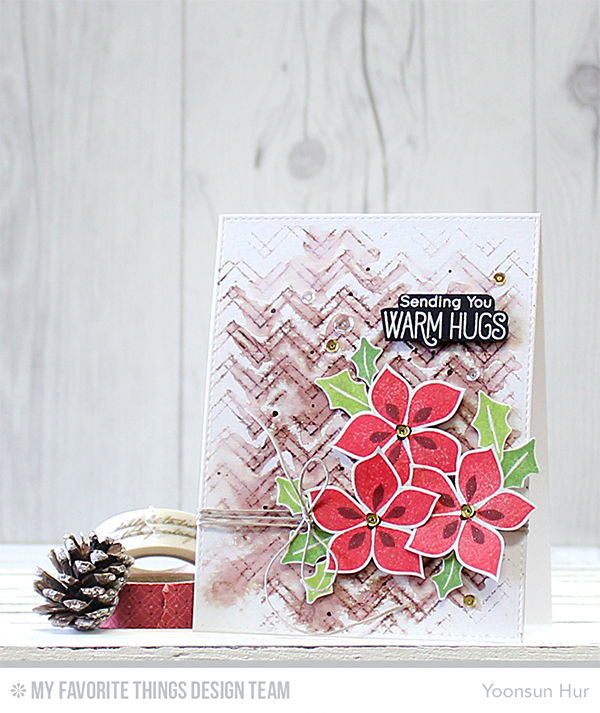 For my watercolour background, I stamped the Primitive Chevron Background onto A2 size watercolour paper panel using Chocolate Brown dye ink. I then spritzed a fine mist of water over the stamped panel, had some watercolor stain for having natural looking background. For the poinsettias, I used Winter Warmth stamp set and for the sentiment I used Merry Christmoose stamp set.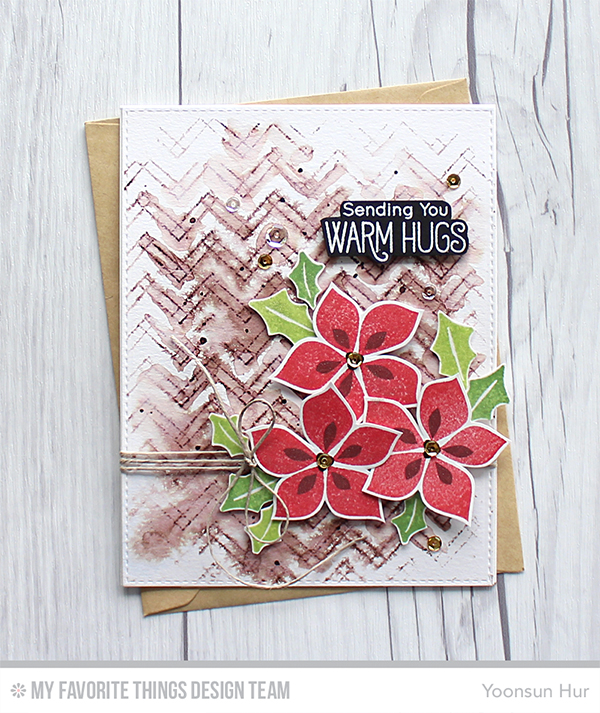

 My second card, I am focusing on the Scenic Safari Die-namics.
 I 1) Die cut 3 different shaped hills from A2 size watercolour paper panel, die cut Grassy Hill as well. 2) Blended each five pieces with MFT dye inks using mini blending tool – (from the top) Summer Splash, Sour Apple, Gumdrop Green, Chocolate Brown, Field Day dye inks. 3) Spritzed with a bit of water and dry using heat tool. 4) Put all five pieces of die cut together on white card base using double-sided tape. 5) Stamped the lion from the Sweet Safari stamp set on watercolour paper using Antique Linen Distress ink, coloured it with Derwent Watercolor Pencils, then die cut it with Sweet Safari Die-namics. 5) Embellished with a few PPP sequins.

Don’t forget to check out the MFT blog to see all of the amazing projects the creative team has created. You can leave a comment on all of the designer’s New Product Launch posts for a chance to WIN one of two $100 gift vouchers!
Thank you so much for stopping by. Happy crafting!!
Keep smiling and be blessed! God bless you all!
Love Love Love RejoicingCrafts
Card A – Poinsettia Card
Card B – Scenic Safari Card
http://static.inlinkz.com/ppr.js
 Today I want to share with you the card that I’ve made using Written in the Stars stamp set.
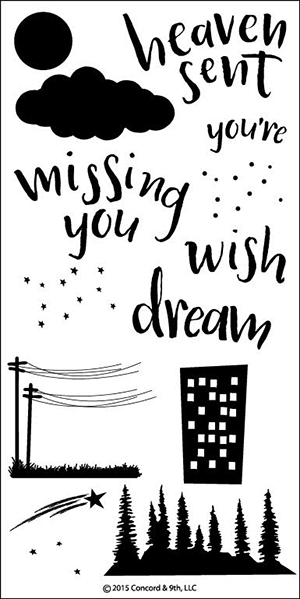 As I mentioned before, Concord & 9th’s trend brushstroke sentiments are truly amazing!!
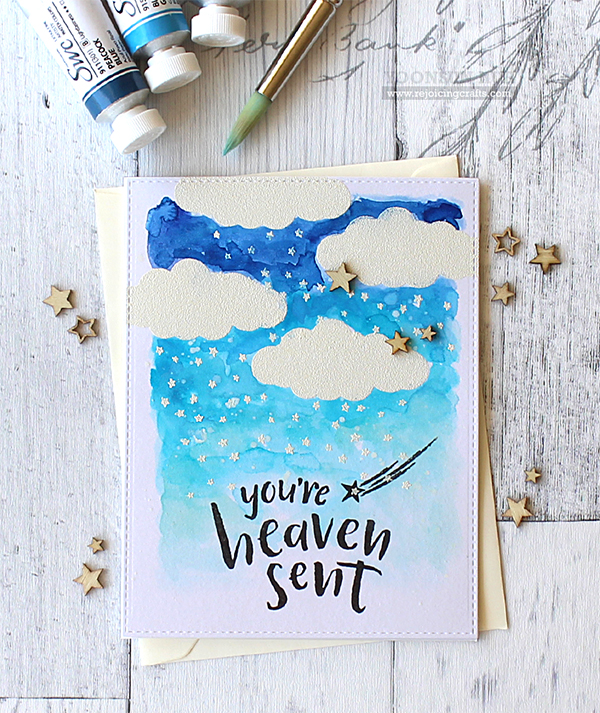 To create this card, I 1) Stamped the clouds and stars from Written in the Stars set onto watercolour paper panel using embossing ink, white heat embossed. 2) Stamped the sentiment & shooting star in black ink. 3) Coloured on the stamped panel with watercolours using a wet paintbrush. 4) Mounted the watercoloured panel on A2 size white card base using double-side tape. 5) Embellished with Studio Calico Star wood veneers.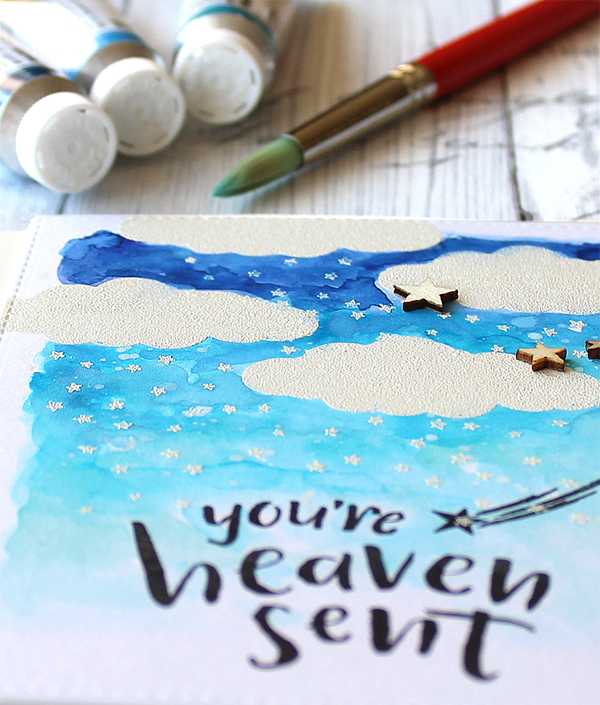


 For my first card, I used the new

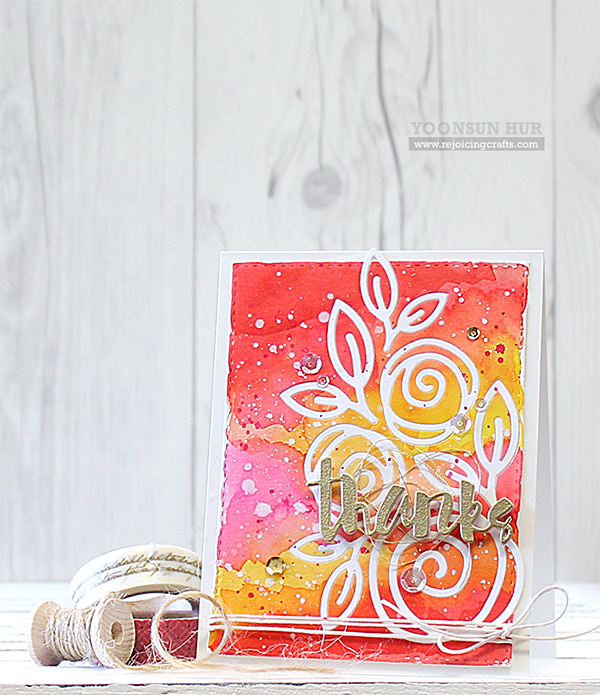 For my second card today, I used the same


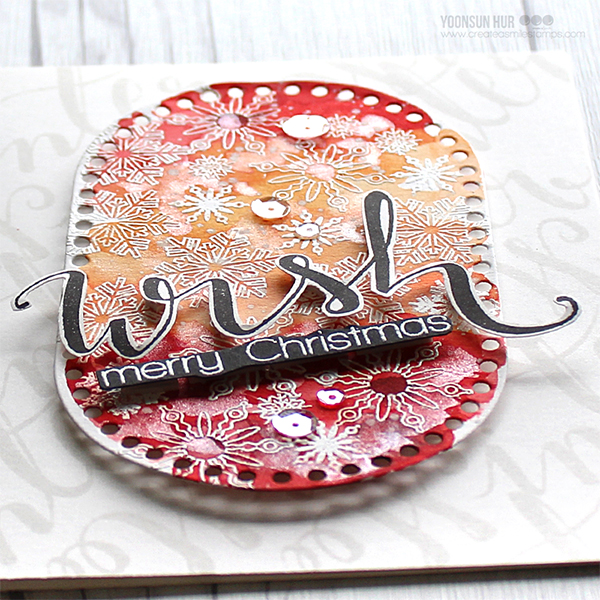


 Today I am focusing on the
 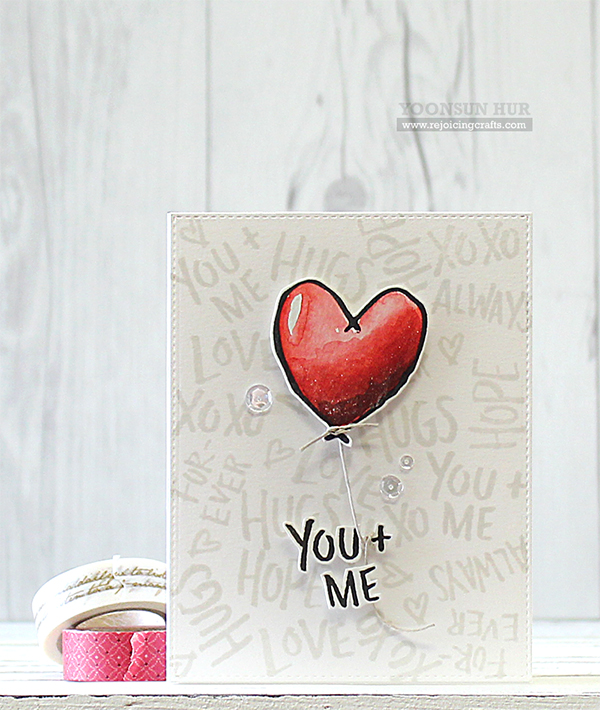 To create this card, I 1) Stamped the sentiments from the
  Oh, I love their brushstroke sentiments so much!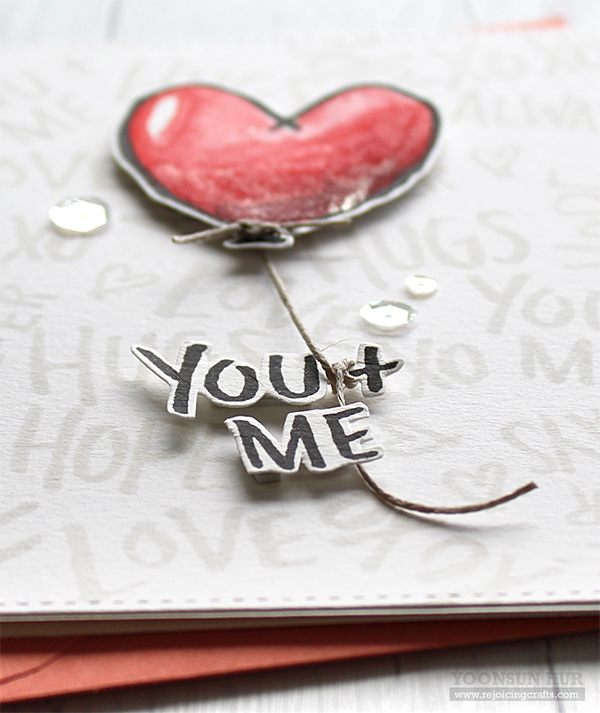
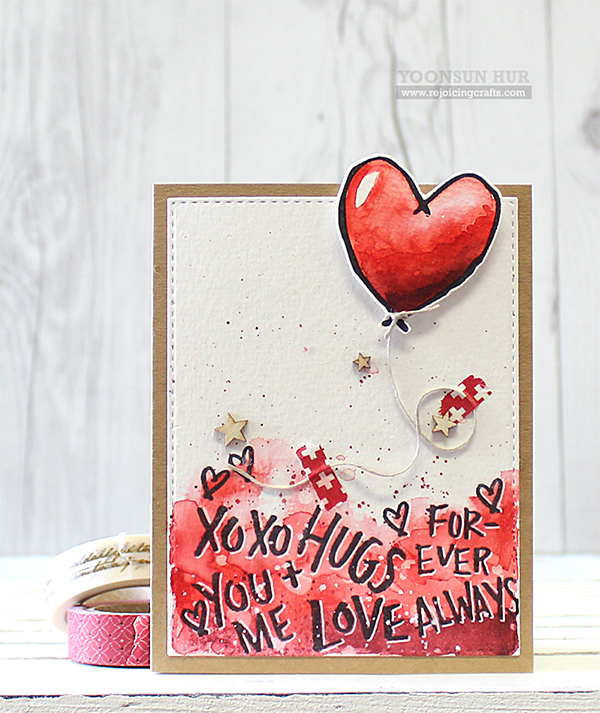 For my second card, I used the same stamps and color scheme but it is somewhat different in design. First I 1) Stamped the sentiments at the bottom part of watercolour paper panel using


