Hello crafty friends, TGIF!
Welcome to the My Favorite Things October Release Countdown Day 5. Yippee!! MFT October release officially kicks off the holiday season in everywhere!! Oh, it’s my most favourite time of year :D
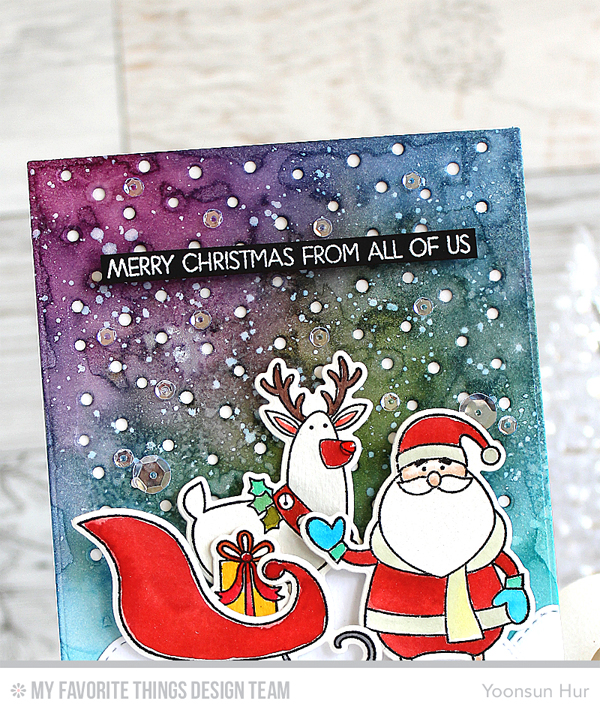
 For my project today, I made a fun Christmas card and gift tags using the Merry Everything Stamp Set & Die-namics, Snowfall Vertical Die-namics, Tag Builder Blueprints 6 Die-namics.
 To create this card, I 1) Die cut the snowfall from watercolour paper panel using the Snowfall Vertical Die-namics. 2) Ink blended the die cut panel with Tumbled Glass, Faded Jeans, Seedless Preserves, Wild Honey Distress inks using mini ink blending tool. 3) Spritzed the inked panel with water using a Mini Mister, added opaque white ink splatters. 4) Stamped the images from the Merry Everything set on watercolour paper using Black Licorice hybrid ink, coloured them with Peerless watercolors, and then die cut them with the Merry Everything Die-namics. 5) Die cut the stitched mountains from white card stock using the Stitched Mountain Range Die-namics. 6) Mounted all elements as shown to an A2 sized white card base using foam tape. 7) Embellished with a few PPP clear sequins.
I love MFT Tag Builder Blueprints series and, without a doubt, the new set is so super fantastic!!
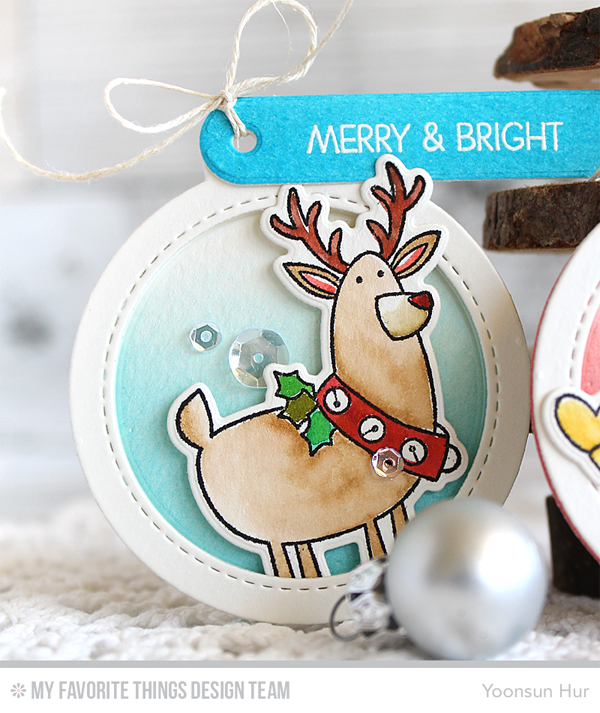
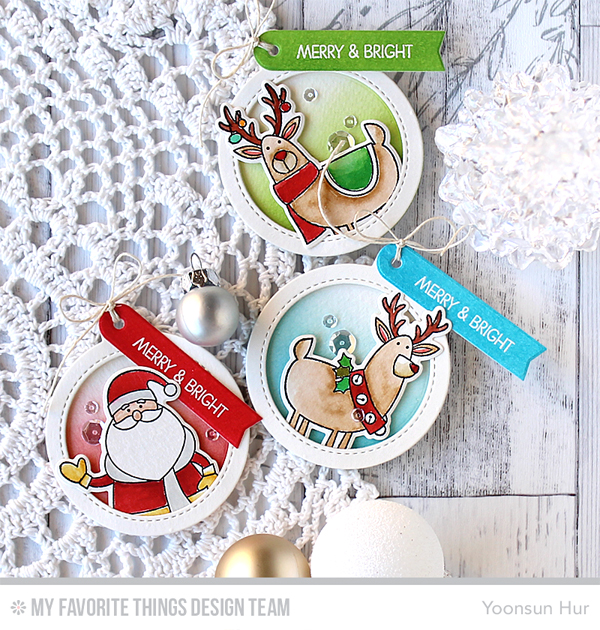
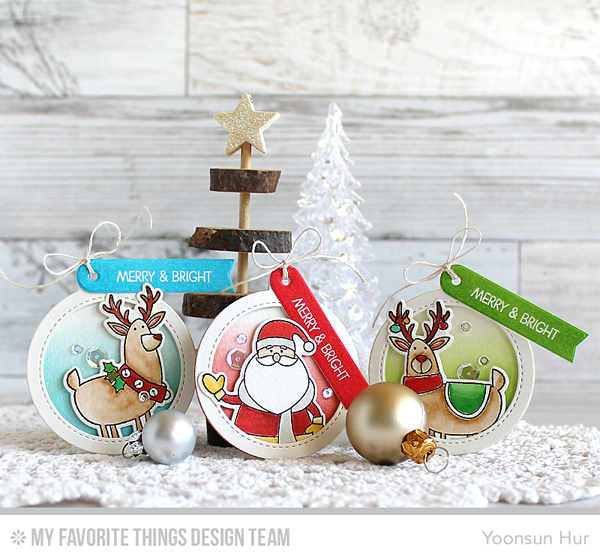 To create these tags, I 1) Stamped the Santa and reindeers from the Merry Everything set on watercolour paper using Black Licorice hybrid ink, coloured them with Peerless watercolors, and then die cut them with the Merry Everything Die-namics. 2) Die cut circle tags, 3 circle bases and 3 frames, from a separate watercolour paper using the Tag Builder Blueprints 6 Die-namics. 3) Heat embossed the sentiment on watercolour paper in white, ink blended each of the stamped papers with Distress inks, then die cut them using fishtail banner in the Tag Builder Blueprints 6 Die-namics.


 Make sure to check out MFT Blog for all the info for today along with links to all the other DT member’s blog posts.
See you tomorrow for more countdown fun! Have a wonderful day!
Keep smiling and be blessed! God bless you all!
Love Love Love RejoicingCrafts
Card
Tag Trio
https://static.inlinkz.com/ppr.js
 Oh, I love this Merry Christmas sentiment so much! It’s so beautiful and elegant. I heat embossed the sentiment from the Merry Christmas set on watercolour paper panel in white, and then added some Christmas red colours of Distress ink: Festive Berries and Fired Brick. For the shaker window, I used the Stitches Rectangles dies.
 I mounted the shaker panel on the Lipstick Red card base using foam tape, and then decorated the card front with some snowflake die cuts using the Stitched Flakes dies.
 I truly appreciate you taking time out of your day to stop by. Have a fabulous day!!


 To create the card, I 1) Stamped the
  Thank you so much for stopping by. Have a wonderful day!!


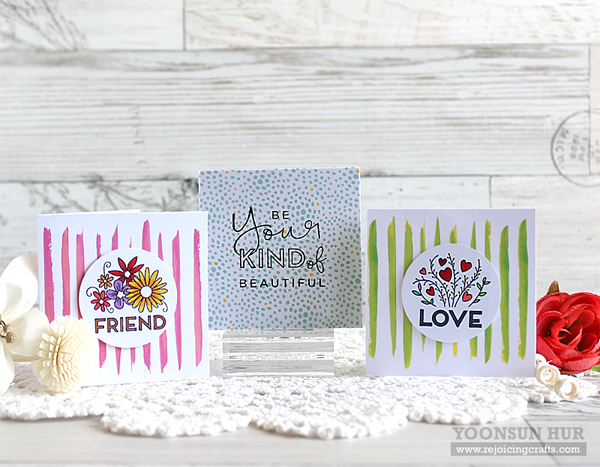 I coloured all stamped images with Copic markers. It only took 20 minutes to make all 3 cards :D

 GIVEAWAY!!
 To create the card, I 1) Die cut a piece of
 Thank you so much for stopping by. Have a fabulous day!!


